Creating a CI/CD 'Draft' Website with Jenkins (and Hugo)

The last few months I have been working more with the open source automation server, Jenkins. While digging into it, I have been thinking of ways to improve my home build environment. One idea, was to utilize Jenkins to automatically build and deploy a “draft” website, so I can stage new posts/website change on my home network, before publishing it to the “production” website. Here is how that idea was Instantiated…
My Website
I have previously described how my website is currently generated, using the Hugo static website generator. To organize this system, I have two git repos: One that consists of all the hugo source files (where I write content), and one that contains the generated static website (that gets deployed to my web host).
When writing a post, I use hugo server -D -F to live view the page
in my browser. However, I occasionally want to view the state of all
the committed code in the repo, to see what the site would look
like if I decided to publish a post. So, I created a “drafts” website,
which shows the current state of my website’s source repo (including
draft and future posts). If I want to check how a post looks on my
phone, or any other device, I can just open up the draft website after
pushing my changes.
Jenkins
I had previously created a dedicated Jenkins server on my home network (Mr. Mime), using a CentOS 7 VM hosted on my home server. However, any Jenkins setup should work for this project (including a docker container). To get started, checkout the Jenkins Website, and be sure to take advantage of the the documentation for help.
Note: just make sure hugo is installed on the Jenkins server, as we need it to generate the website.
GitHub Integration
Jenkins Service
My website repo is hosted on GitHub, so we need to configure it to work with our Jenkins server. To do that, go to the project’s GitHub page, and navigate through Settings -> Integrations & services. Click the Add service drop-down and select Jenkins (Git Plugin). Next, add the Jenkins server url (assuming the server is accessible from the internet. If not, hosting the Jenkins server on something like Digital Ocean might be an easy solution). Lastly, make sure the Activate box is selected, and click the Add Service button.
SSH Keys
While on the project’s GitHub page, make sure that the Jenkins server’s ssh keys are added to the project. To add them, navigate to the Deploy Keys page (under the project’s Settings tab). Then select Add deploy key, and add the public key.
A Nginx Server

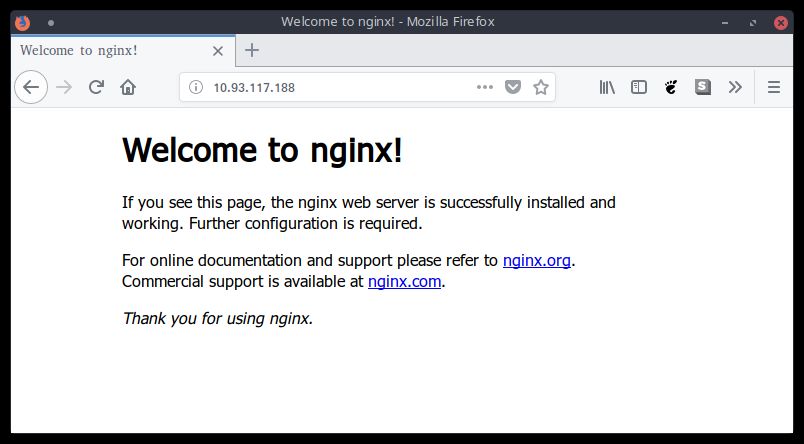
With Jenkins ready, let’s quickly setup the web server before configuring the Jenkins project. Any web server will do (it just needs to serve the generated static website content). I used nginx in for setup. After installing, make sure it is running. To install and check the status of nginx on an Ubuntu System:
## Install
sudo apt install -y nginx

## Check it is running
sudo systemctl status nginx

## Optional: Ensure it is enabled to start up after reboots
sudo systemctl enable nginx
With the web server running, we need to know where the website files
need to go. Nginx will by default serve content at
/user/share/nginx/html/, so remember that location for later…
Note: Don’t forget to add the jenkins user’s ssh key from the
jenkins server to the authorized_keys file of the nginx server. This
will make file transfers easier when setting up the jenkins project.
Configuring a Project
Let’s configure our Jenkins project! Log in to the Jenkins server and click the New Item option on the left side bar. Enter a name for the project, select the Freestyle Project option, and hit OK.

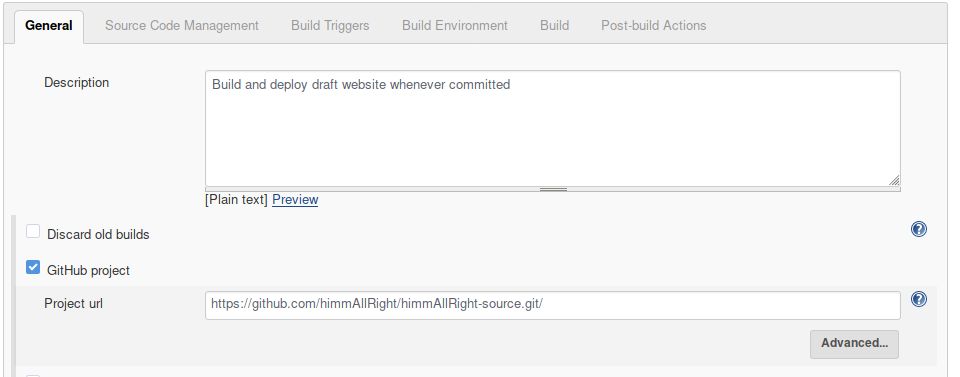
In the General section of the configuration screen, optionally write a description about the project. Next, select the “GitHub Project” check-box, and add the GitHub repo’s url into the Project url text box.
Source Control

In the Source Code Management section of the configuration, select
the Git option. Then, enter the repo’s url for the Repository URL
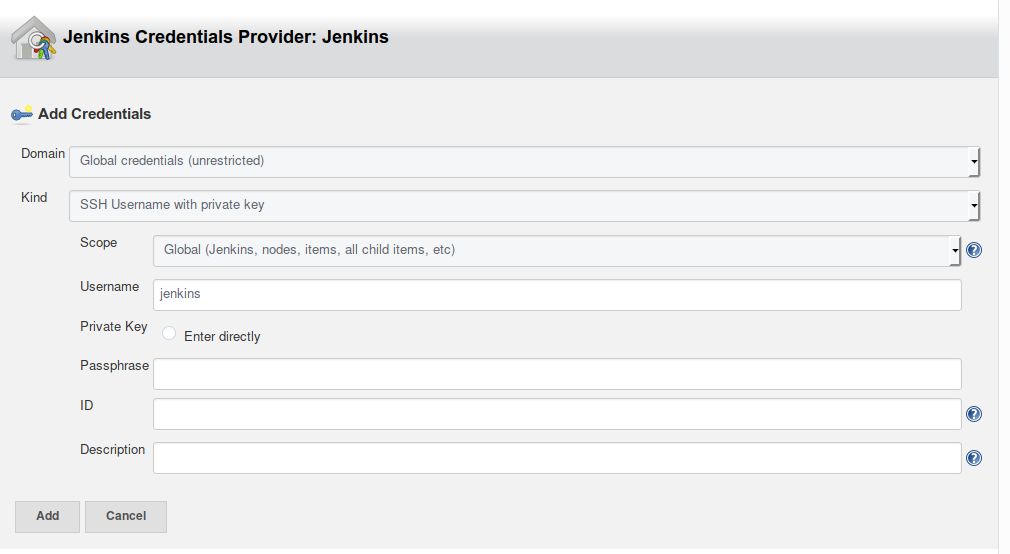
box (I did the ssh url). For Credentials, select Add to configure a
new credential. Select SSH Username with private key for Kind,
use jenkins for the Username.
More source control options can be configured, but this should be the
minimum setup required. Again, for this to work public keys for the
jenkins user on the jenkins server must be generated, and added as a
deployment key on GitHub.
Build Trigger
Under the Build Triggers section, select Poll SCM. Without adding any schedule parameters, it will trigger each time a new commit is detected. This is what we want.
Build Step
In the Build section, click Add build step, and select Execute shell. This is where we can add the shell commands to build the website with hugo. Add the following command to the box (don’t forget to change the url):
hugo -D -F -b "http://10.1.1.77" -d publicThe -D flag tells hugo to include all draft posts, while the -F flag
has it include all posts with a future date. The -b flag sets the
url for the generated website. This should the be url or IP address of
the nginx server setup previously. Lastly, the -d flag tells hugo to
output the generated static website to the public directory. This
will be useful to know when deploying the build.
Deploy to Webserver
For deployment, I used rsync to copy the build files to the nginx web server. This step will be another shell command, so I’ve actually added it as another “build” step. Add another Execute shell and paste the following command inside the text box (again, changing the url):
rsync -r "$WORKSPACE/public/" ryan@10.1.1.77:/usr/share/nginx/html/I used the Jenkins $WORKSPACE variable to get the location of the
build, and was able to append the public directory to that, since we
defined it with the -d flag in the hugo build step above. This will
copy the generated website, to the web server.
Hit Save, and test it out by clicking the Build Now link on the left. If the build is successful, check the nginx website to see if the website was deployed!
Note: If it doesn’t work, double check all permissions and credentials between accounts and servers.
Better Yet… Pipelines
What’s better than using Jenkins for automated “draft website”
deployments? Using a Jenkins
Pipeline. A Pipeline allows
the jenkins project steps to be defined in a Jenkinsfile that, among
other benefits, can be source controlled. In fact, by default a
Jenkins pipeline searches for the Jenkinsfile right in the root
directory of a project’s git repo.
While a pipeline and Jenkinsfile might be a bit more confusing to learn how to setup, it is well worth it. For example, the following Jenkinsfile can be used to do essentially what we setup in the previous steps:
pipeline {
    agent {
	label 'mr-mime'
    }
    stages {
	stage ('build') {
	    steps{
		sh 'hugo -D -F -b "http://10.1.1.77"'
	    }
	}
	stage ('deploy') {
	    steps{
		sh 'rsync -r "$WORKSPACE/public/" ryan@ponyta:/usr/share/nginx/html/'
	    }
	}

    }
}
I’m not going to cover pipelines in this post. However, I do encourage readers to check them out.
Conclusion
That’s it. While I currently host my website using GitHub pages, if I ever self-host it again, I will definitely automate publishing it using Jenkins as well. This has been a very basic example of what Jenkins can be used for, but I have found it rather useful when working on the content of this website. There is so much more it can do. Have fun!