Obsidian Basics

Linville Falls Trail, NC
Over 7 months ago, I switched to Obsidian and I love it. Obsidian’s versatility allows it become whatever I need it to be. However, this adaptability comes at the cost of an initial learning curve, which can be daunting for new users. While I can’t setup Obsidian for you, I can at least help with those initial steps by explaining what Obsidian is, and how to navigate around it.
What is Obsidian
On the project’s website, it is referred to as a “second brain”, and summarized with the following statement:
Obsidian is a powerful knowledge base on top of a local folder of plain text Markdown files.
At it’s core, Obsidian is simply a markdown editor for your notes. What shapes Obsidian to be different compared to other markdown editors, is that it was designed, and continues to be developed, around 3 fundamental directions (again, from the projects website):
- Local-first and plain text
- Link as first-class citizen
- Make it super extensible
In a world where nearly everything is hosted in the cloud, this first direction reinstates control and portability over one’s notes. While the user can still choose to utilize the cloud to sync or backup notes, the raw data is still under your control. This directly addresses the main reason why I left Notion.
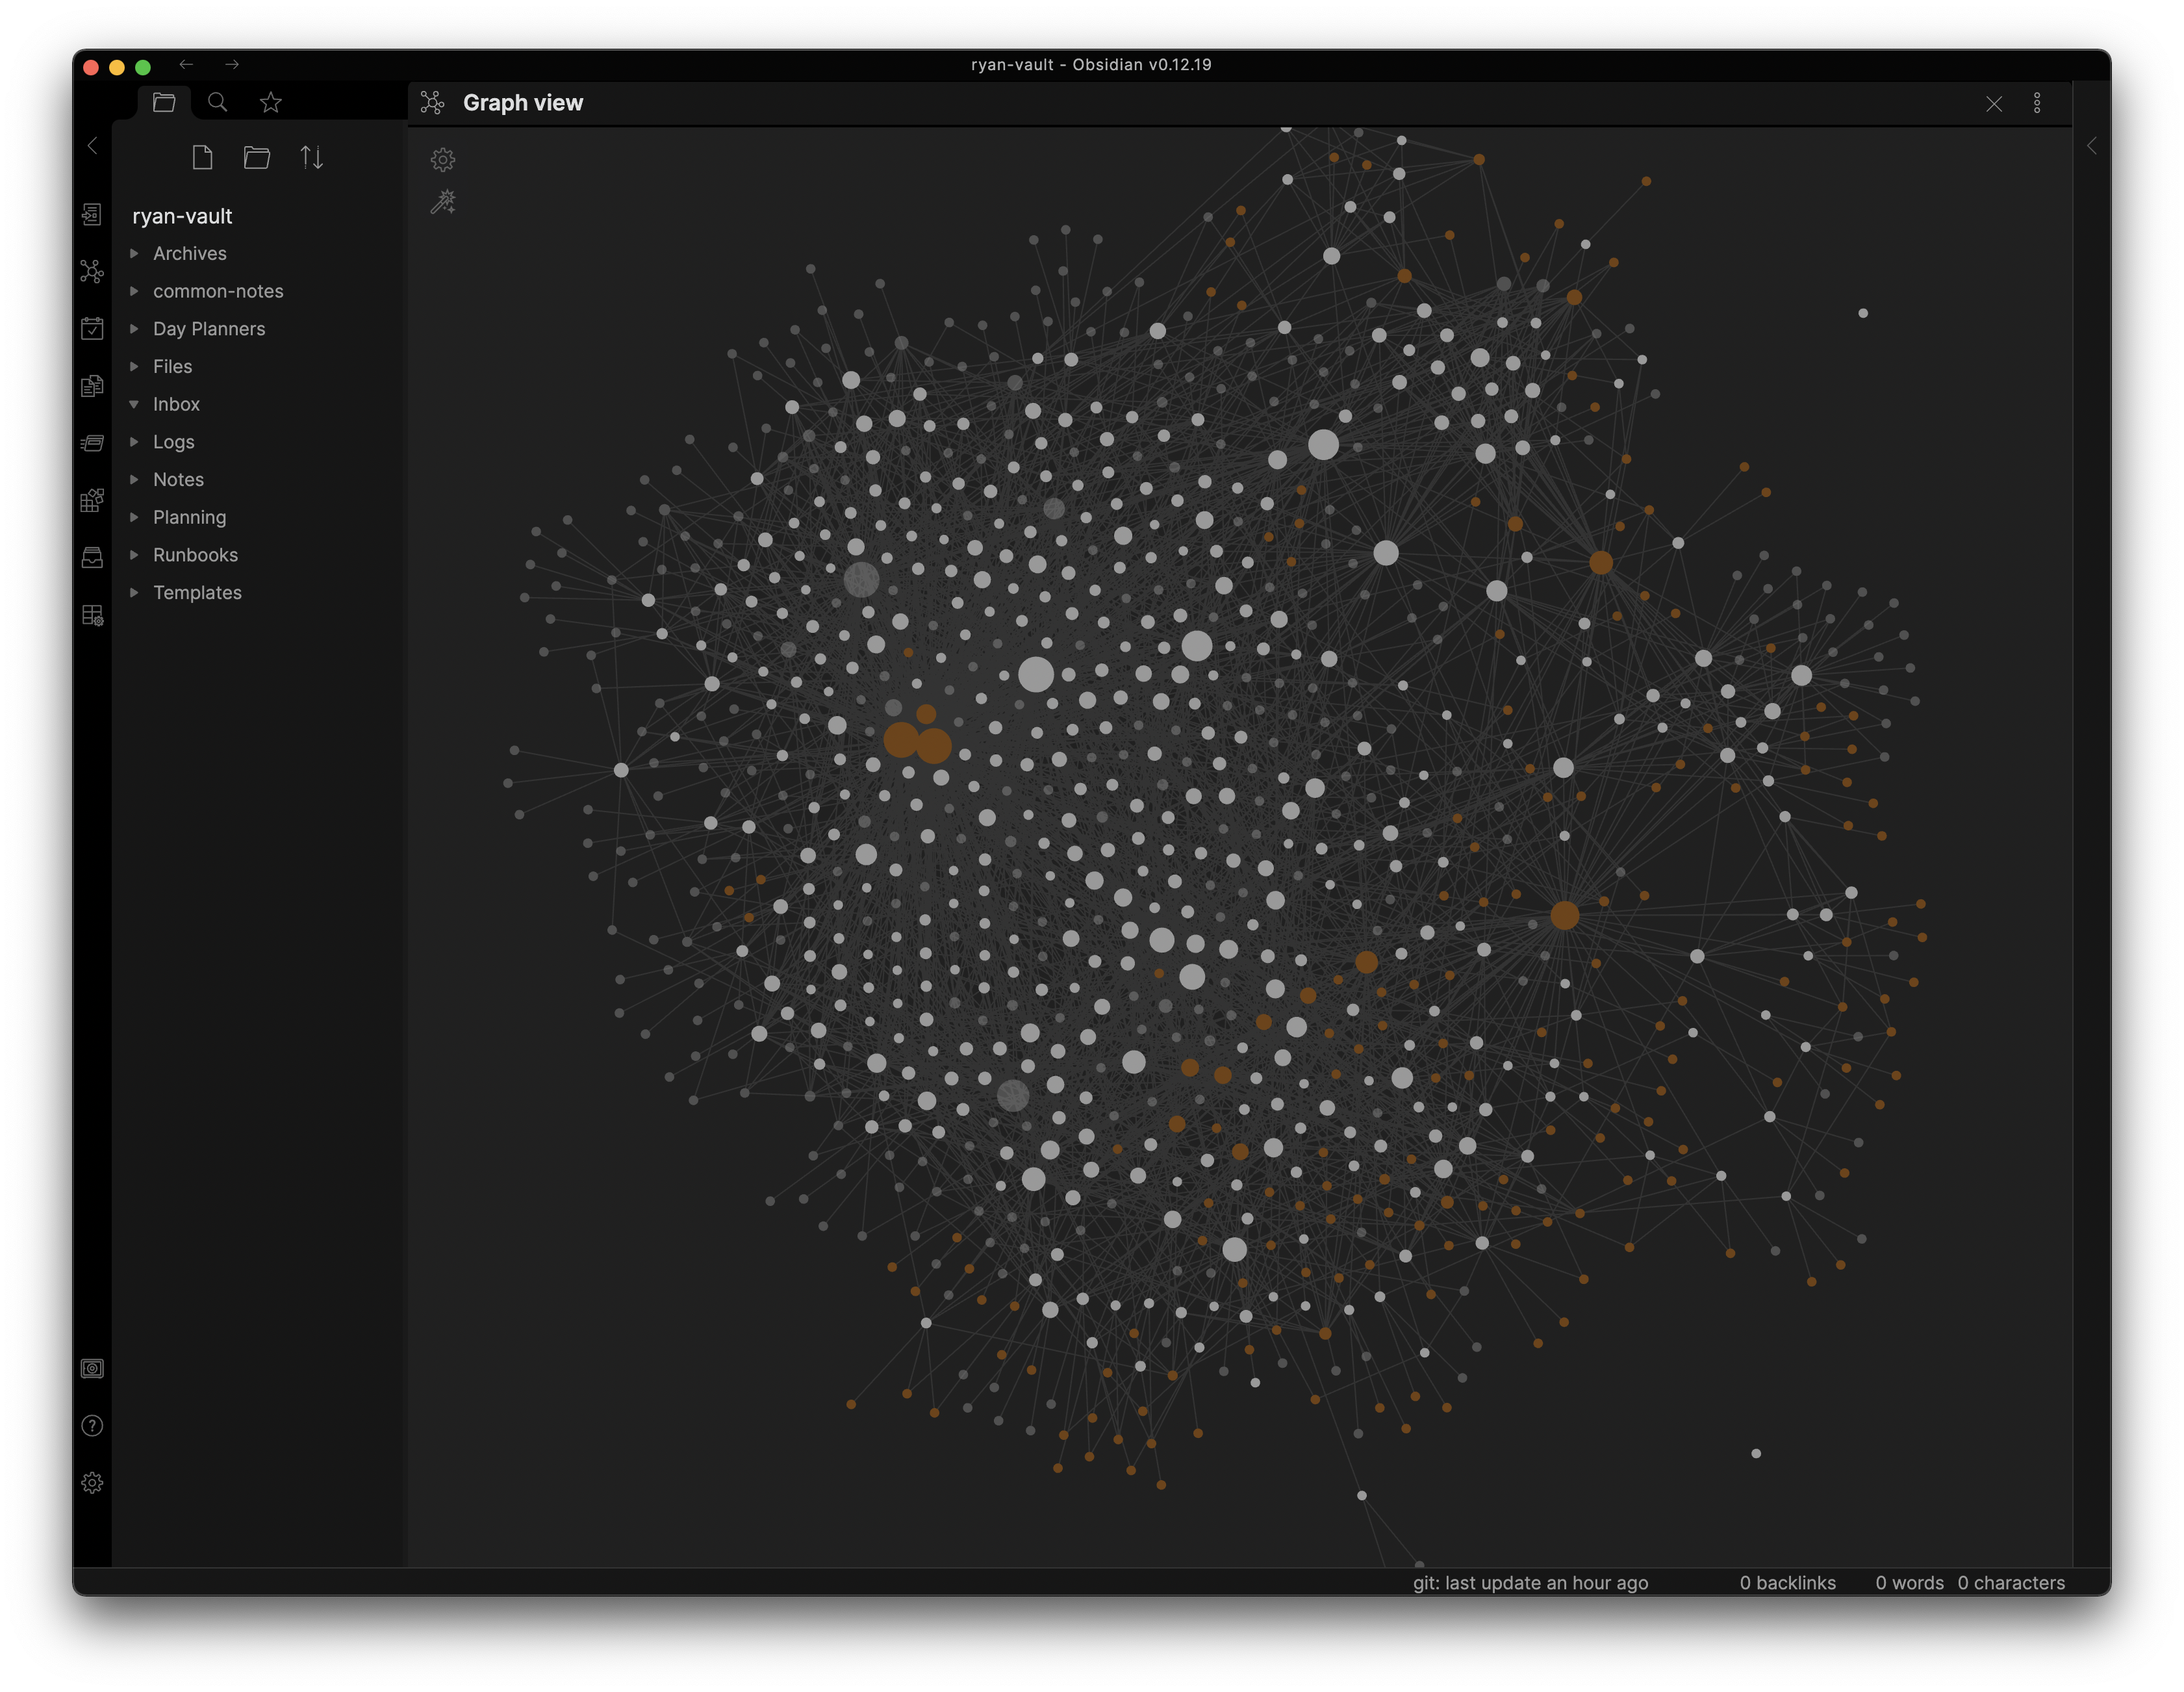
The second direction is what makes Obsidian stand out from other markdown editors. It’s superb support for easy linking and navigating notes raises Obsidian to the top tier of note taking tools. This also enables the use of alternative note-taking systems, like the Zettelkasten method.
Lastly, the third direction (extensibility) is the dream of any power user, and what allows Obsidian to function however you need it to. It also enables a community to blossom around Obsidian, ensuring it’s future growth and success.
Obsidian Vaults
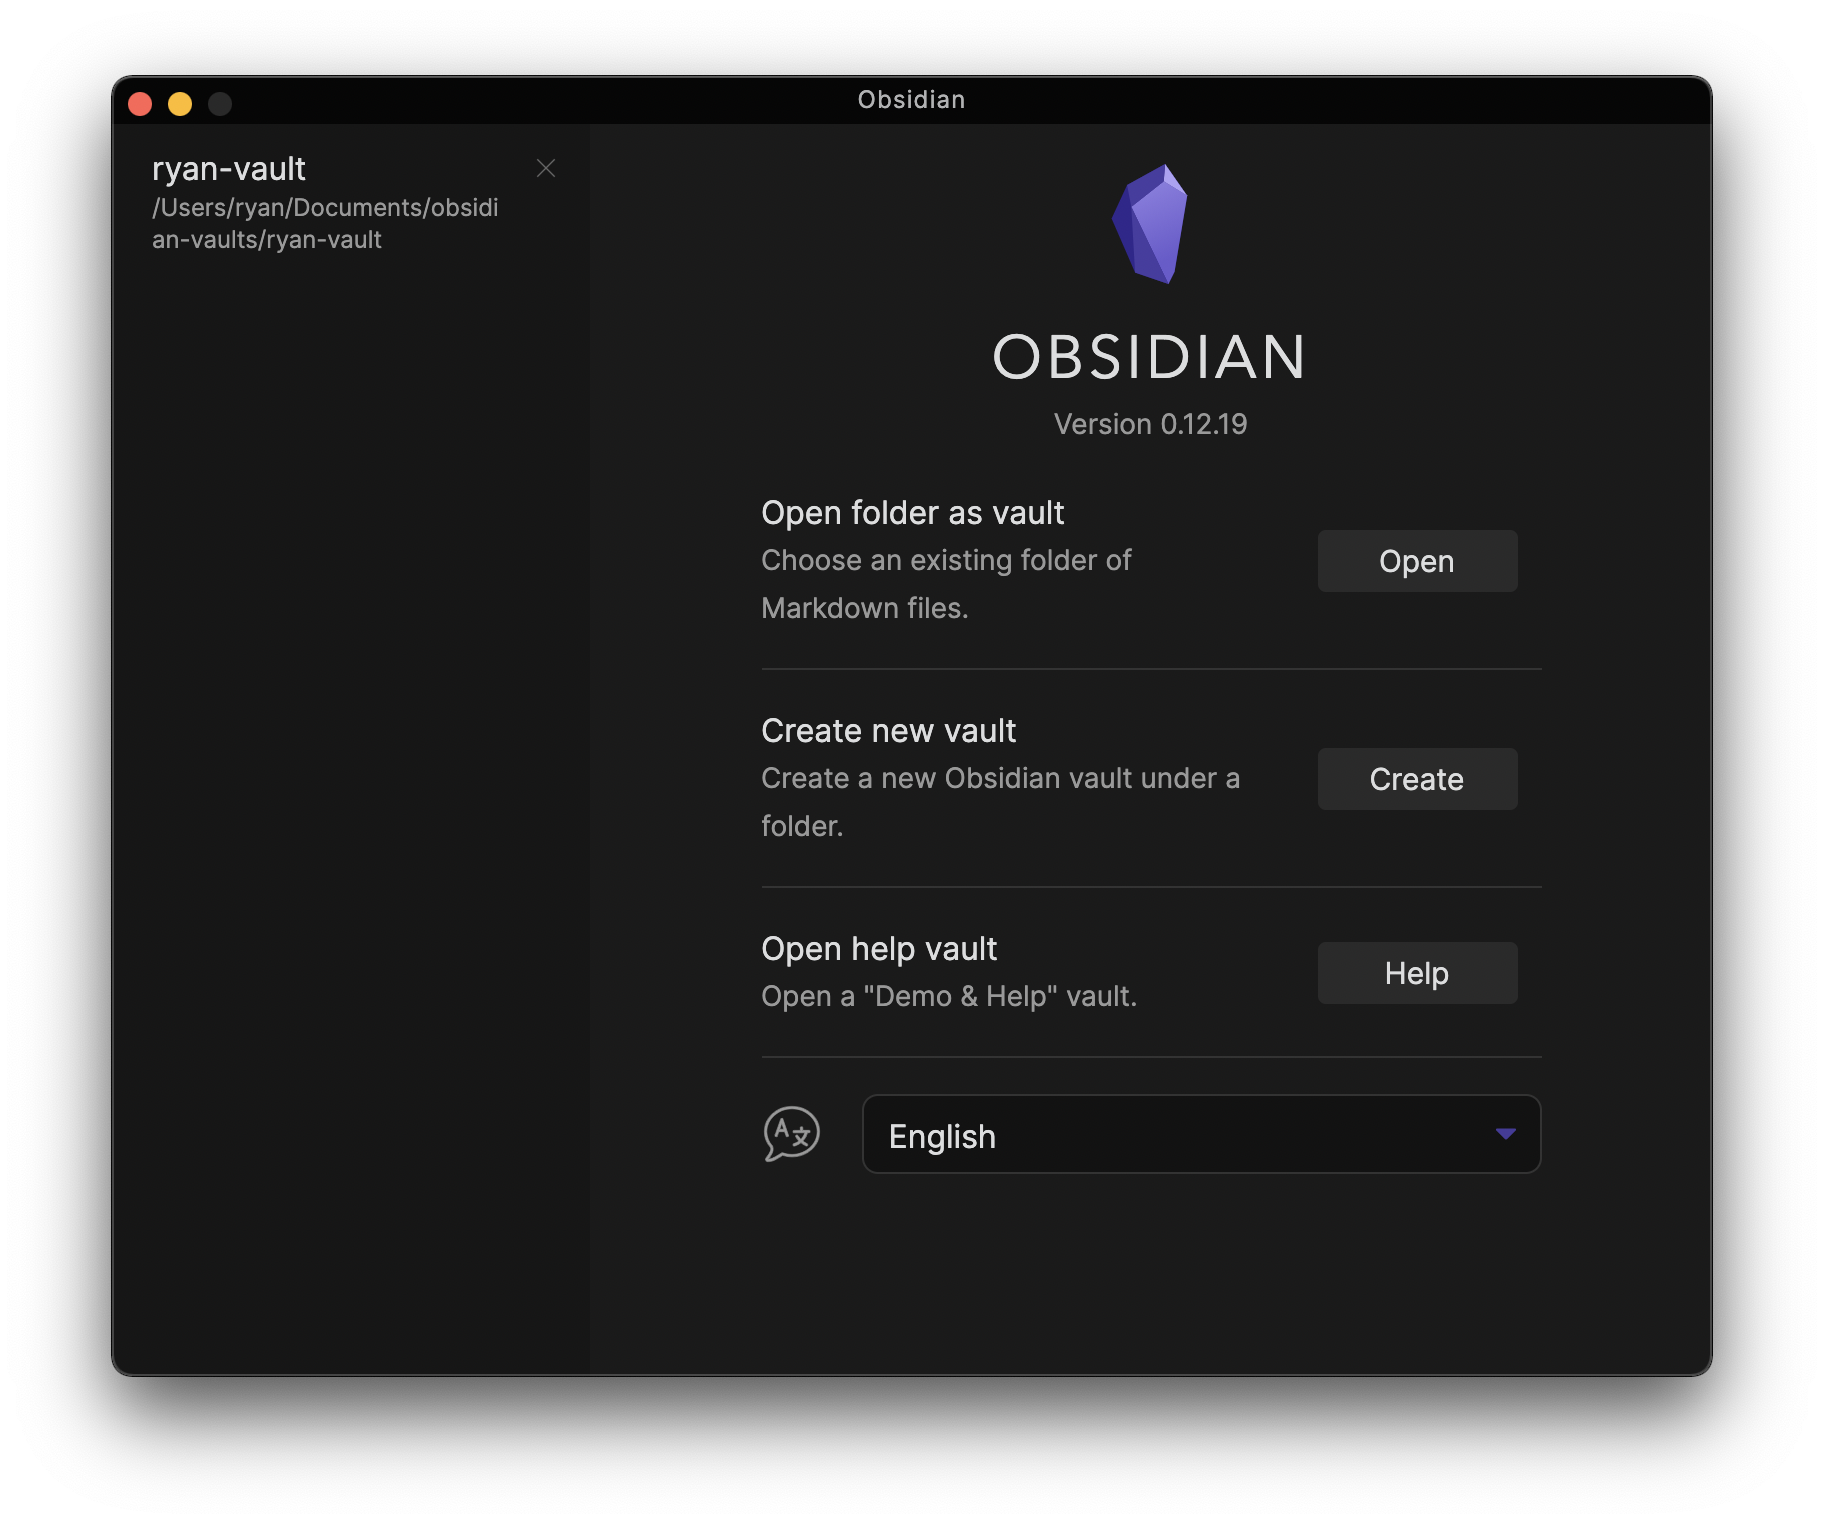
The first thing to know when getting started, is that obsidian notes are organized
into something called vaults. This is a collection of files and folders that
make up an obsidian notebook. Multiple vaults can be defined, and the user can
switch between each vault as they wish.
When starting Obsidian for the first time, you will be prompted to define a vault location.
Markdown
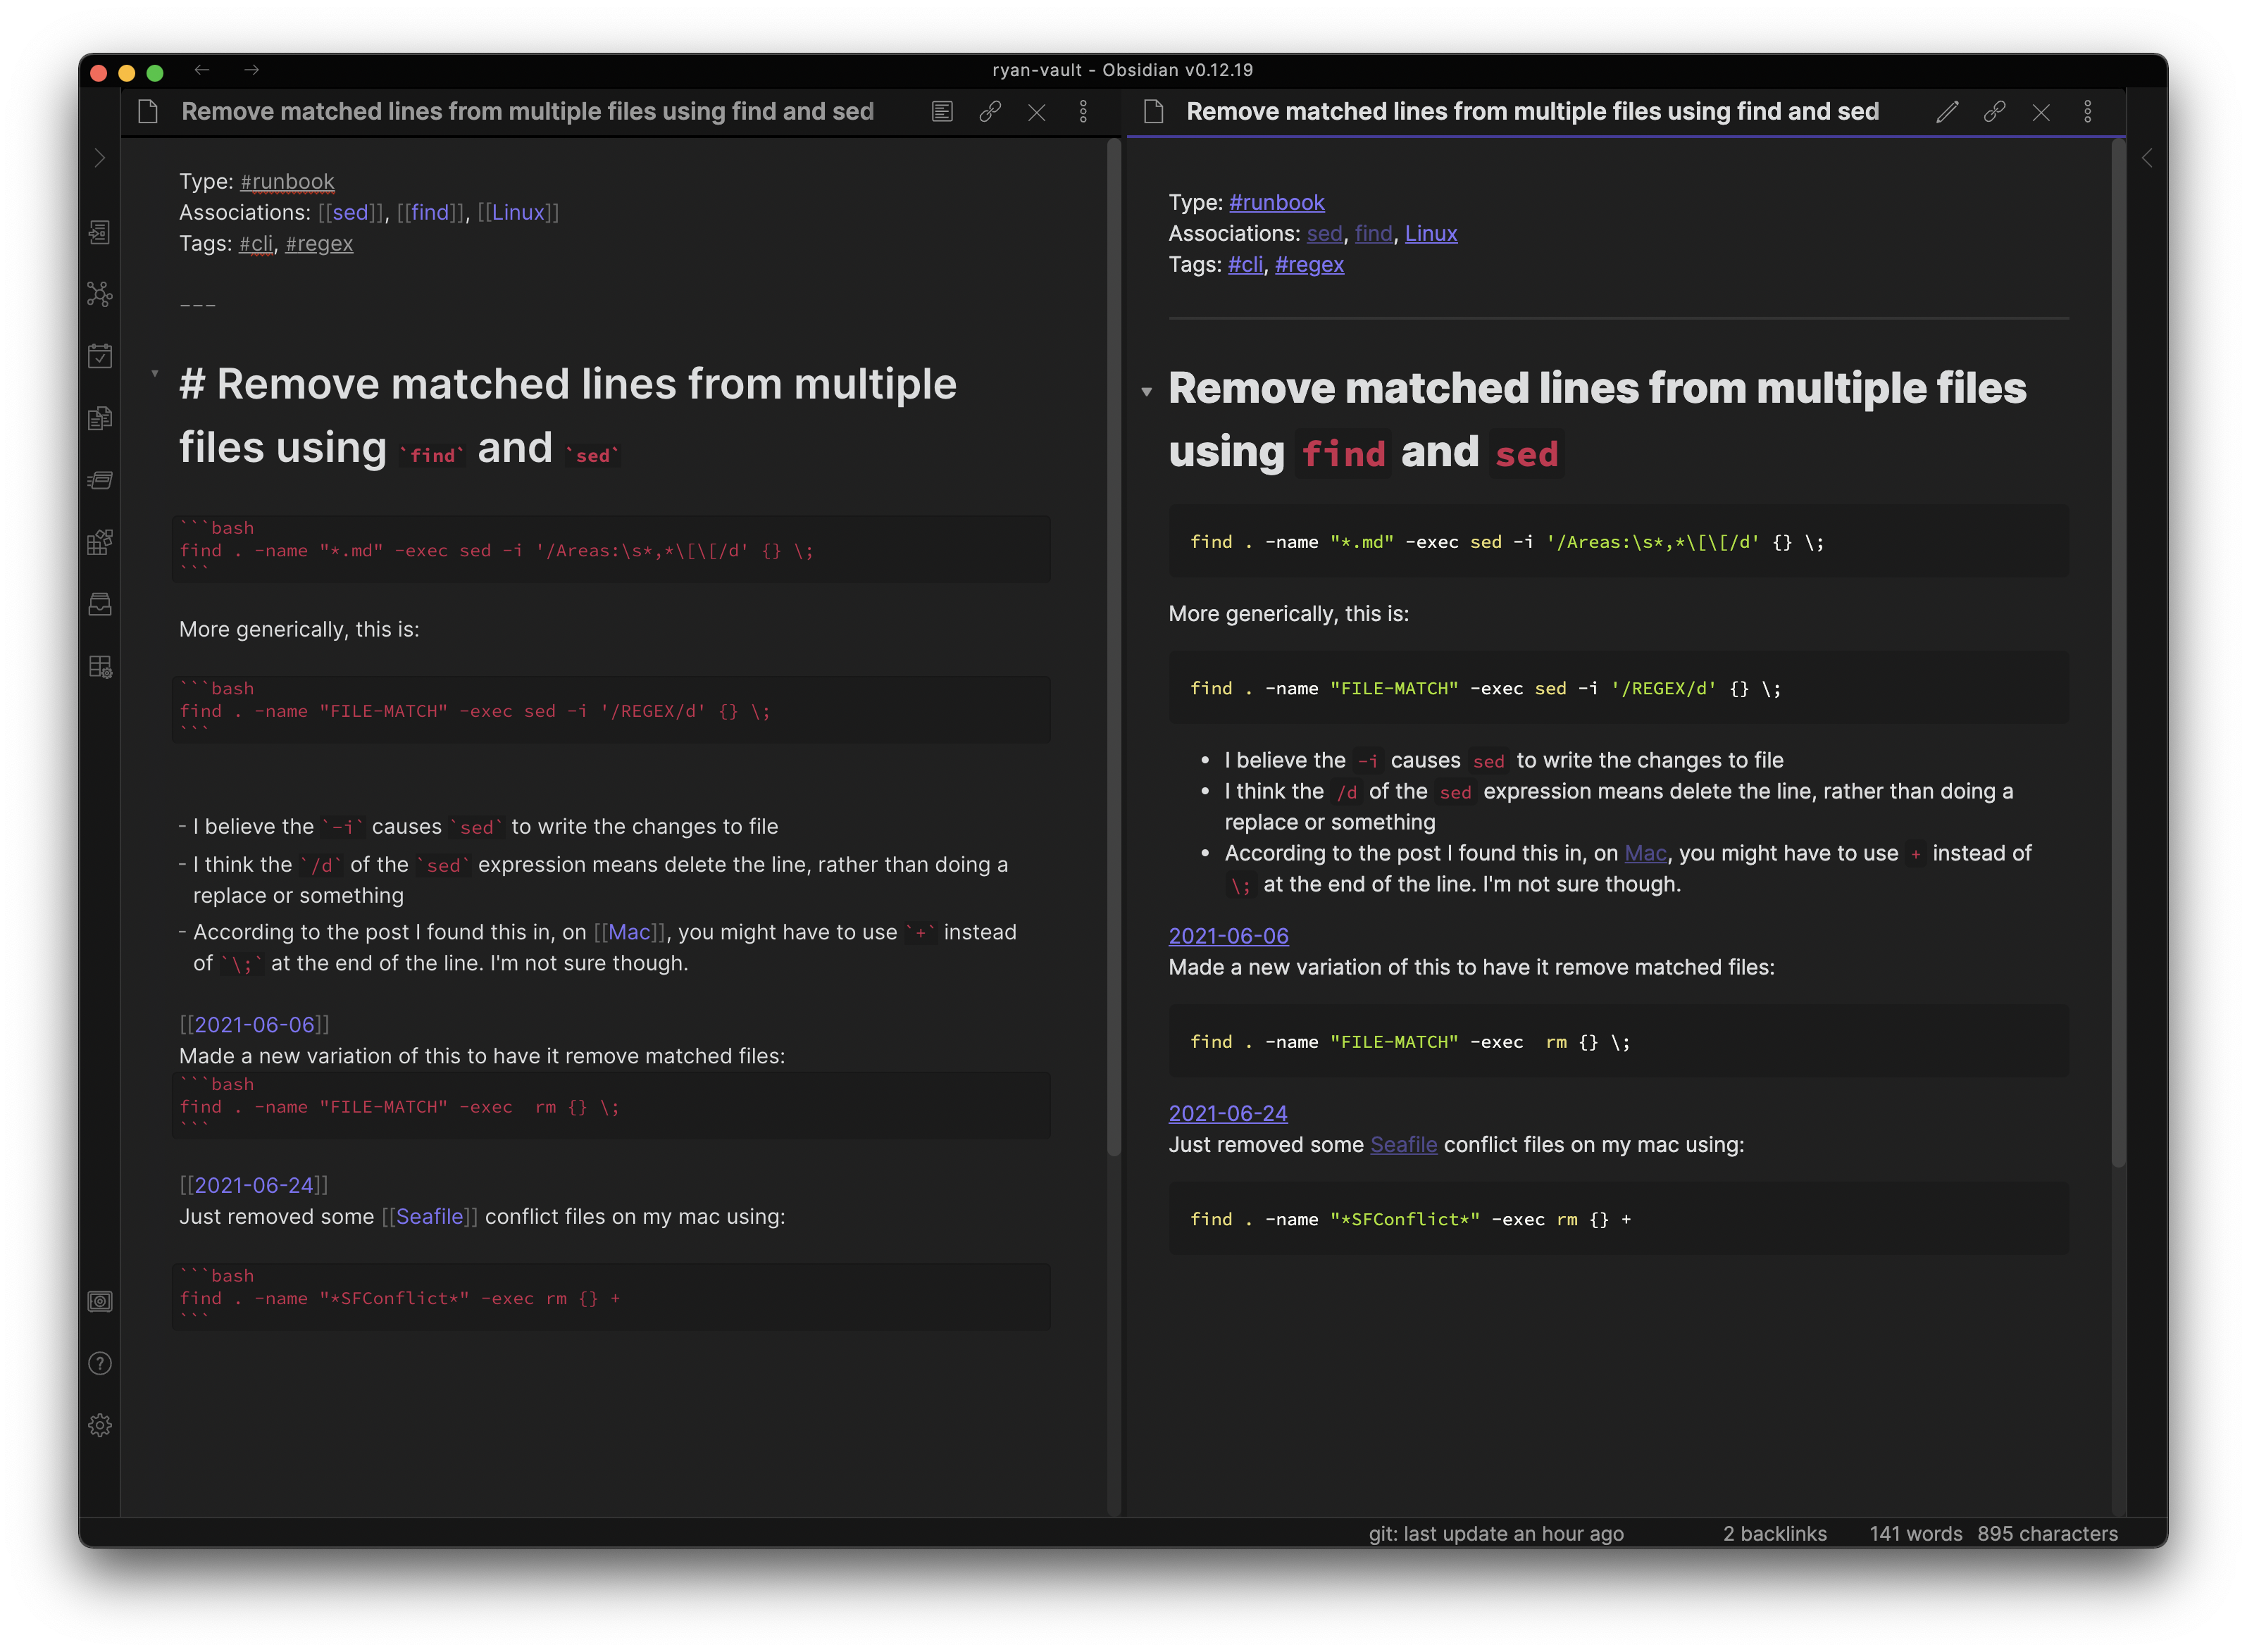
After creating a vault, you can start writing note files. Notes are written in
markdown, which is easy to learn, but very
powerful. It is a plaintext file that supports formatting with
simple markup syntax. For example italic (*italic*),
bold (**bold**), and strikethrough (~~strikethrough~~) are all
supported. Beyond that, features like web-links ([link](url)), inline
and full code blocks(`code`), quote blocks (>This is my quoted text),
and internal links (more on this next) are also supported.
Using markdown means that all the notes/data, are in a human-readable and very transferrable format. If you want to read them without using obsidian, you still can by using any other markdown reader (of which there are many), or by simply looking at the raw file. If you decide to switch applications to manage your notes, markdown will be easy to transfer/convert to whatever new system you want.
[[Links]]
Obsidian is built on the concept of connecting everything using links. This is
done using the syntax [[note name]], or [[note name|link text]]. A few
things to know about Obsidian links:
- You only have to use the name of the note to link, and not the absolute/relative path to it. Obsidian will keep track of where the files actually located. You just worry about connecting everything.
- Links don’t have to point to a page that is already created. If you click a link to a page that doesn’t exist yet, it will create that note in your default folder. Obsidian does keep track of all connections between notes, even if the page isn’t created yet. If that note is ever instantiated, it will already have all of the previous back-links to it already setup.
Speaking of back-links….
Back-links
When you link to something, that connection is created bi-directionaly. For any given note, you can open up the side pane and see every time another note has linked to the current one.
Combined with something like the ‘Daily notes’ plugin, this is very useful.
For example, when I work on a project, I usually mention (and thus link to) the
project’s page in my daily note. This allows me later look at the backlinks for
that project note, and easily see all the days I worked on it. Additionally, I
often define a Logs section in my project notes. If I sub-section the note
using links to the daily notes, it has the same effect (linking days to
projects, like I did in Notion).
#Tags
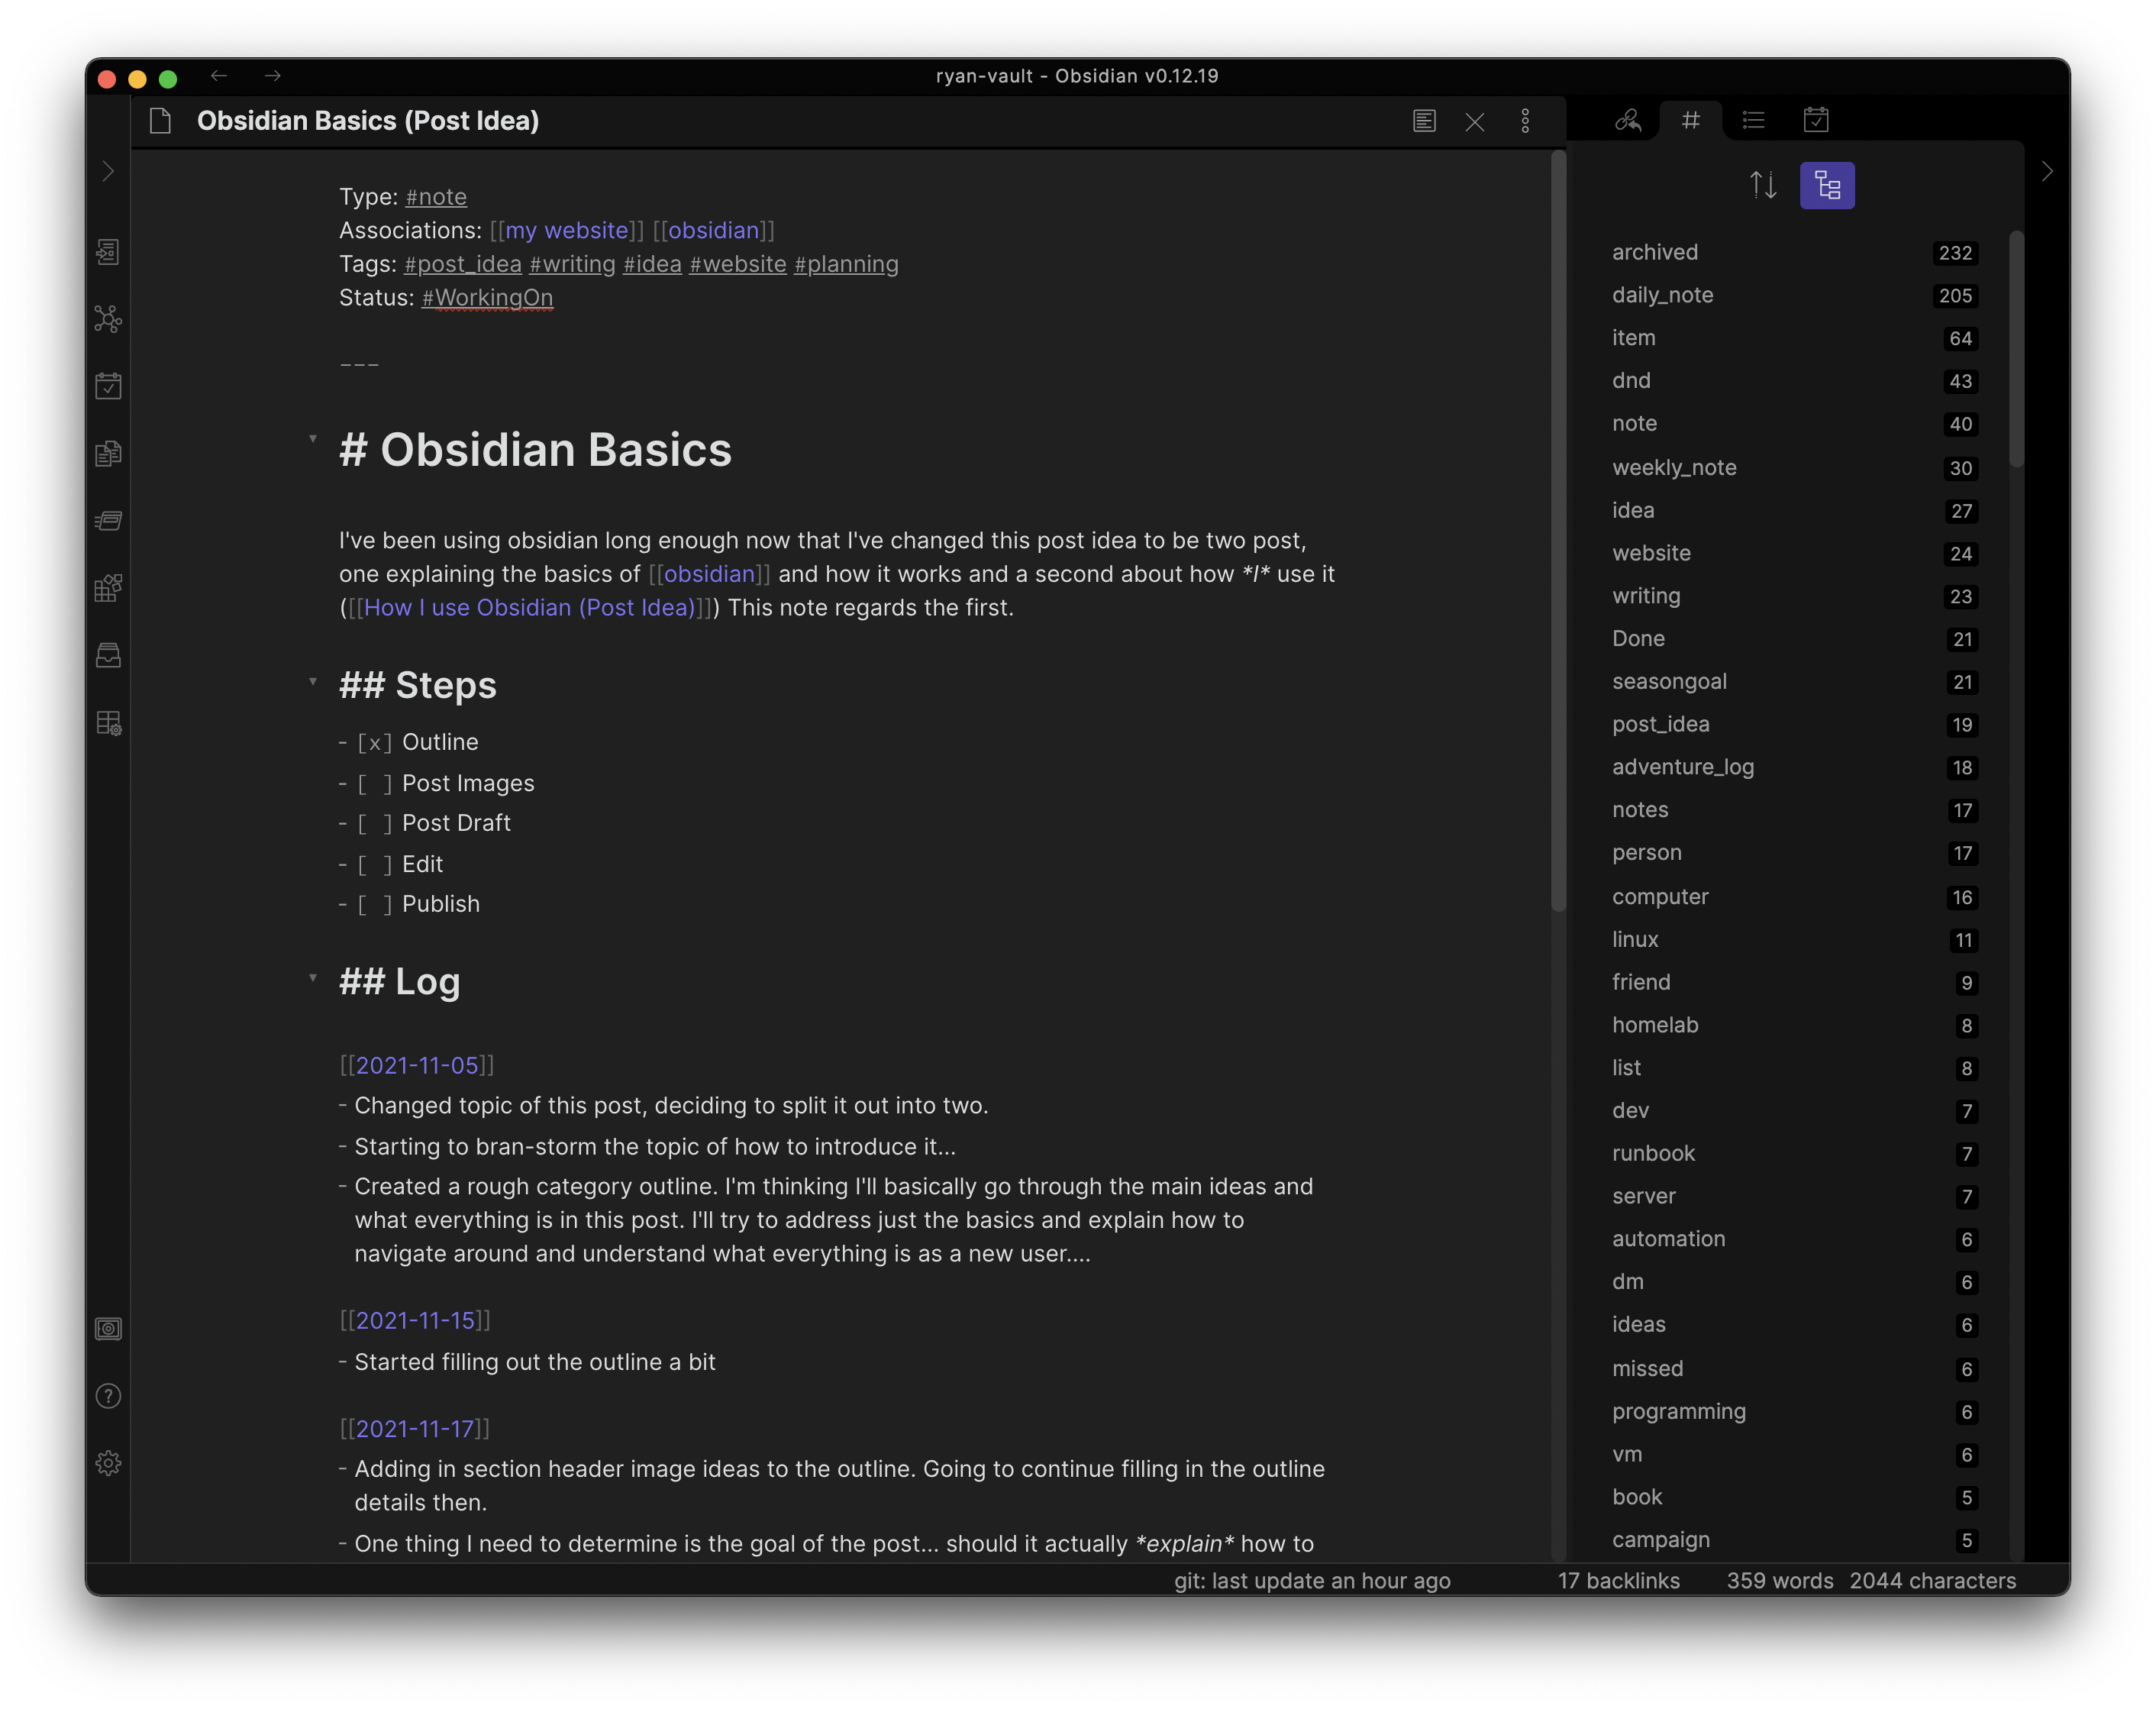
#tags in the header, and the Obsidian tag pane opened on the right.
In addition to links, #tags can also be used while writing notes. There is a tag
pane that displays all the tags with the number of occurrences for each one.
When a tag in the pane is selected, it pops open the search results for that tag.
Personally, I use tags categorize and mark status on items (ex: #archived or
#today). This makes it easier to search and maintain my notes.
Organization (Files & Folders)

Like most note applications/computers in general, Obsidian can organize files into folder hierarchies. Notes can be placed in folders, and those folders into other folders.
However, I recommend not being too worried about folder organization in Obsidian compared to other applications you might have used. Focus more on grouping notes using #tags or links, rather that in folders. I know it is a scary thought, but trust me, it will work out.
Searching/Navigation
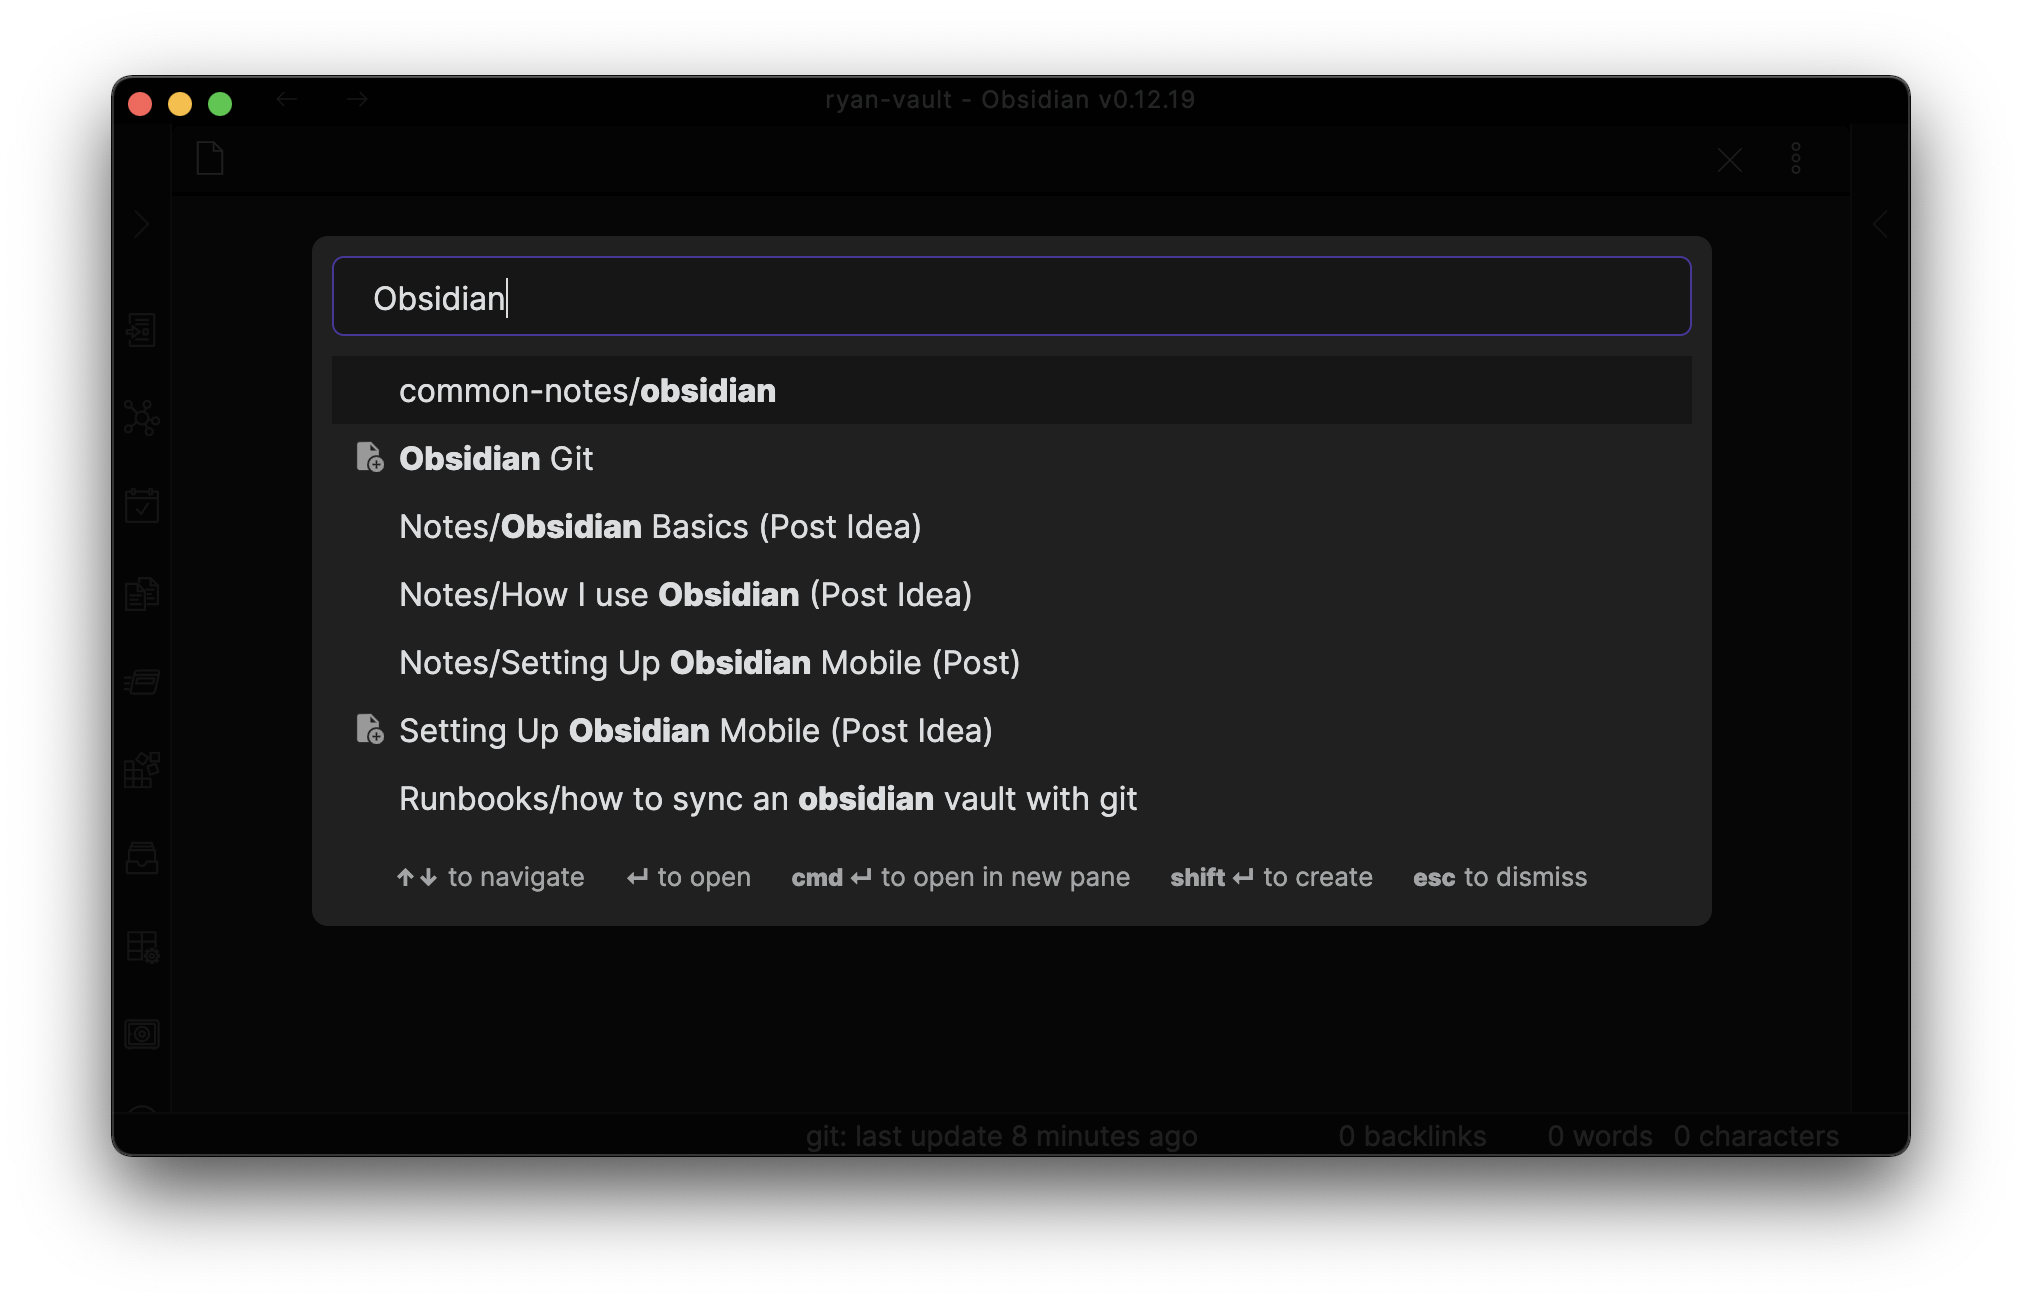
One reason forgoing a large folder hierarchy in Obsidian is possible, is that
the search functionality works great. This is how most navigation will happen.
Simply hit the keyboard shortcut (CMD/CTRL-o), and start typing. The pop
up window will filter out the results as you type. If the file doesn’t exist,
you can create a new one from the navigation.
Plugins
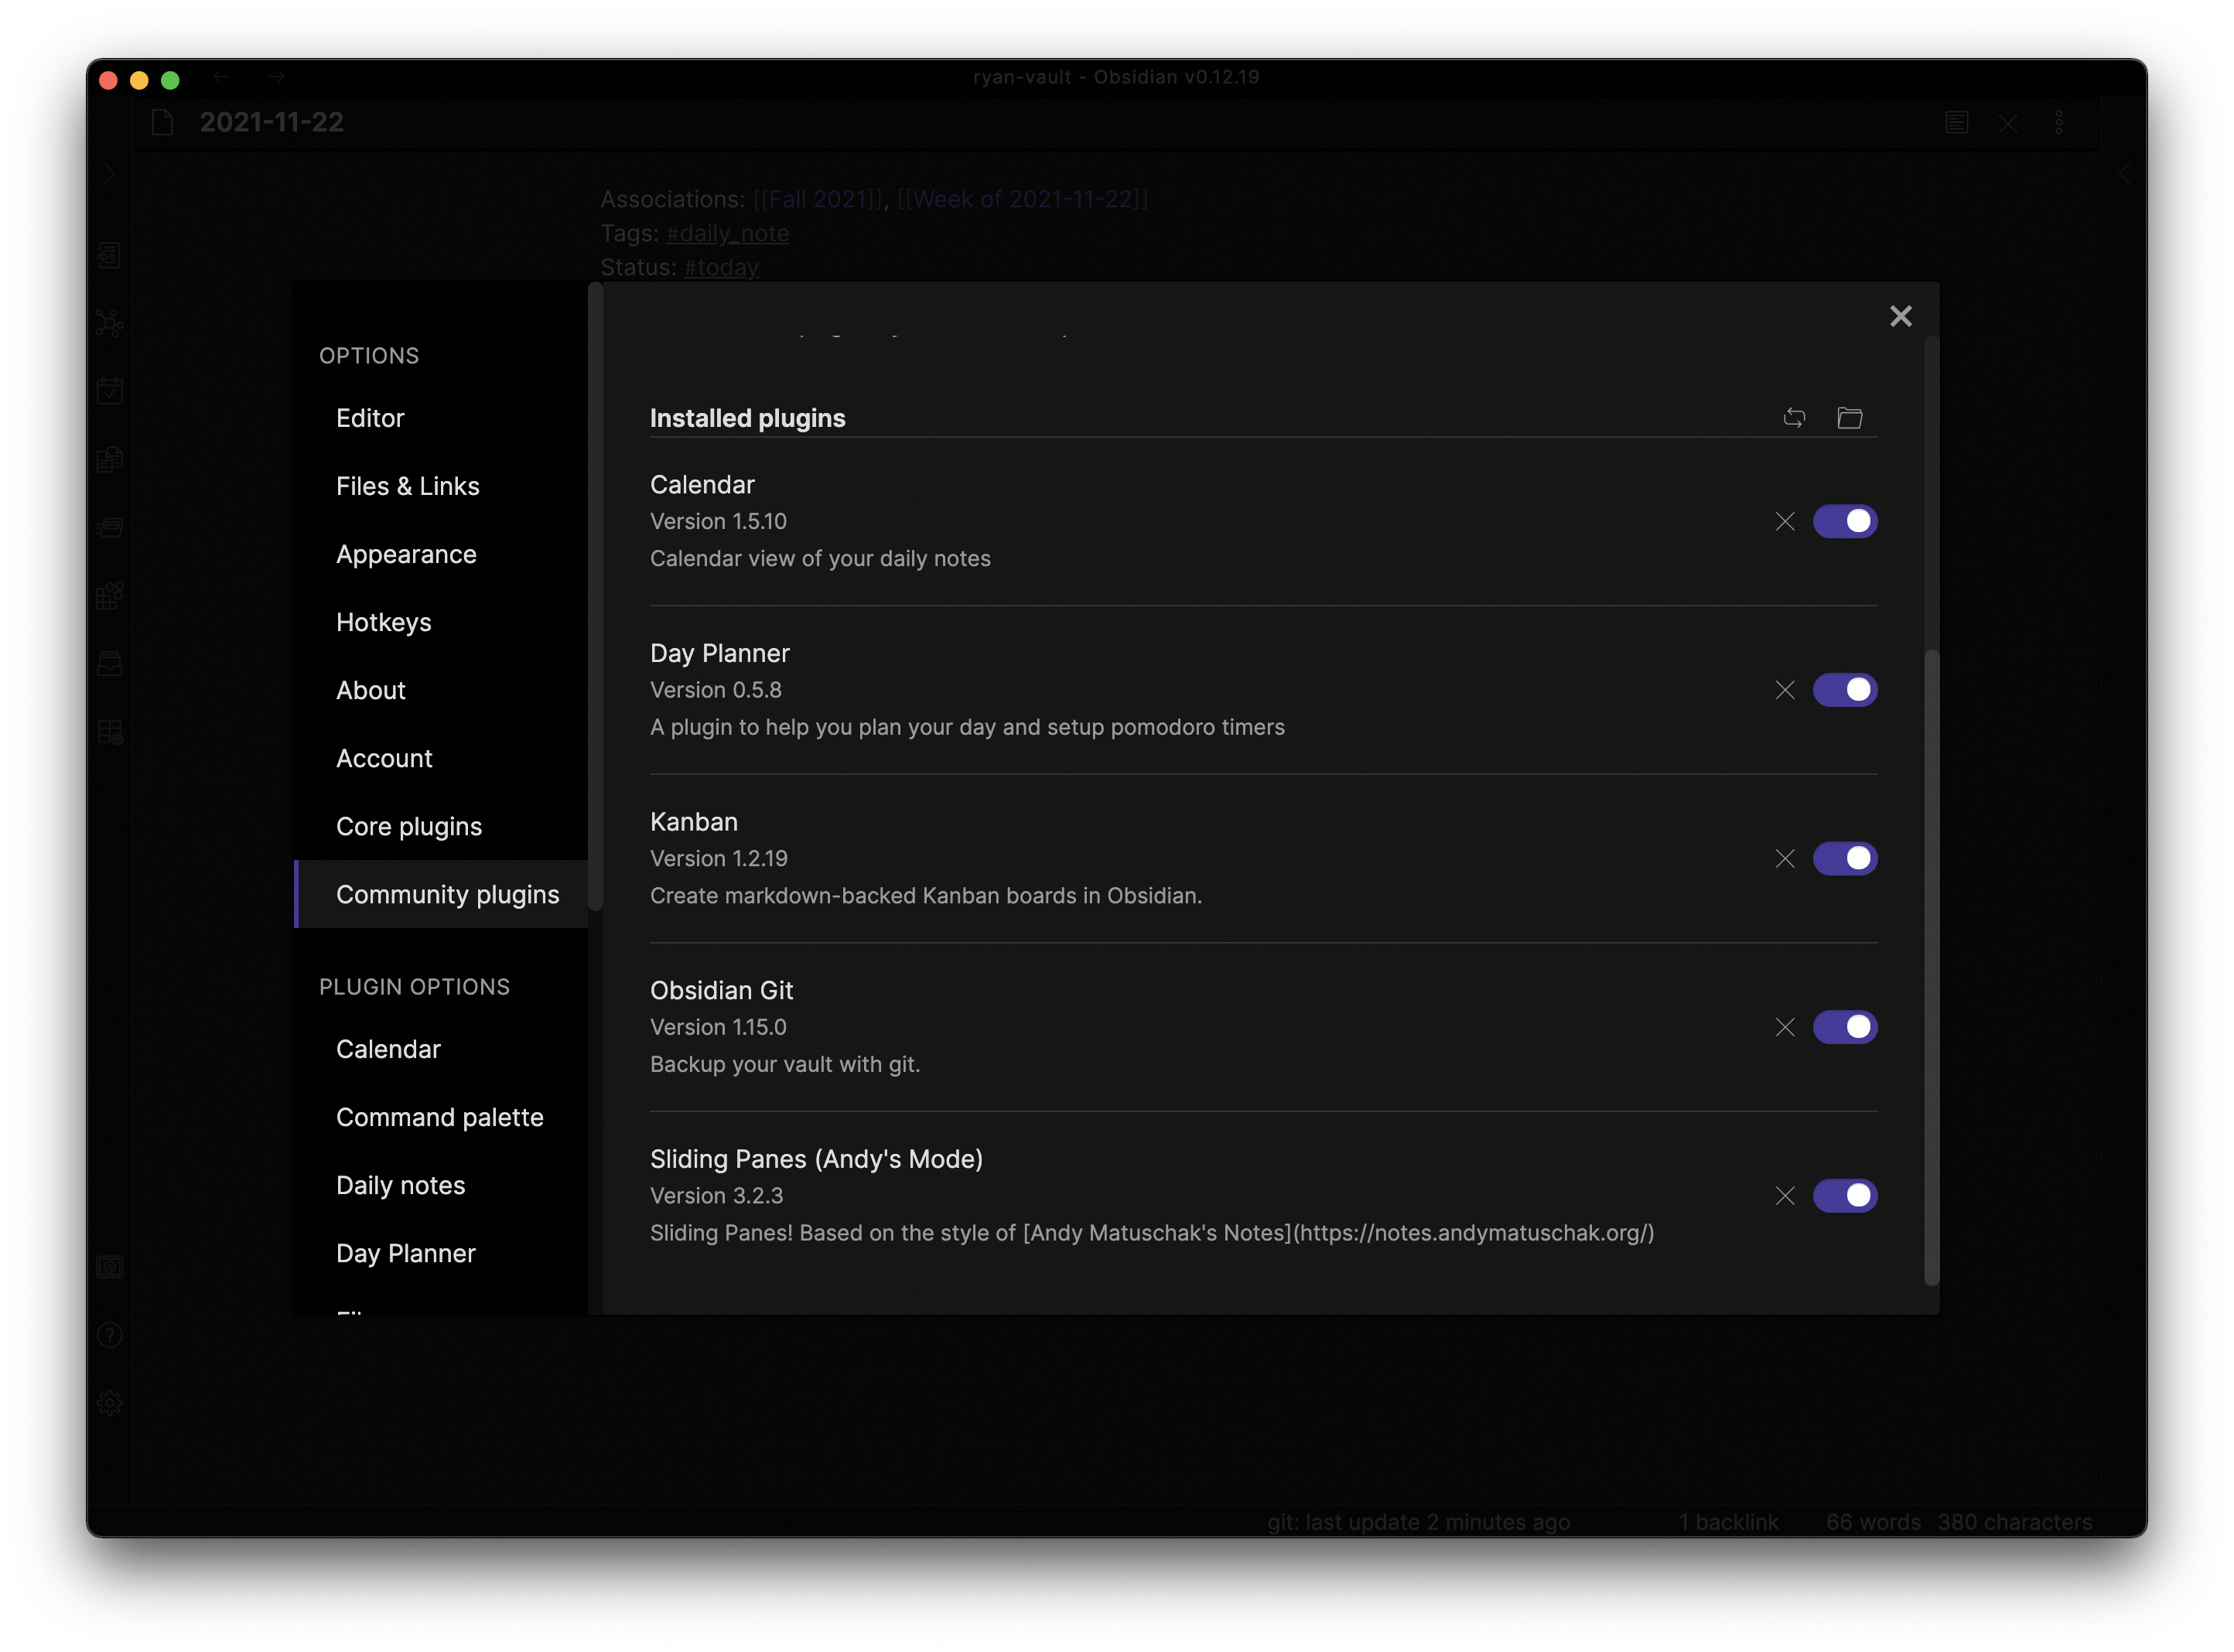
One of the fundamental goals of Obsidian is to “Make it super extensible”. This is achieved via plugins.
There are two types of plugins: Core and Community. Core plugins are built into the system, while community plugins are created and maintained by… you guessed it, the community. Plugins allow the user to mold Obsidian into whatever they want.
For example, I use the Day Planner and Templates plugins to customize my setup for keeping daily work notes and logs. I’ve also used a Kanban plugin to better visualize monthly goals.
Tips/Suggestions

That should be it for the basics. Before I wrap up, here are just few tips and suggestions I have for using Obsidian:
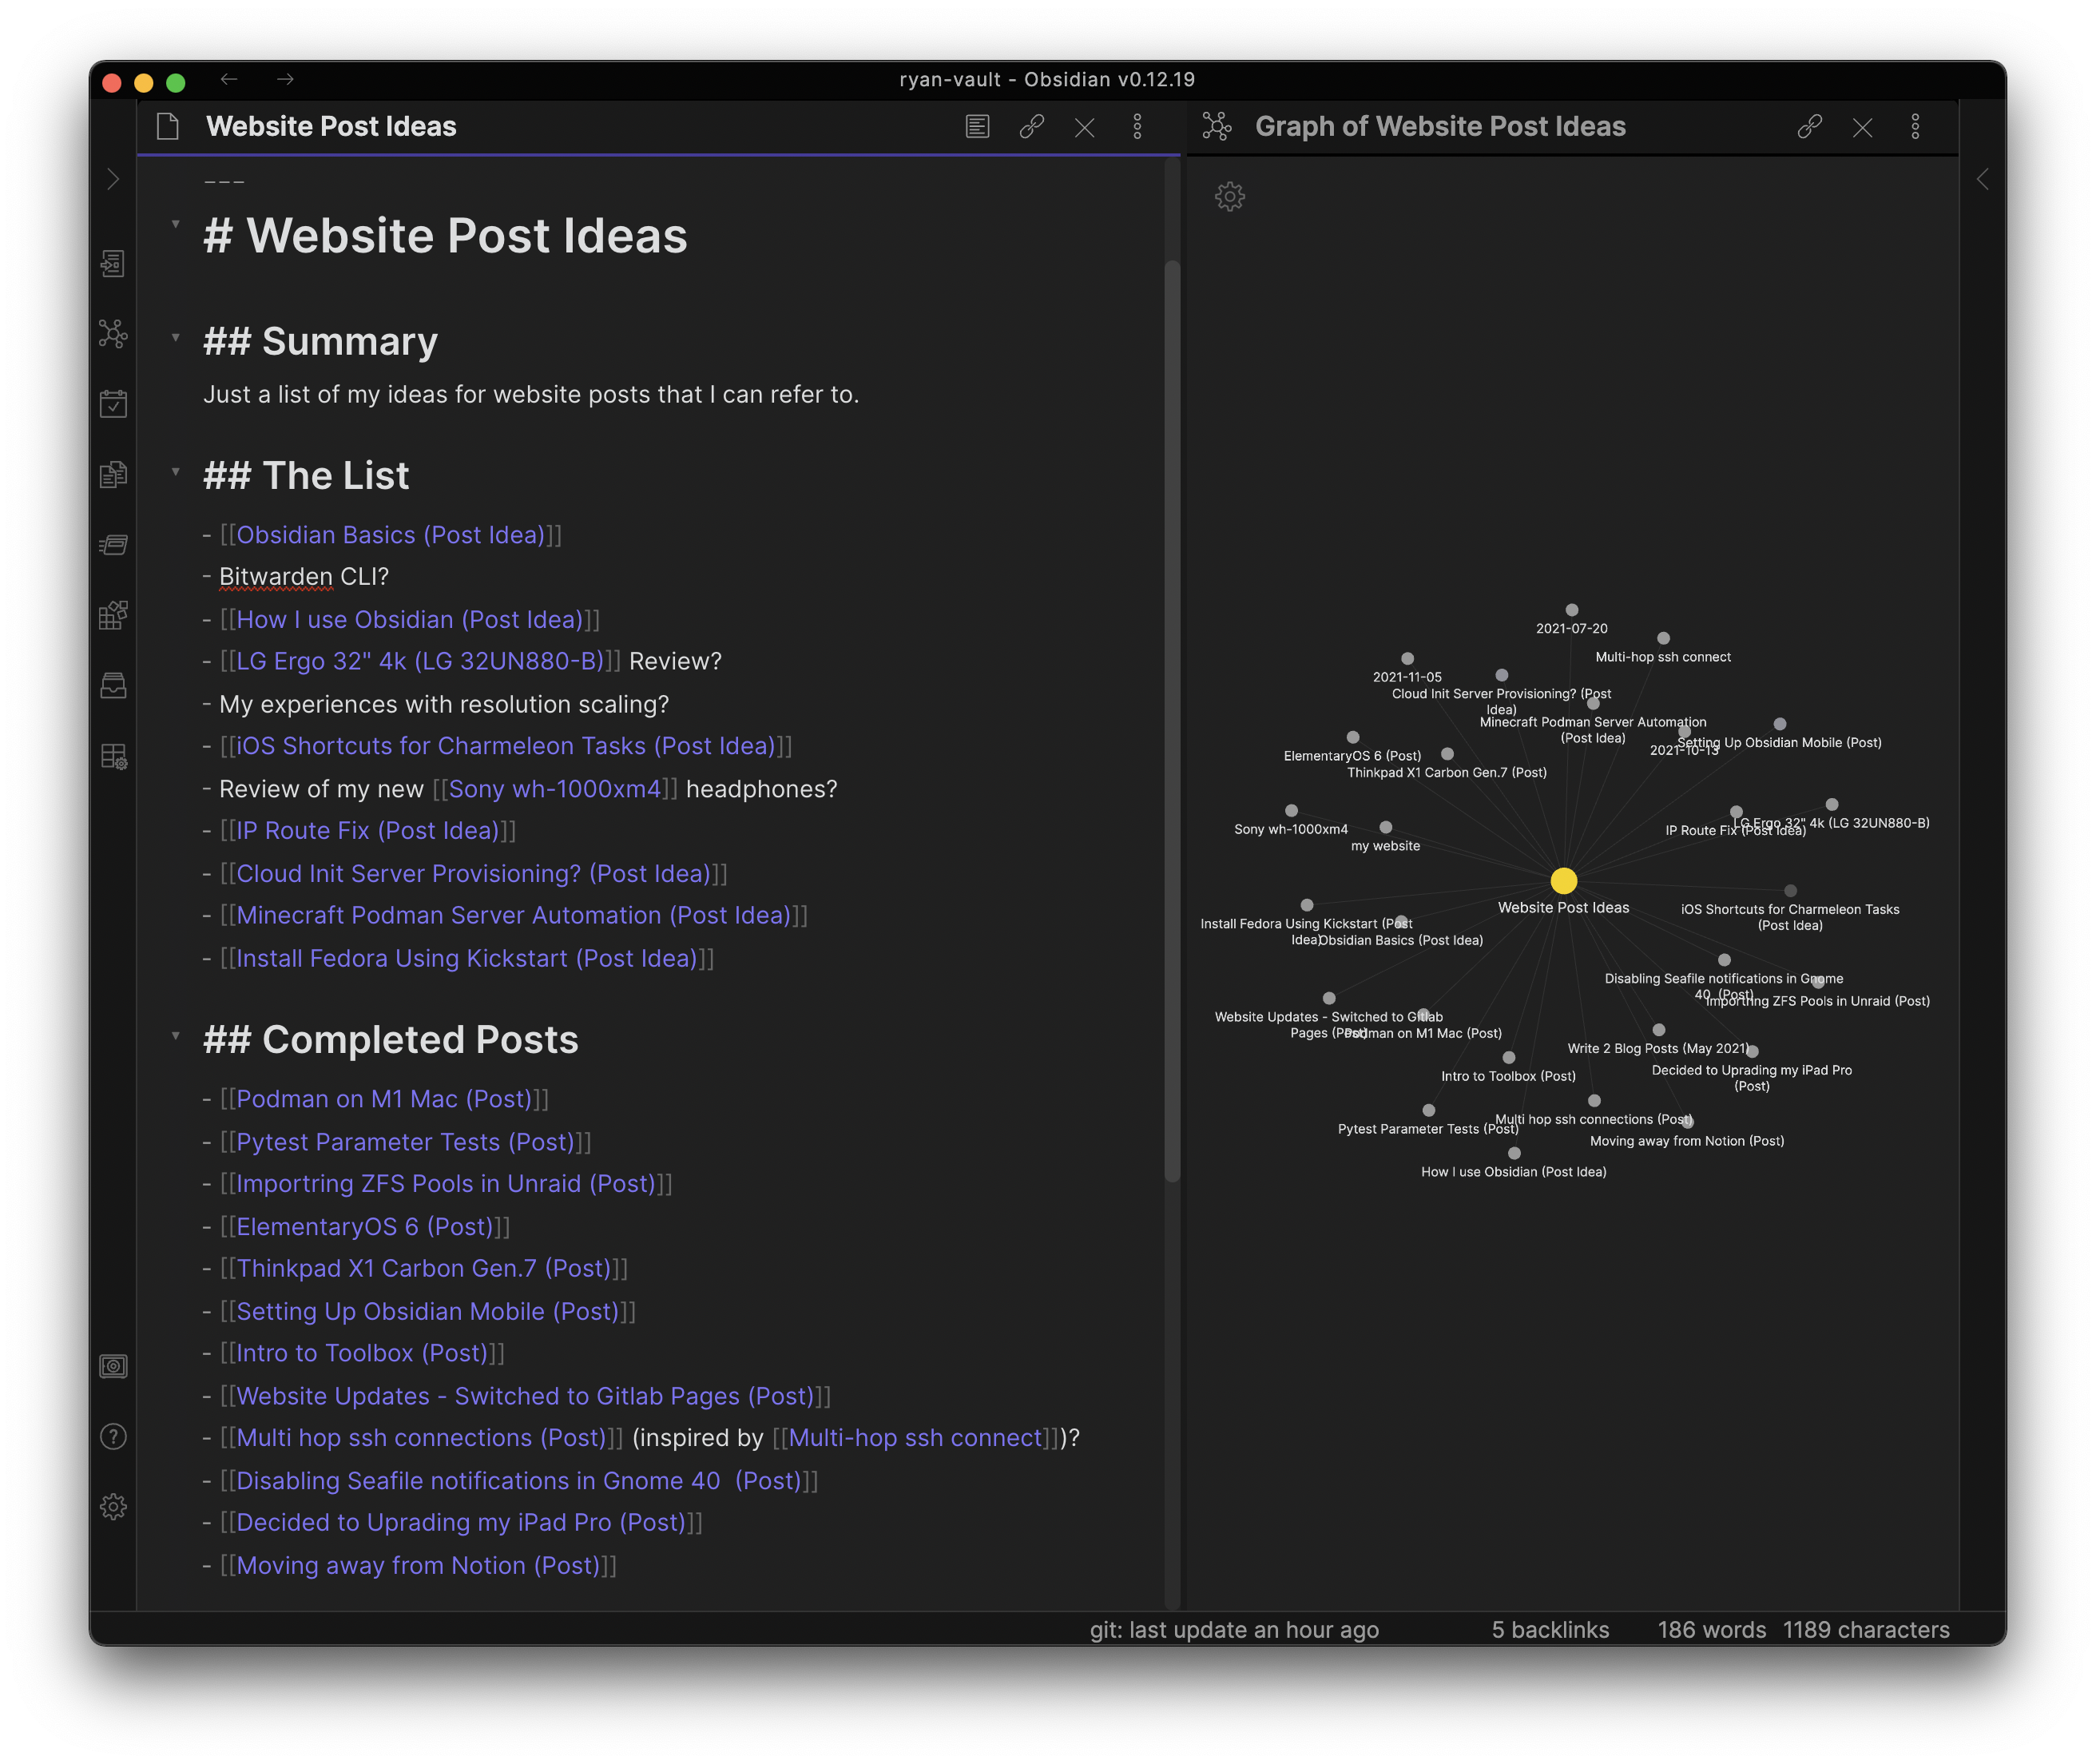
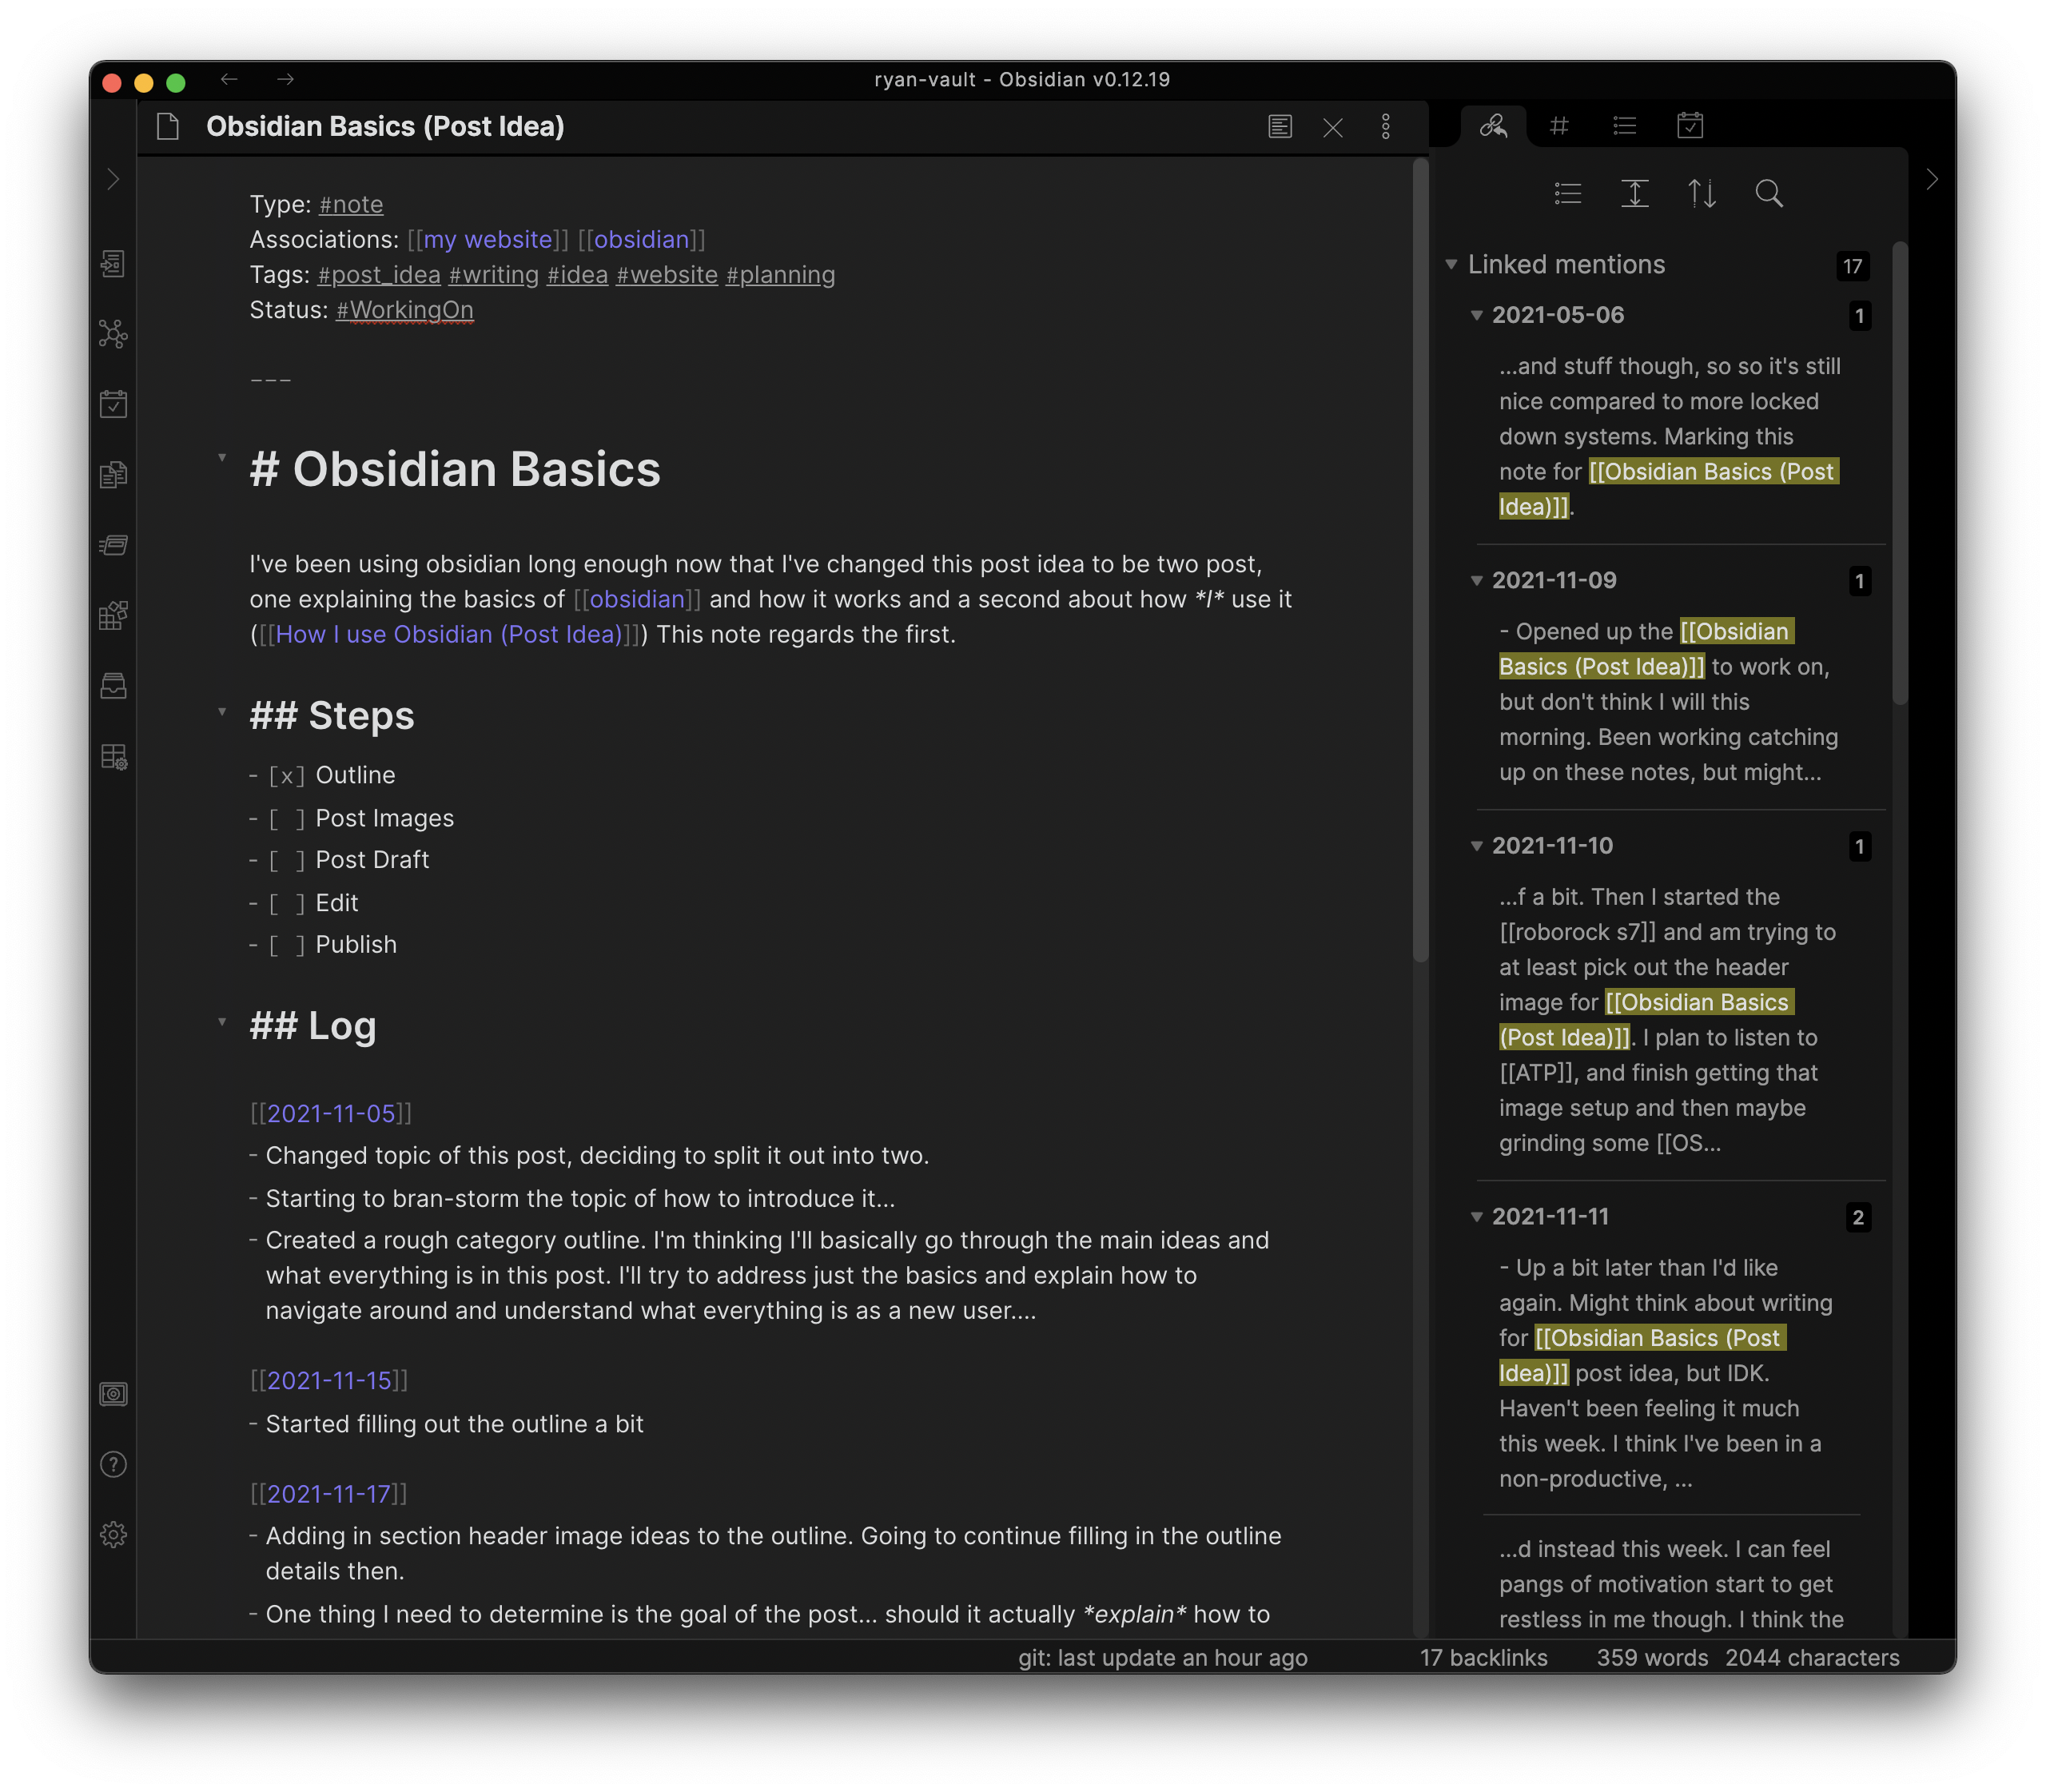
Header information can be used to link up your notes using tags and/or ‘Associations’
If there are other notes that you know will be associated to others, add an
‘Associations’ header at the top. For example, all off the notes I have about
posts for this website contain a Associations: [[my website]] as well as a
Tags: #post_idea, #website line in a header at the top of the note.
Don’t be afraid to dump most of your notes into one folder
If you’re adding links and utilizing the search, you shouldn’t have any problems locating notes, and it will make it easier to navigate if you ever view the notes in something other than obsidian (ex: Gitlab/Github), as the links will be better supported.
Use keybindings and setup your own.
A few of my suggestions:
CMD+[/]to toggle opening and closing the side panes- One to insert a timestamp (I think this might be through the Today/Planner plugin?)
- If you use the Daily Note plugin, set shortcuts to navigate between the previous and next day
- Switch the theme to light/dark modes
Use some plugins
A few core ones (that I don’t think are on by default) that I highly suggest enabling:
- Templates
- Daily Notes
- Word Count
- VIM Mode – if you use
vim(not a plugin, but a setting)
A few of the community ones I love:
- Obsidian Git
- Calendar
- Day Planner
- Kanban
Save/sync your .obsidian folder somewhere
This is useful if setting up on multiple machines, or just in case your setup gets whipped out.
Conclusion
I could go on for hours about the details and intricacies surrounding my obsidian use over the past months. However, that wouldn’t be very helpful. At some point, you need to just dive in and start using Obsidian for yourself. Hopefully, I’ve covered enough that it shouldn’t be too hard to get started now. Enjoy!
Bitwarden CLI Install Podman on M1 Mac