Building My Ferris Sweep
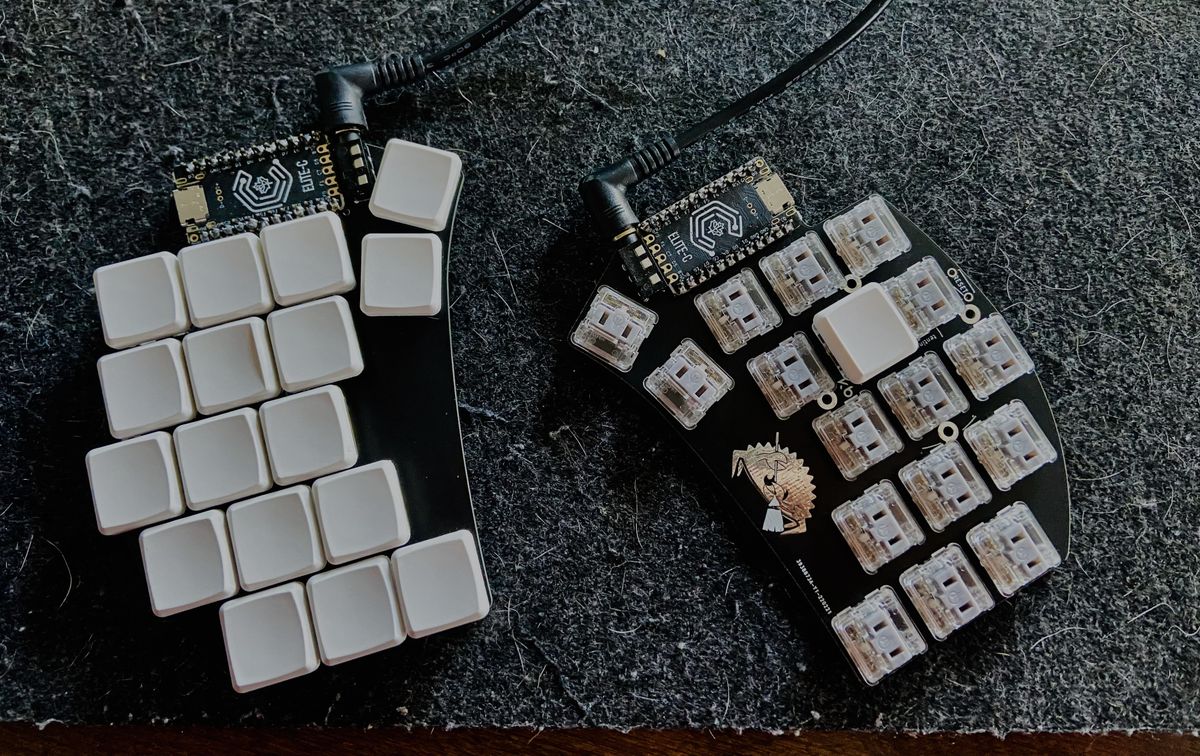
After adapting to the 34 key layout on my ergodox, I felt comfortable enough to start the process of choosing and building my new keyboard. Following some research and deliberation, I selected and built a Ferris Sweep. Here’s how it went.
Why the Ferris Sweep.
I started off by exploring all the different split 34-36 key designs I could find. This included several of the more popular ones, like the gergoplex, corne, ferris, and it’s derivative, the ferris sweep.
After digging into the details of each design, I ended up choosing the sweep for a few reasons. First, I liked the layout. I got used to the 3x5 split with 2 thumb keys on my modified ergodox setup and it worked. I considered the corne, but after observing where my pinkies rest on my ergodox, I realized they didn’t line up with the keys very well. The corne’s columns are much more aligned, whereas the Ferris designs use a much more aggressive stagger across the board that I wanted to try. I figured even if the pronounced column stagger didn’t work for me, it was a chance to confirm that preference.
With the general unavailability of pre-built boards at the time, I knew I would likely have to solder my own. With this being my first keyboard build (and my first time touching a soldering iron), I wanted a design that wouldn’t be too complicated. The Ferris Sweep is special in that each key directly maps to an input on the micro controllers, so you don’t need to solder tiny diodes under each switch, which I wanted to avoid.
So, the sweep won out.
Selecting & Ordering the Components
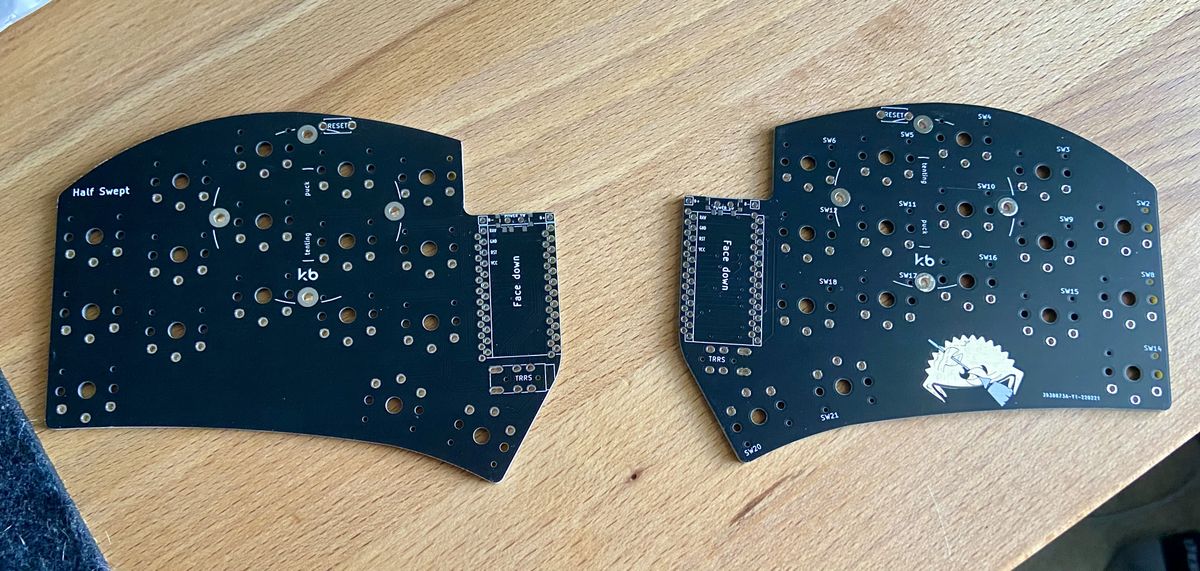
With my design selected, I compiled a list of all the components I needed for the build and picked my specific parts for each one:
PCB: I wanted to customize the shape and screen print on this, but decided to leave that as an option for a more advanced build down the road. I downloaded the sweep half swept plans (one of the options found here) and uploaded them to jlbpcb to be printed. I picked the half swept variation because it is a reversible design. This meant that I could use each of the 5 (minimum for order) PCBs for either half of the board. I choose black purely for looks.
Controllers: I was tempted to get nice!nano controllers for wireless bluetooth, but I didn’t want to figure out batteries, and zmk vs. qmk stuff during my first build (plus, they weren’t easily available at the time). So, I went with 2 usb-c based Elite-C micro controllers instead. I also purchased some TRRS jacks, since the build would be wired.
Switches: This specific PCB design only supports the low profile Kaih Choc switches, but I had no idea which choc switch to get. Historically, I like heavier, tactile switches. I loved the topre switches on my HHKB, and my ergodox has MX browns (which are fine, although I wish it had clears). Even the laptop keyboards I love (thinkpads and my 14" MacBook Pro) all have a distinctive bump at the start of the press. Choc switches however… aren’t really known for good tactile options. I ordered a switch tester and the choc browns were even more unsatisfying than MX Browns. They just felt like scratchy linears. I was very tempted by clickly choc switches. They use a click-bar that feels soooo good. I almost went with clicky white or even heavier navy switches, but I wanted a keyboard that was quieter, not louder than my current one (especially being my portable device). So, I decided to go with linear switches. I actually like to bottom out (softly) when I type, so I thought the linear switches might not be too bad. I also read many people claim using light linear switches on these small, 30-some key, low profile boards pairs very nicely. So, I decided go with the even lighter silver switches instead of the reds I tested (I also thought it would look nicer 😆). Many people use gChoc switches on these small boards, but the 40gf silvers was as light as I was willing to go.
Key Caps: Lastly, I had to pick key caps. There aren’t too many options for choc switches, and availability can be quite low for what is out there. My main option was the MBK Choc keycaps, which come in only black or white. I originally wanted black, but the more I thought about it, the more I leaned towards the white. I thought the contrast of white on the black PCB would look great, and with these being blank PBT keys, I wasn’t as concerned about wearing and yellowing. So, I ordered about 40 1u white caps, and 2 with the positioning bump.
Building the Board
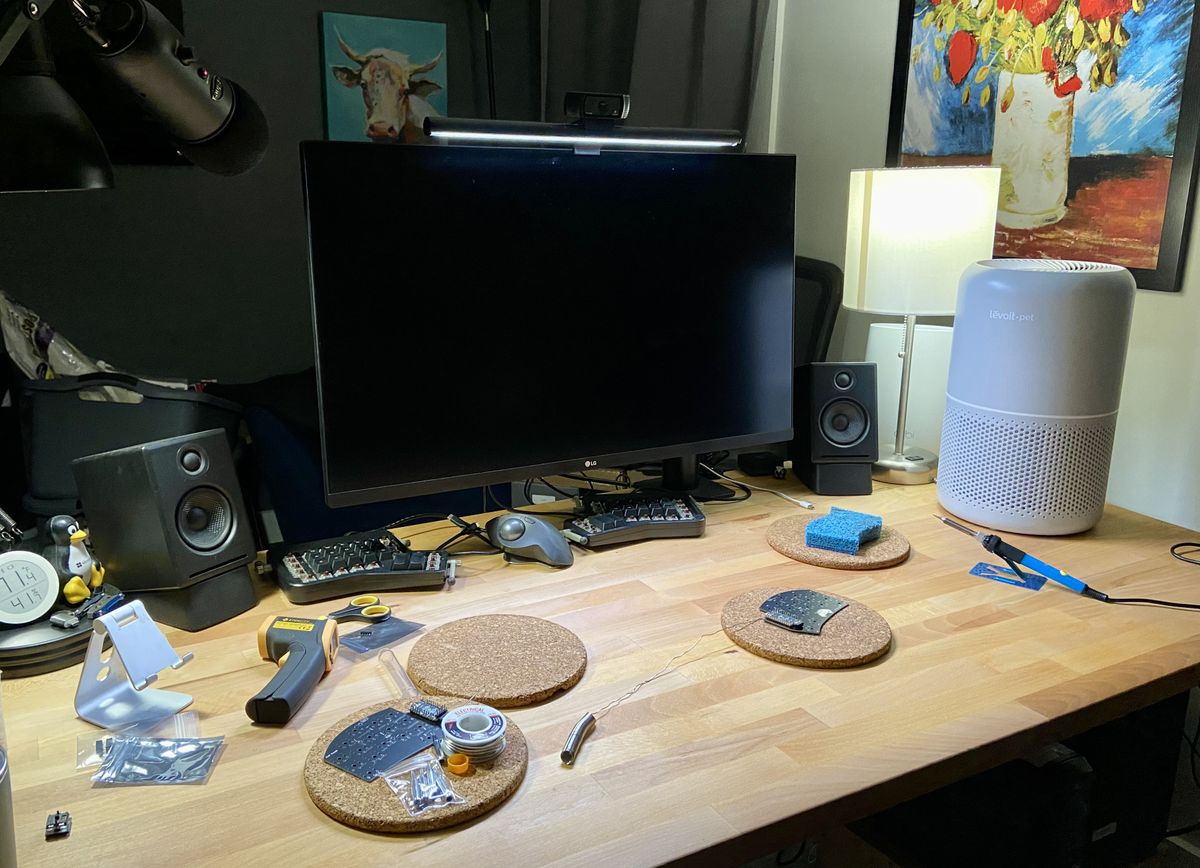
After ordering all the components, I had to wait a few weeks for them to ship. When everything arrived… I waited a few more weeks to actually do the build 😆. This was mostly due to hosting visiting family and friends a few weekends in a row. The other delaying factor was that I was a bit nervous to start my first build.
When I did finally start, it wasn’t too bad. I took my time soldering, working on the TRRS jacks first to get a hang of it, followed then by the micro controllers. The hardest part of the process was that there wasn’t a good way for me to know if I was soldering correctly. After securing the elite-c controllers, I was able to connect the boards to my laptop, open a keyboard tester app, and use a pair of metal tweezers to check that the ‘keys’ were recognized by the controller (and that I hadn’t fried it, or the pcb). Verifying that I hadn’t horribly destroyed anything yet gave me some much needed confidence.
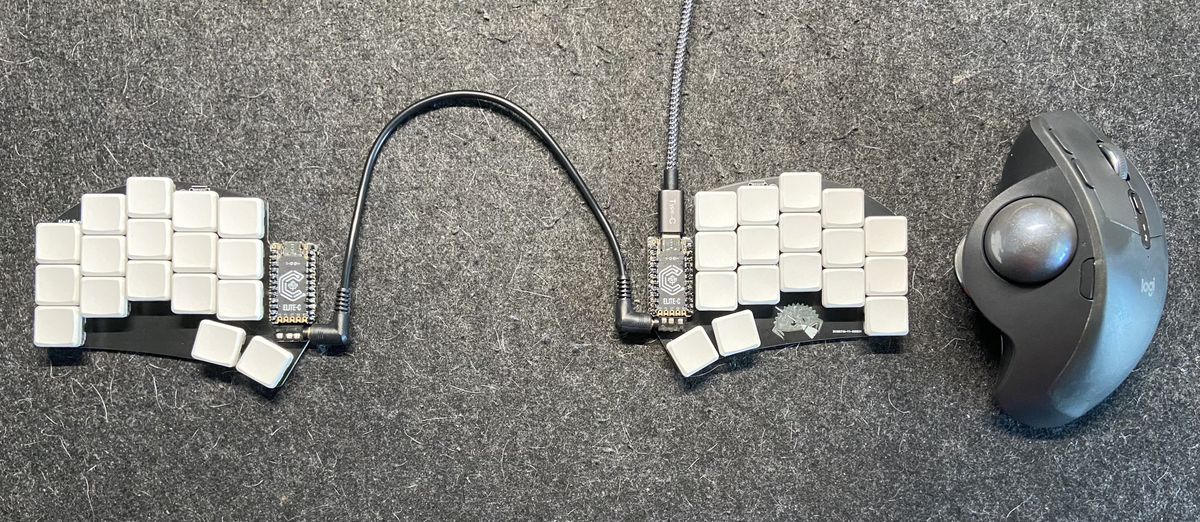
From there, I continued on to solder the switches. When they were all done, I
once again tested that each switch worked. Finally, I popped on the key caps and was
done! (I spent some time figuring out how to flash my layout to the board, but
that’s a post for another time). Other than a sensitive u key, the
board to worked just as intended!
Additional Post-Build Components
Needed Enhancements
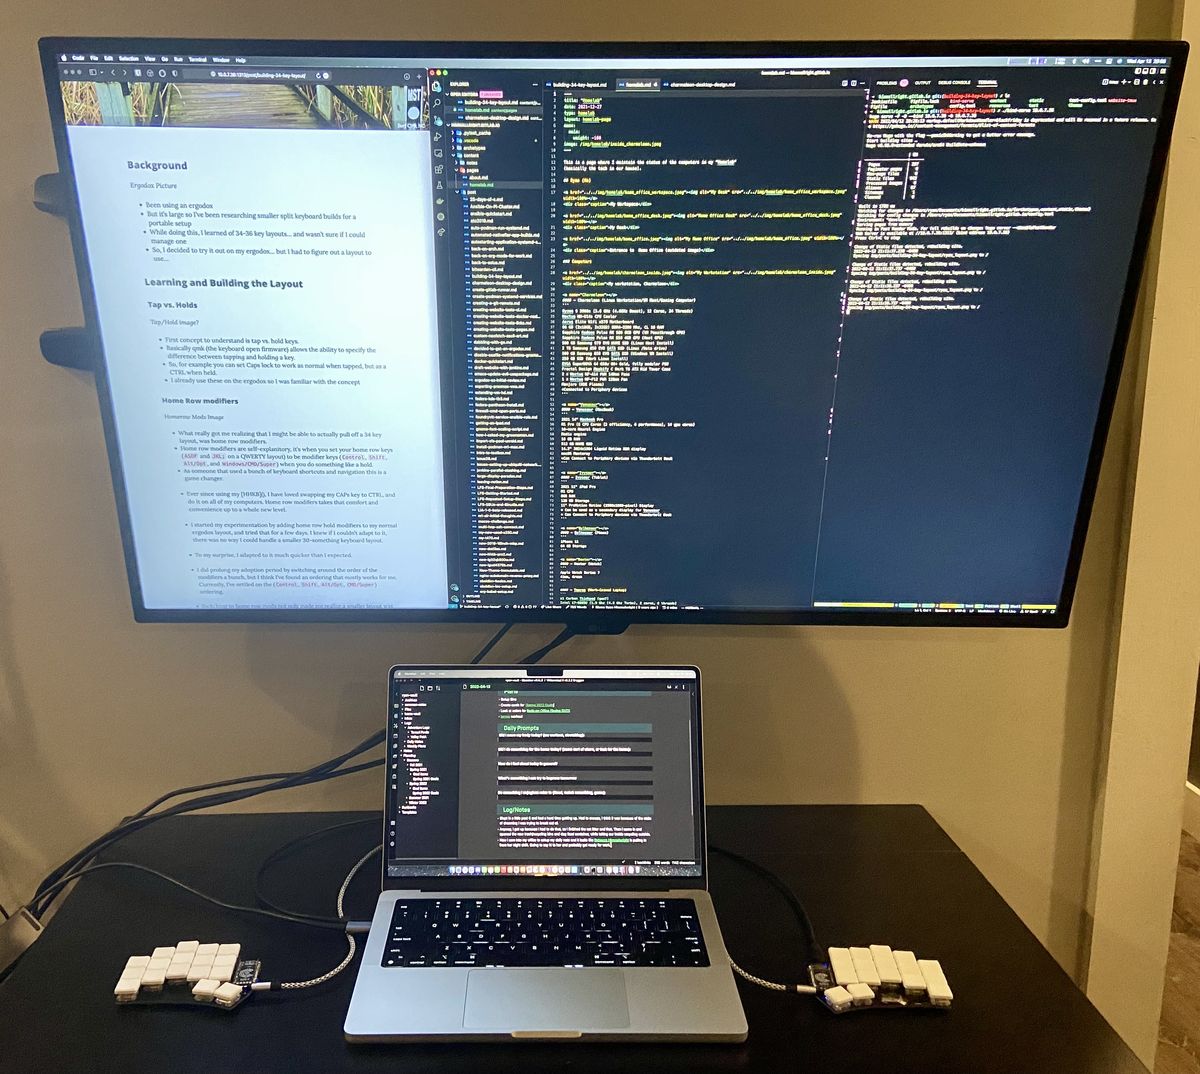
After the finishing the core of my build, there were a few more components I purchased to improve it. First, I wanted to get a new TRRS cable. The ones I had were either too thick for such a small board, or too small in length (they didn’t allow me to split the board to shoulder width like I prefer). So, ordered a 1 meter, braided, sliver and black cable from keeb.io. During the ordering process, I learned that they are based right here in Durham, NC!
Part of what makes the ferris sweep so thin is that doesn’t have a case. It’s just a PCB. The problem with using a case-less board, is that you need a solution to elevate/cover the bottom of the PCB to protect it and the surfaces it’s on. I started with using little rubber feet, but it was very hard to position them so they were all the same length (not on a solder joint), and have the board evenly supported, so edge keys didn’t tip it. I had a case 3D printed… but it was sized too small and ultimately didn’t work. However, while messing with the case, I started to play with tape mods and found that putting painters tape on the bottom of the PCB actually solved the majority my problem. It does slide a bit on a smooth surfaces, but I’ve been putting it on two gripping carpet anti-slip triangles. Eventually, I plan to cut an old mouse pad to fit under each keyboard half. But so far, this is working well.
Nice to Haves
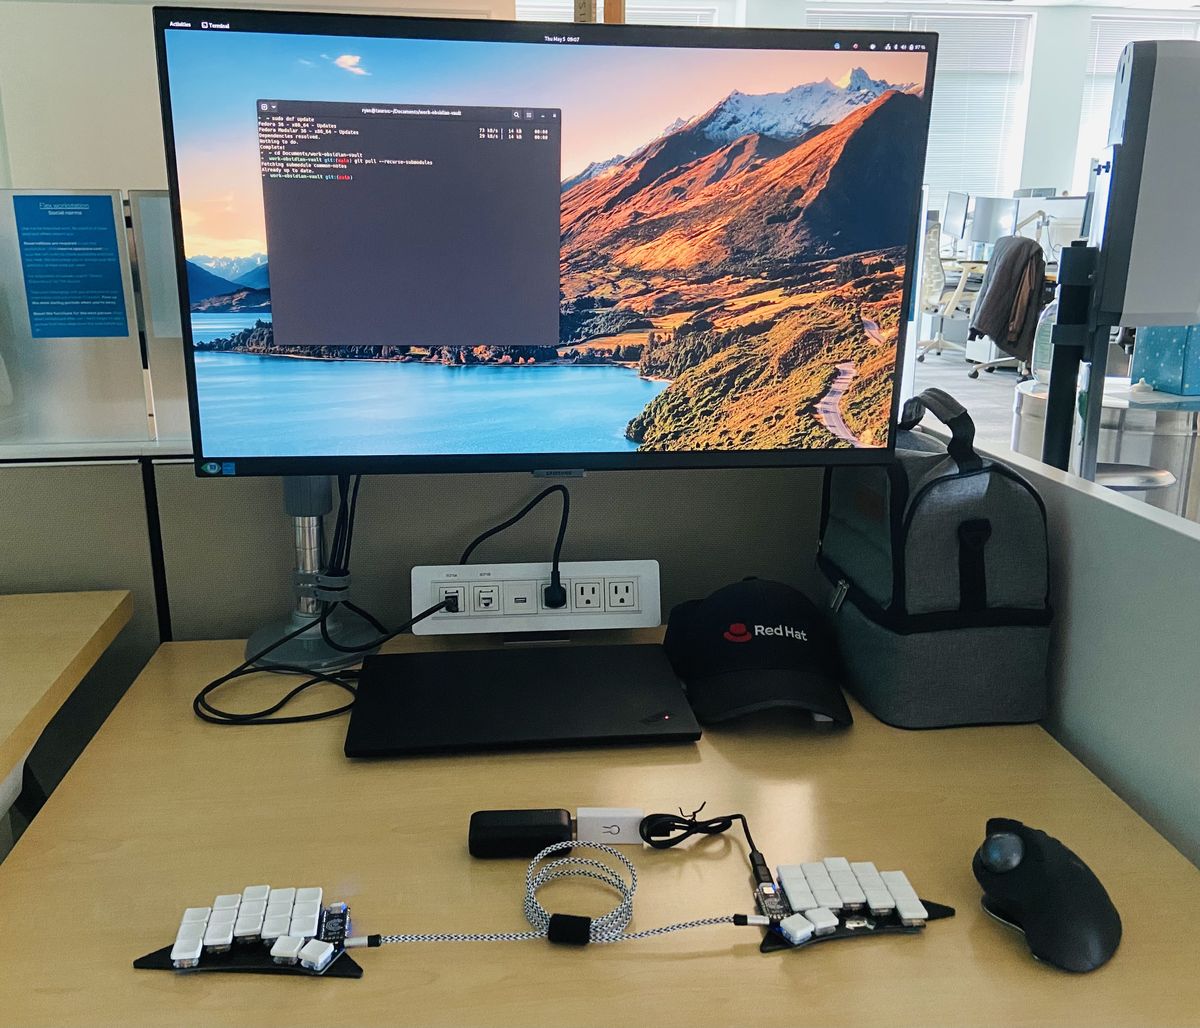
For my first ‘nice-to-have’ modification, I made some alterations to my board’s USB-C connectors. First, despite concern about the dangers using of USB-C magnetic adapters, I ordered a few. These are little plugs that I’ve placed in the USB-C port of each keyboard half, paired with a few magnetic adapters I keep on the ends of my usb-c cables for the keyboard. This modification essentially gave my keyboard ‘mag-safe’ cables. Now, I can easily switch which half the board is connected to (useful when flashing it), or immediately disconnect it from my desk to take with me. I don’t have to tediously unplug the cable from the micro-controller (which is a pain and feels so fragile to me). The adapters were an ugly blue color, so I wrapped them in black electrical tape, an now they fit right in.
Lastly, I mentioned previously how I decided to not use the Nice!Nano bluetooth controllers. However, after using the ferris sweep for a short period of time, I realized how wonderful it would be to simply pull out the two keyboard halves without any wires, plop them on a surface, and start typing. While I still agree with my decision to start with a wired board (which works well at my desk), if/when I make another small split board, I think I’ll go for a fully wireless build. To help hold of the desire for a new board, I ordered the only bluetooth adapter of this kind I could find. It’s big and ugly, but works very well. Using the adapter paired with a battery bank, I’m able to wirelessly connect my keyboard to all my bluetooth devices. This helps clean up the wires in my portable setup, and is especially nice when I have my laptop on a stand, as I don’t need a bunch of cables hanging all over the place. I love it.
Conclusion
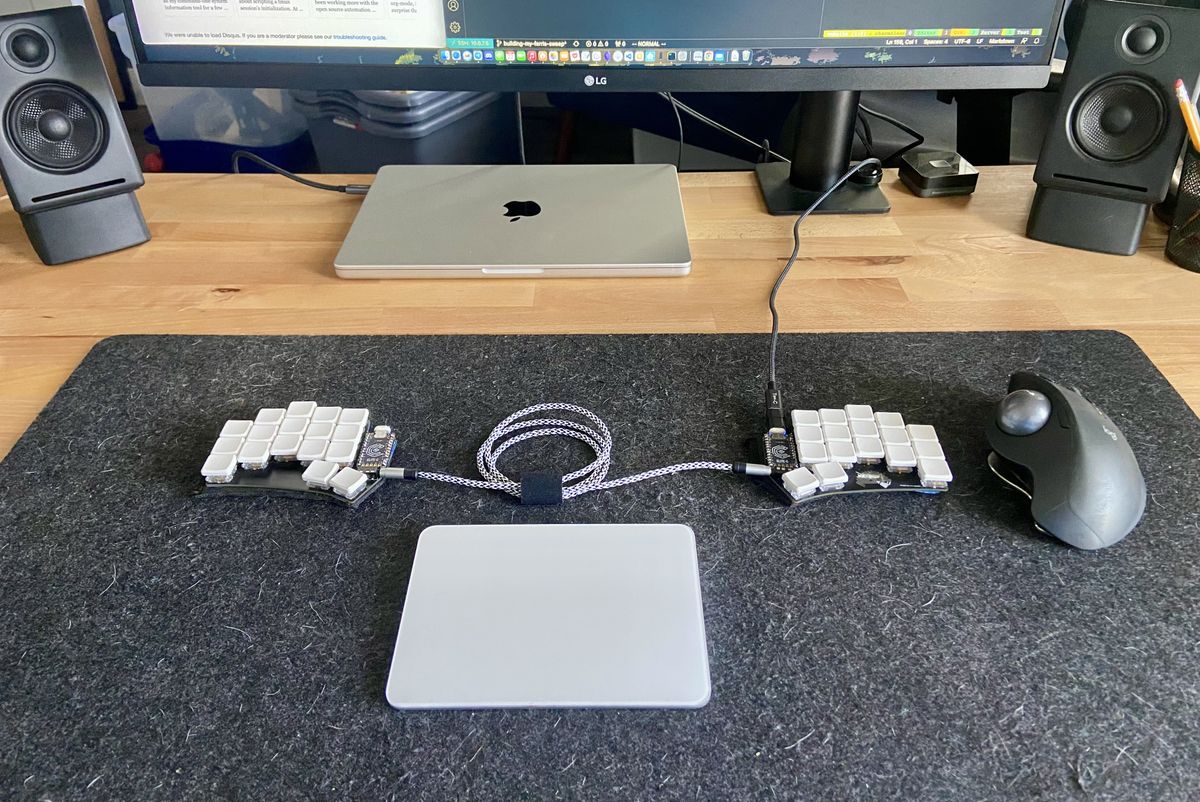
Overall, I have been very happy with my Ferris Sweep. The column stagger of the ferris layout naturally fits my hands better than any other keyboard I have used, and I have surprisingly become a fan of the lighter linear switches on a low profile board like this one. Lastly, I love how this keyboard works as an efficient daily driver board at my desk, but is still small enough that I can simply pop it off the magnetic cable, slide it in my bag, and use it as my portable keyboard as well.
Despite this being my first full build, I am very pleased with my experience. I was nowhere near perfect putting it together, but I learned that you don’t have to be (for the most part). It wasn’t that hard of project, and I have much more confidence if I ever make a second build. But right now, I am thrilled to be using this keyboard.