Setup a Runner VM for Gitlab

I play around with CI/CD pipelines quite a bit, both at home and at work. I have mostly used Jenkins, but I wanted to see how Gitlab’s CI/CD tooling has progressed over the last year. So, I decided to try to use Gitlab to manage the automated build and deployments of a personal project I’ve been working on. The first step of the process was to setup a runner my Gitlab instance could use for the builds.
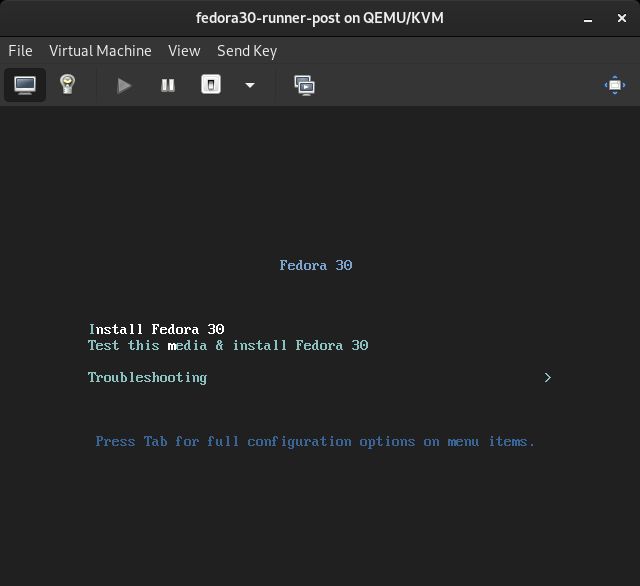
Setup a Machine/VM

This will be a BYOG post (bring your own Gitlab). I already “had one laying around”, so I won’t cover setting that up.
Your runner needs may differ, but in this post I am installing runner on a Fedora 30 VM. I will also be using both buildah and podman for this project.
Some things to note/consider during VM setup:
- Install packages required for pipeline tasks (ex:
podmanandbuildah) - If
sudois required, manage thegitlab-runneruser/group usingvisudo - If using docker runners,
docker-machineneeds to be installed
Install runner
First, install the gitlab-runner package. This can be done using the
instructions found
here.
However, I encountered issues installing it on my Fedora VMs, as this install
method isn’t supported for 30 yet. (Check out this
issue for more info).
Add GitLab’s Repo
curl -L https://packages.gitlab.com/install/repositories/runner/gitlab-runner/script.rpm.sh | sudo bash
Install gitlab runner
sudo dnf install gitlab-runner
(Alternative) Copr install
For now, I have been using the copr install posted in the comments of that issue (linked above). I recommend checking if the issue is resolved first, as it might change from the time of writing this post. To install:
First enable the copr repo:
sudo dnf copr enable snecker/gitlab-runner -y
Next, install:
sudo dnf install gitlab-runner -y
Register the Runner
Once installed, register the runner. Instructions on how to register a runner can be found here.
sudo gitlab-runner register
Enter the coordinator URL (ex: https://gitlab.com)
Next, a gitlab-ci token must be shared with the runner.

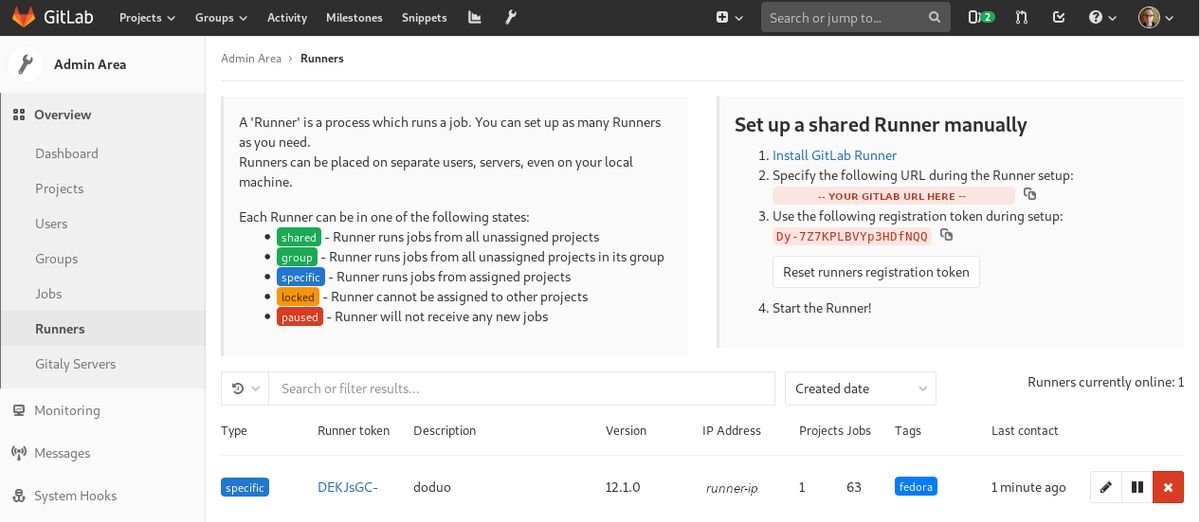
To obtain a gitlab-ci token, got to Admin Area -> Overview -> Runners. On the right, there should be a token to use during setup.
When the runner registrations asks for the token, use the “registration token” listed in the “Set up a shared Runner manually” section.
Next, provide a short description, and add a tag or two (when prompted).
Lastly, enter the executor (the system on the runner that executes commands). For
now, I’ve been using "shell" for my needs, as these VMs are fully
dedicated to be used as the runners for a single project.
Congrats, the runner should be registered! Now to set it up…
Link to CI/CD Builds
It is time to link up the runner to a CI/CD job. This can be done with
tagging, but I currently just have one pipeline using my runners, so haven’t
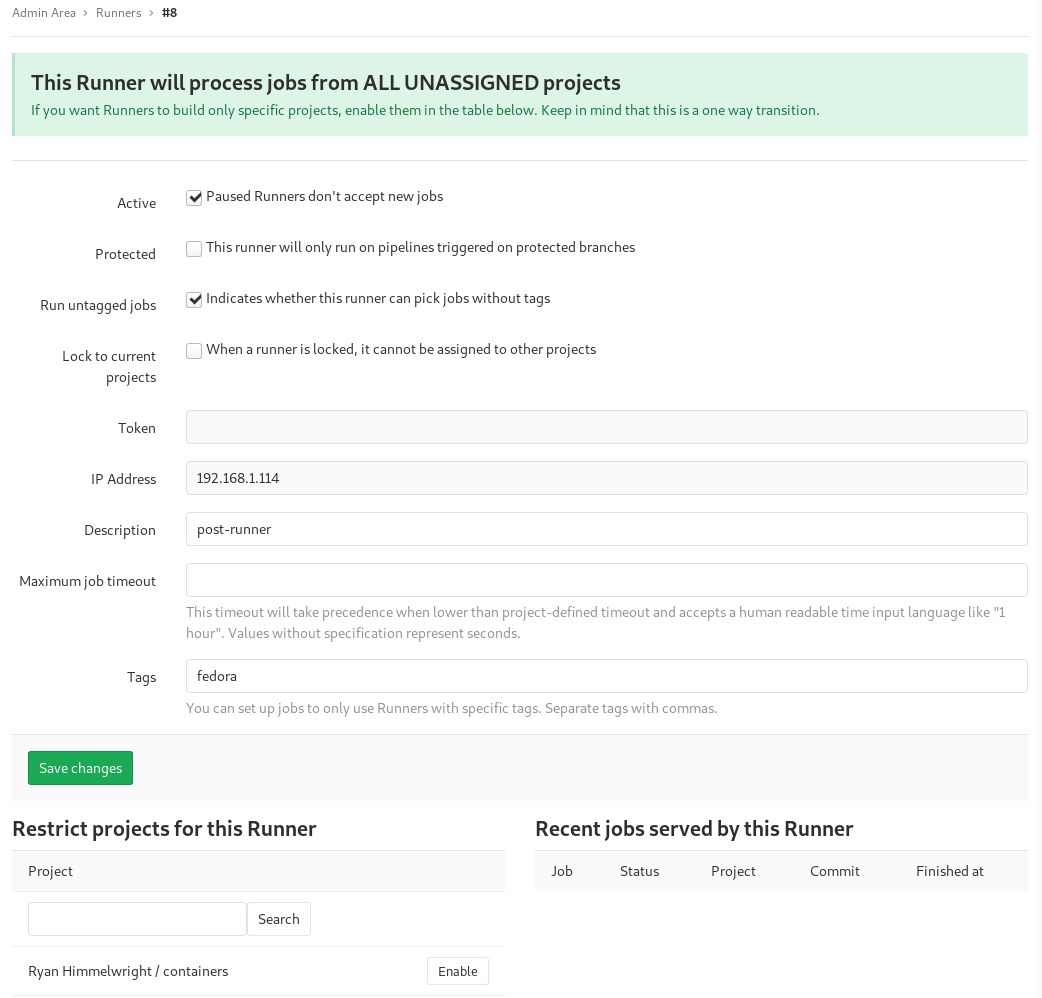
used the tags as much. Edit the runner by clicking its edit icon.

In the runner edit menu, ensure that the “Active” checkbox is checked. I’ve
also checked the “Run untagged jobs” box for this runner, which will allow it
to pick up any job that does not have a tag. If the runner is to be assigned
to a specific project, that can be enabled/assigned below in the “Restrict projects for this Runner” section.
Test Run
To test out the runner, start a new build in a project! (Note, if there are several runners already setup, 1. why are you reading this, and 2. it might be a good idea to pause the others to ensure the new one will run with the test).
I won’t detail how to write a gitlab-ci.yml now, but for my test I made an empty
demo repo with the following pipeline:
before_script:
  - whoami
  - pwd
  - sudo dnf update -y

build-base:
  stage: build
  script:
    - echo "Hello world!"
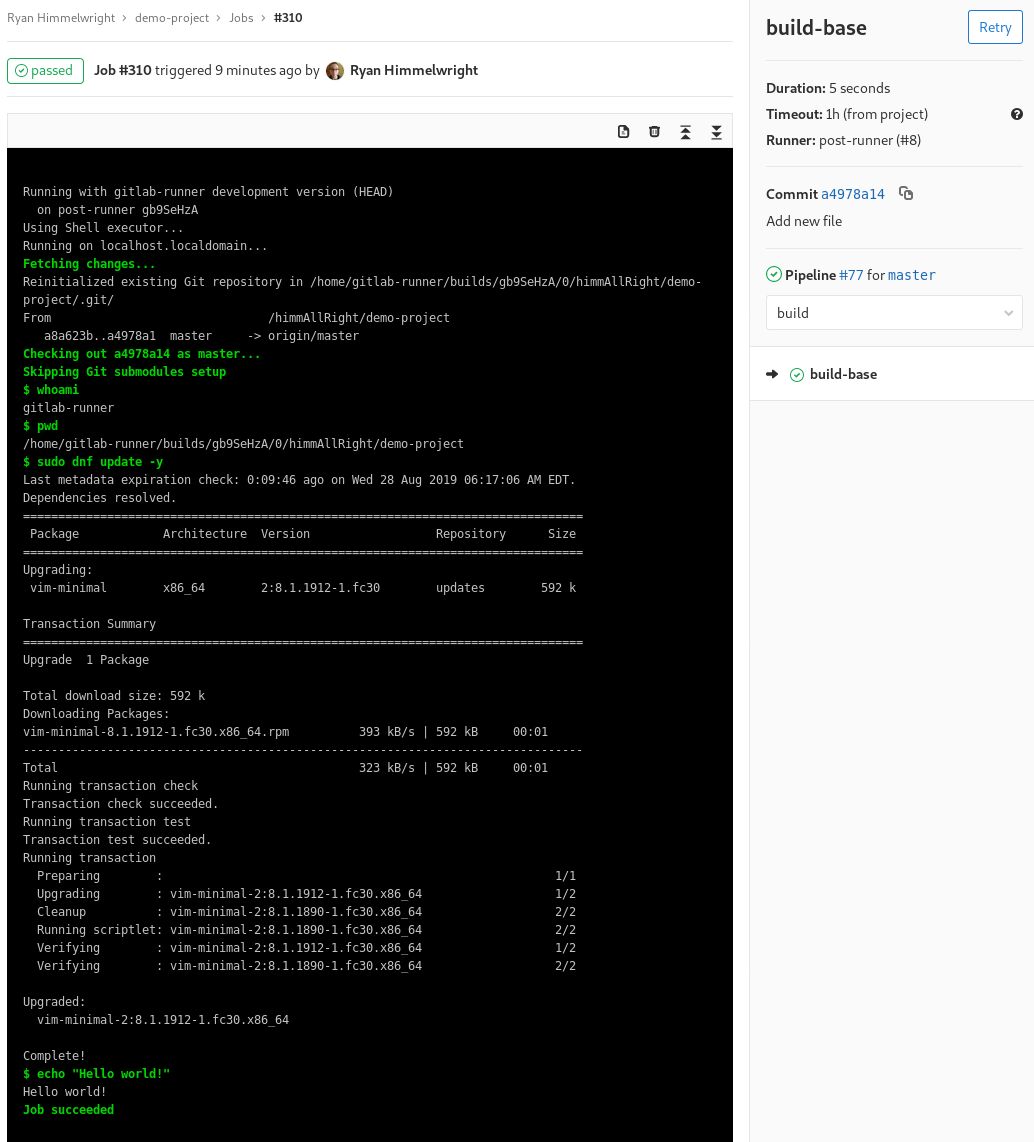
After committing it, a build kicked off with the new runner and finished successfully!
Notice that the job indeed ran on post-runner, the runner I setup
specifically for this post

If the job is more complicated, more runs might have to be manually started
after tweaking the runner settings again. Pipelines can be started by going to
the project’s CI/CD->Pipelines page via the side menu, and hitting the Run Pipeline button.
Conclusion
That’s it. We should now have a connected runner! So far, the runners have been working
(mostly) fine. When they do break, it is usually because I’ve let the disk
fill up or allowed some other system-related negligence to build up
¯\_(ツ)_/¯. I might add some ‘runner maintenance’ steps to my pipeline… but
some other time. Enjoy!