Decided to get an Ergodox
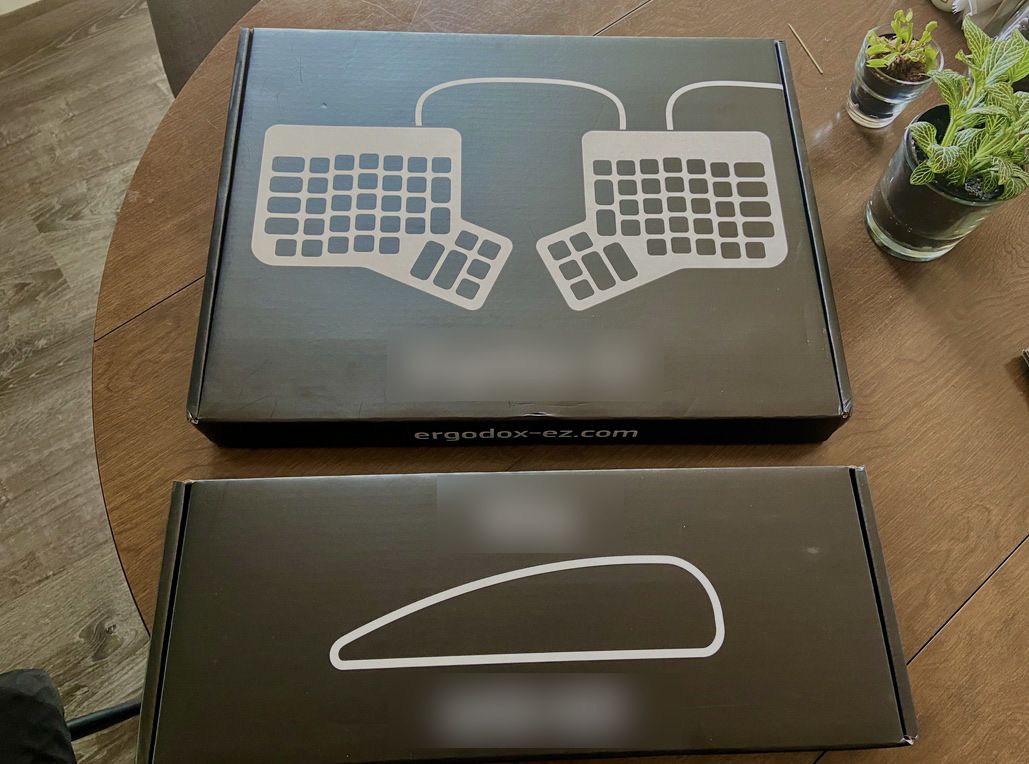
For the past month, I have been learning to type… on my new keyboard! I decided to purchase an ergodox-ex and have been using it ever since. I still love my HHKB, so why did I get a new keyboard? And why… the ergodox?
Previous Keyboard
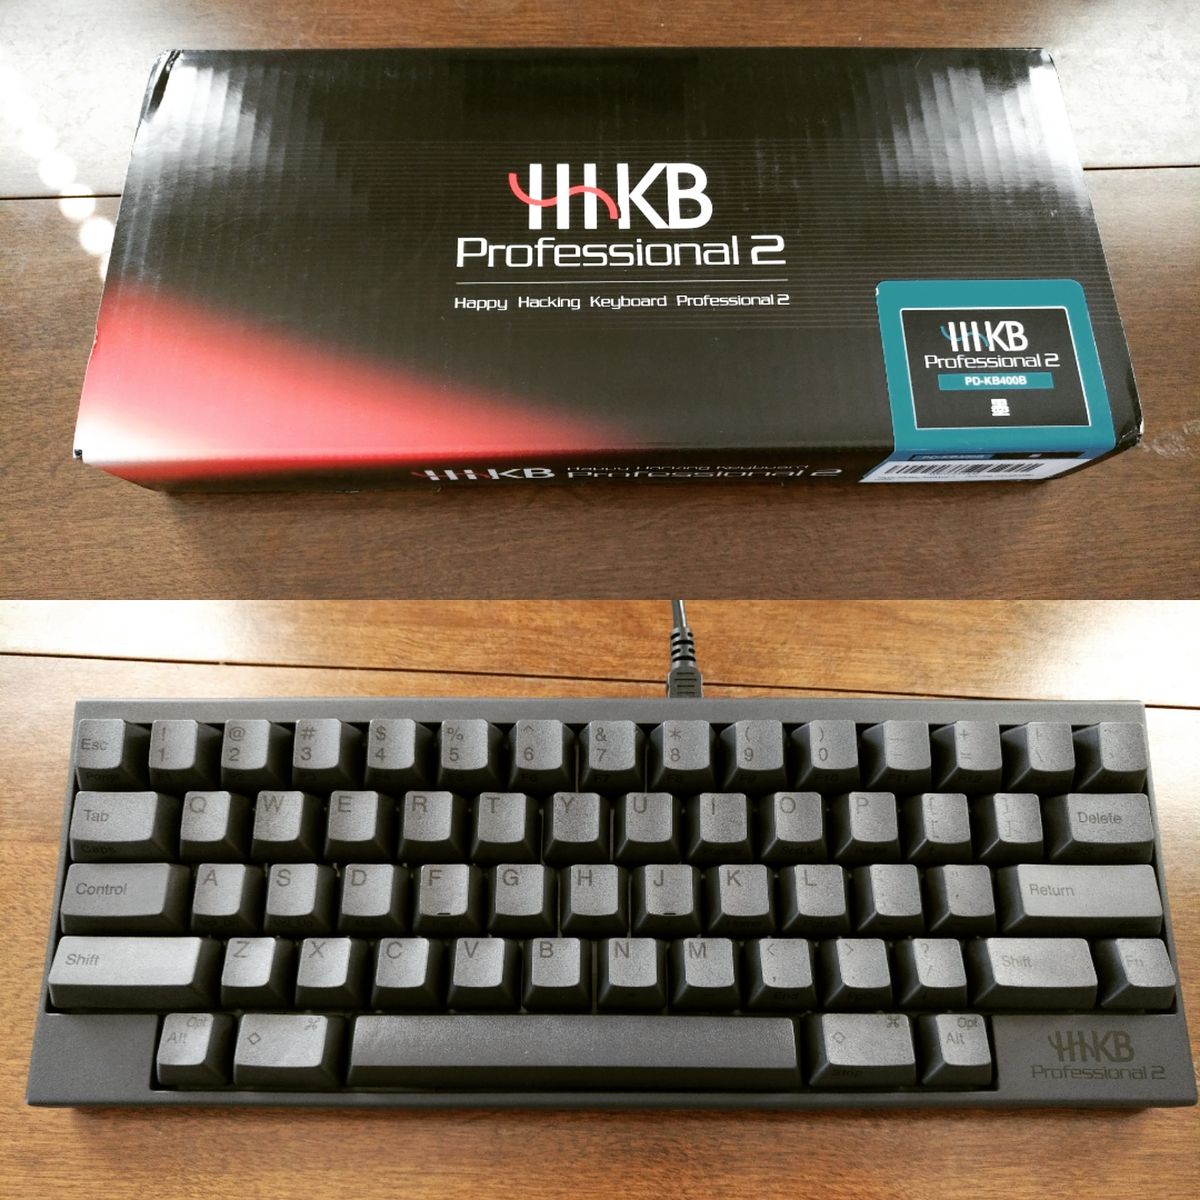
For a few years, I have been gladly using a
Happy Hacking Pro 2 keyboard. Before that, I was
on a Happy Hacking Lite, which I
started using while in college. I love the layout of HHK and still think it’s
an amazing keyboard. The years I spent on HKBs are why I think every keyboard
should have ctrl instead of a caps key, or at least switch to two.
Rationale for a new one
While I love my HHKB and have no real complaints, there were a few things that pushed me to start looking at new boards again.
I was getting the itch to build one
My initial motivation was the slow, growing itch to build a mechanical keyboard. It is an itch that I’ve felt before. I purchased my HHKB Pro as a backup plan when the order for a planck keyboard kit via mass.com was unfortunately cancelled. My original intention was to learn how to solder (I even brought a soldering iron), and build the keyboard from scratch. Ultimately buying the HHKB, I never got to scratch that itch. While I technically still haven’t… this is what had me looking at keyboards and browsing /r/MechanicalKeyboards again in the first place…
Wanted a program-able board
More important than physically building a keyboard, I wanted to be able to programatically build it. That is to say, play with custom firmware. This is something that my HHKB doesn’t have, but the plank did. The pok3r, which I’ve considered in the past, also has programmable layers. Even some of System76’s laptops now allow the ability to remap their keyboards using open firmware (which is awesome!). The biggest thing I wanted from a new keyboard was the ability to customize and program the layers and layouts.
After starting to learn proper touch typing, I wanted to try an ortholinear layout
Working in mostly the same space for much of this year, I’ve noticed that my wrists and arms have really started to tighten up. So, I put my foot down and decided it was time once again to try and force myself to proper touch type… using all of my fingers. Normally, I slide my hands across the board and have just a few fingers do the bulk of the work. This not only creates unnecessary movement, but also over-strains parts of my hands, building up tension in my wrists.

As I started typing with proper finger use, I noticed my hands really have a hard time hitting some keys. Particularly the bottom row, especially with my left hand, gave me trouble. My other fingers commonly blocked the path that the “correct” finger needed to reach a key. It became obvious why I naturally adapted to sliding across the board over the years. I wondered if an ortholinear layout would better allow me to touch type properly, using all of my fingers. My hope was that the straight grid would let my fingers slide directly up and down to the other rows, without crossing over and impeding my other fingers.
My shoulder pain increased
The last straw, promoting my keyboard urgency to something I needed to order now, was that my shoulder was beginning to hurt… all the time. During my search, I noticed split keyboards and thought they might help to alleviate some of my pain. The ability to type with my arms positioned at any width would at least allow me to vary my shoulder angle as it got sore. So, I switched from looking at DIY kits, to pre-built split keyboards that I could have shipped and under my fingers much quicker than I could order and build one.
Keyboard Considerations
With requirements decided, I started searching for my keyboard. Both of the keyboards that I considered are made and sold from the same company, ZSA. From what I read online, they were usually highly recommended, with people rating both ZSA’s products and customer service very well. Personally, I enjoyed reading about their focus on sustainability and creating open source products.
Moonlander
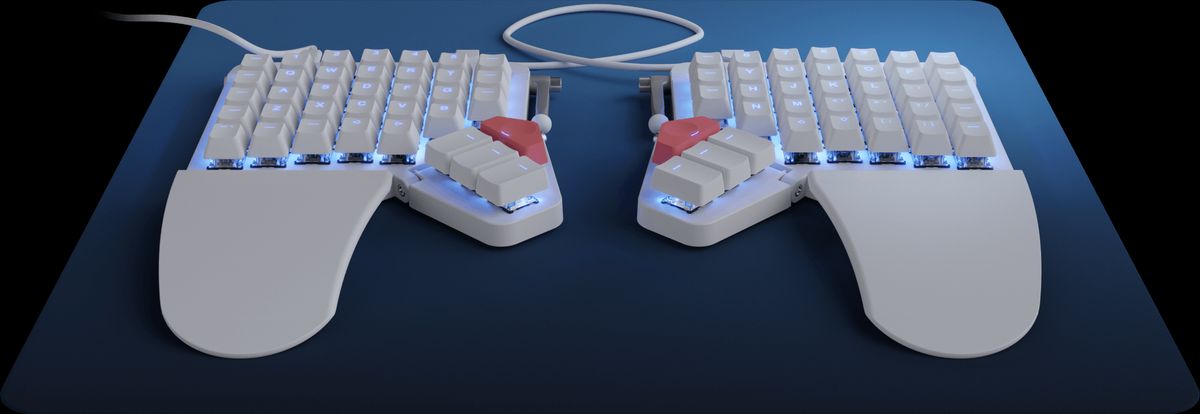
The first keyboard that caught my eye was the new Moonlander. When I first saw it, it had just been released. I admired it’s floating keys and slim profile. Apparently, it was designed to be at least somewhat portable, as it comes with a carrying case. The board seemed to be a fresh new take on the ergodox, with a clever folding design and some newer features like usb-c.
I had to dig deep to learn anything about the moonlander as there were only a handful of people that had them at the time. As I dug, I passively learned more and more about the ergodox…
Ergodox-EZ
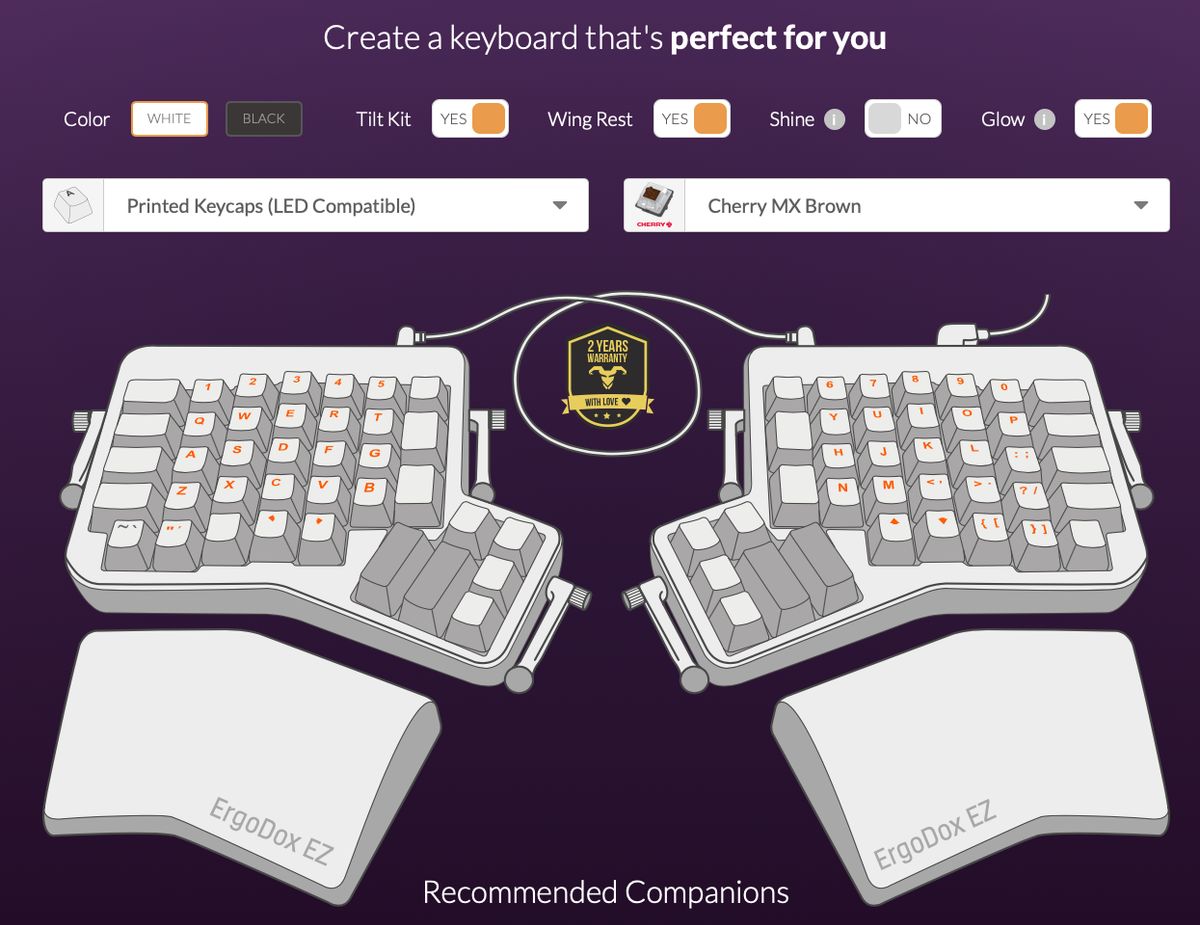
In addition to the moonlander, ZSA also builds and sells the ergodox-ez (and the planck ez, but I wanted a split board). The ergodox-ez is a pre-built version of the well-known (to keyboard nerds…), open-source, ortholinear, split keyboard, the ergodox.
I loved the Moonlander’s features and design, but I ultimately decided to go with the ergodox-ez for a couple of reasons:
-
The Moonlander is brand-new and there wasn’t much feedback for it yet, whereas there is plenty of information about the ergodox-ez.
-
On a similar note, because the ergodox has been a popular design for years now, 3rd-party parts like specialized keycaps sets can easily be found on mass.com and other websites. This makes the ergodox a bit easier to customize than the moonlander, at least currently.
-
The ergodox is great starting board for testing out the orthlinear+split design. If there were parts of it I really hated over the next few years, I could always switch to a moonlander or another split board that better fits my needs, based on what I learn from the ergodox.
-
However, if I instead love the ergodox design and want another in a few years for some reason, I still have the option to build one… and finally scratch that itch XD.
It’s a win-win situation.
Conclusion
I ordered the Ergodox-ez and have had it for a over a month now. If you are wondering what configuration I selected, and what I think about it so far… stay tuned for my next post ;) .