Importing ZFS Pools on Unraid

I’ve been running Ubuntu on my home server, mostly because it supports running zfs out of the box. ZFS has been my filesystem of choice for our home server for years. However, I’ve recently had the itch to switch away from Ubuntu and move to Fedora or CentOS. While comparing distros, a major consideration was if I would be able to transfer my zpools, or if I’d have to wipe and restart. I’ve now switched to Unraid… and got to keep ZFS. Here’s how.
Background
While waiting for the centOS stream 9 to release, I started looking at other distributions built specifically for NAS/Server use. First, I checked out how Truenas is doing these days. While Truenas has great ZFS support (it’s built around it), its VM/container support might be a bit lacking for what I want. I’ll admit, the new TrueNAS Scale alpha caught my eye, but it is still in development and intended for much larger setups than my single HP Microserver.
Next, I decided to look at another home NAS OS I know of, Unraid. By default, Unraid doesn’t use ZFS, but has a much better framework around running VMs and Container applications. In addition, it seemed like creating NFS/SMB shares should be easy, which was my main motivation to try a NAS distro instead of vanilla CentOS/Fedora installs. The downside of Unraid, was that I was afraid I might have to forgo ZFS and wipe my data pools.

Fortunately, after reading around, I learned that there are plugins to enable ZFS on Unraid. I decided to at least try it. If ZFS didn’t work, then I could switch to wiping the disks and starting from scratch.
Disclaimer: This might not be the best practice, or even a correct way to do use ZFS on Unraid. It is just how I did it. It is working so far, but I have no guarantees on the long term stability of this setup.
Installing the Plugins
When I first booted into Unraid, I still needed to provide a disk to be used for the array (Note: this might change. See this LTT video to hear more). I started with a test SSD connected via USB, but quickly switched to using the real SSD I have in the sever containing the Ubuntu install (no turning back huh?). After assigning the SSD, I started the array and was able to install plugins.
I started by installing the Community Applications Plugin. I went to the Plugins page in Unraid, clicked the Install Plugins tab, and entered the url for the plugin found on the Community Applications Webpage post. Afterwards, had a new Apps page listed in my Unraid navigation bar.
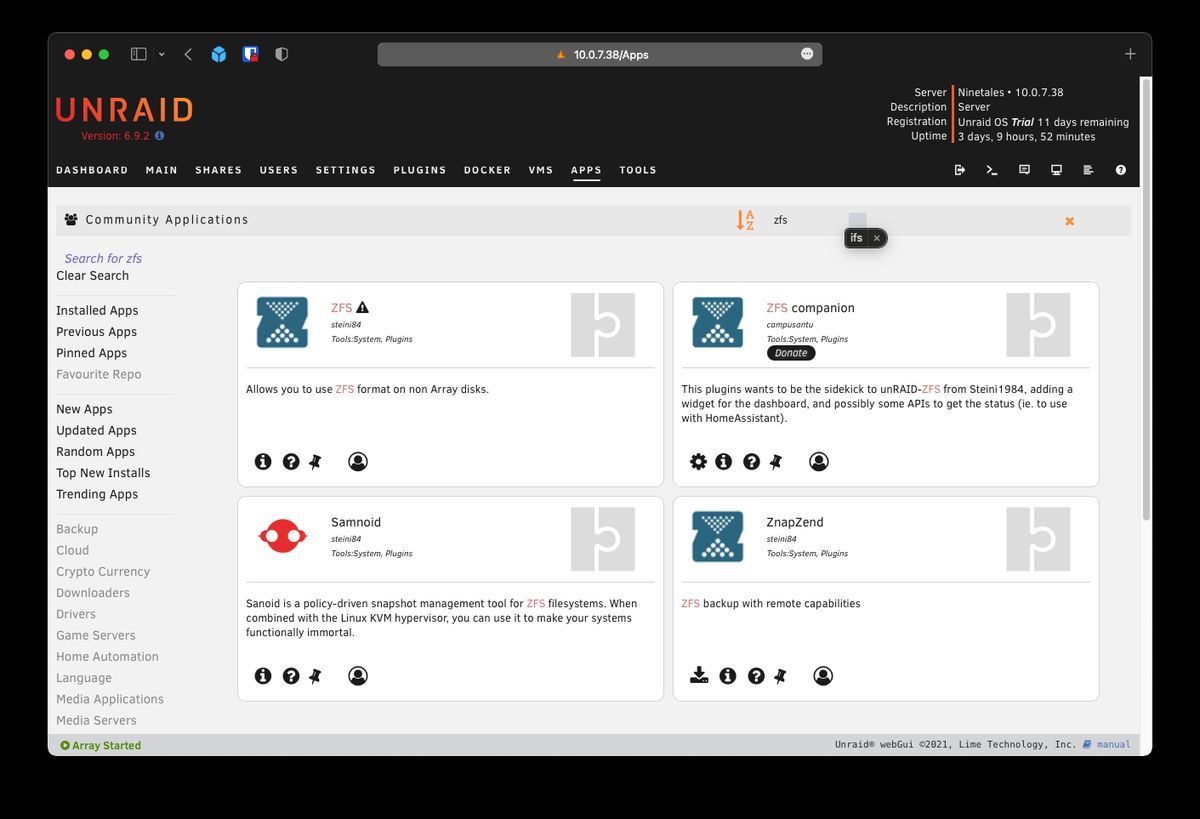
To Install the ZFS plugins, I went to the Apps page, and searched for “ZFS”. Several plugins appeared, and I installed both ZFS and ZFS Companion.
Importing the ZPools

After installing the ZFS plugin, I jumped to the command line and poked
around. Sure enough, I now had zfs and zpool commands I could use. First, I
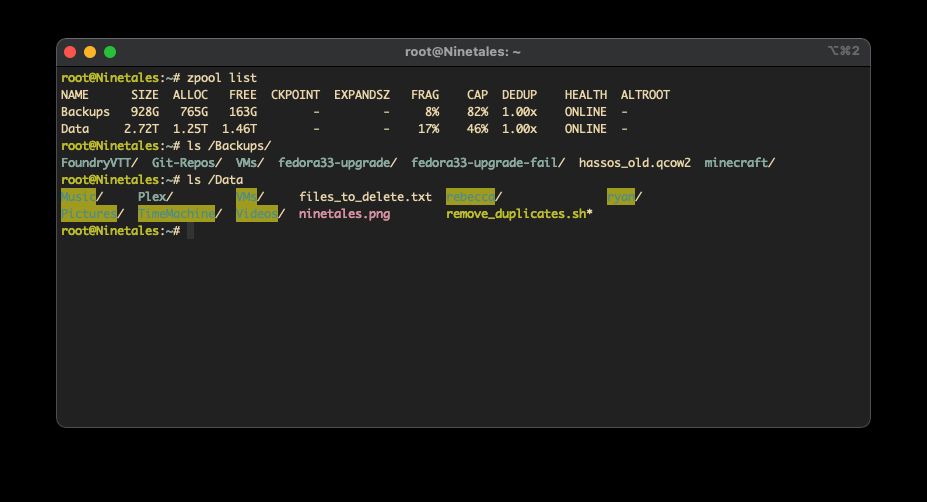
checked to see what pools the system detected by running zpool import. It
returned both my Backups and Data pools, so I proceeded to import them:
zpool import Backups
zpool import Data
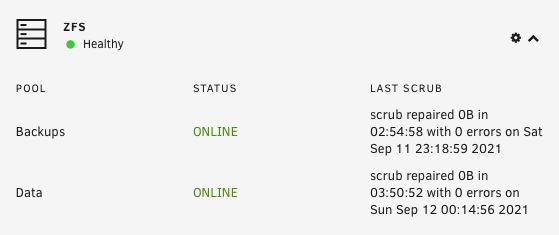
With that, the pools were mounted to their normal locations, with all the data intact. On top of that, the ZFS companion widget in my dashboard also listed the two pools, and their status. Much easier than I anticipated.
Linking Shares

The next step I wanted to tackle was creating Unraid shares, configured with samba so that my wife and I could mount them on our computers. While making the shares… I didn’t know how to instruct the system to use disk locations on my zpools…
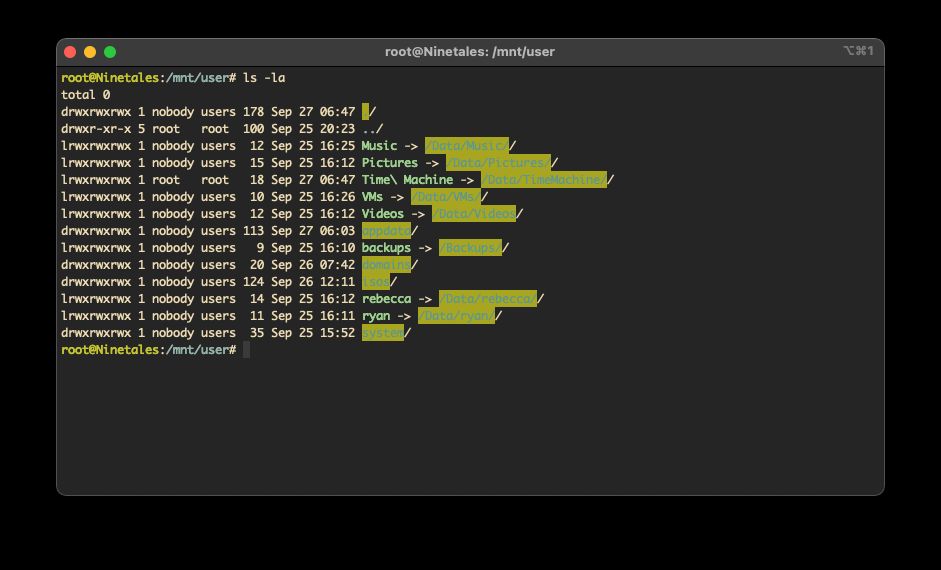
After some investigation, I learned that each share was being created as a
directory under /mnt/user/. So, my immediate ‘solution’ was to simply remove
each share folder (they were still empty), and replace them with symbolic links
to the desired directory on my mounted zpools. For example, my Music share at
/mnt/user/Music/ points to /Data/Music/. I didn’t see any alternative
solutions online, and so far… it seems to work 🤷🏻♂️. I was able to mount
and access all the shares from my desktop and laptop computers, so… that’s it I
guess?
Issues
I did hit one issue during this process that scared me. Later that night after a reboot, I noticed my containers weren’t starting. Then I saw that the pools weren’t mounting on boot, and worse of all… I couldn’t find them when I tried to import. I thought the system had eaten my data.
Then I remembered that while I was poking around the motherboard settings to switch the default boot drive to the Unraid USB, I also enabled SATA IOMMU (because why not?). Well, ZFS did NOT like that change and refused to recognize my drives with it enabled. Disabling the setting resolved the problem and my zpools auto-mounted on the next boot. All good.
Conclusion

Thus far, things seem to work well. While ZFS pools aren’t as nicely integrated into the UI compared to the Unraid Array, it isn’t a deal breaker for me. I was previously working with ZFS 100% in the CLI, and I’m fine doing it now. As long as the system persists through updates, and my symlinks hold up, I should be fine. I guess we’ll see…