Introduction to Toolbox

As I use podman more often, I continue to rely more heavily on toolbox. In particular, on Fedora Silverblue, toolbox becomes the command line environment(s) that I use. Everything is done in a toolbox on Silverblue. So then… what is toolbox and how can you start using it?
About Toolbox
What is it

At its basic core, toolbox is a fancy wrapper around podman that makes it
much simpler to work with. When you create and enter a
container using toolbox, you will find your existing username, user
permissions, home directory (and a few other locations), system journal
and more, are all already setup and waiting for you.
Toolbox does all of this in a single command, without you needing
to know all of the crazy podman arguments it would take to do it yourself!
Advantages

What are the advantages of using something like toolbox? Using containers for
testing out different tools or programming languages helps keep your system
clean, by installing all the dependencies just within that toolbox. For example,
if I am trying out a new program that needs to be compiled from source, I will
create a toolbox, install the dependencies inside it and build the application.
Afterwards, when I’m done testing out that build, I can delete the toolbox,
leaving my host system untouched.
Additionally, read-only operating systems like Silverblue, really benefit from
utilizing containers. If I want to install a package in Silverblue, I usually
have to add it as a layer to the base image, and then reboot into that new
image. Having something like toolbox allows me to have a read-only system for
my core, but still work in a normal dnf-managed command line environment. It’s
the best of both worlds.
How to get it
Toolbox is installed by default on Fedora Silverblue. If it isn’t installed on
the base image you are using for some reason, it can be installed as a layer
using rpm-ostree:
rpm-ostree install toolbox
On other fedora systems (ex: Workstation or even Server), toolbox can be
installed with dnf:
sudo dnf install toolbox
Toolbox Functions
Now that we know what toolbox is and have it installed, lets learn some of
it’s commands!
Toolbox Create
First, let’s create a toolbox container:
toolbox create
By default, this will create a container with a default name based on your
distro and version. For example, when run on Fedora 34, this creates a toolbox
named fedora-toolbox-34.
To create a container with a specific name, the -c flag can be used. For
example:
toolbox create -c website
This will create a toolbox container named website (which is where I install
hugo to work on this website 😉).
Toolbox image
In addition to the name, a toolbox can be created with a specific container
image, using the -i flag (assuming it is a docker/podman image that is
compatible with toolbox). For example, the following command will create a
toolbox from the Fedora 33 toolbox image:
toolbox create -i fedora-toolbox:33
Instead of providing a full image name, you can also declare a distro with the
-d flag (ex: fedora), paired with the -r to specify a release.
toolbox create -d fedora -r 35
This creates a Fedora 35 toolbox (even though I am running on Fedora 34).
Toolbox List
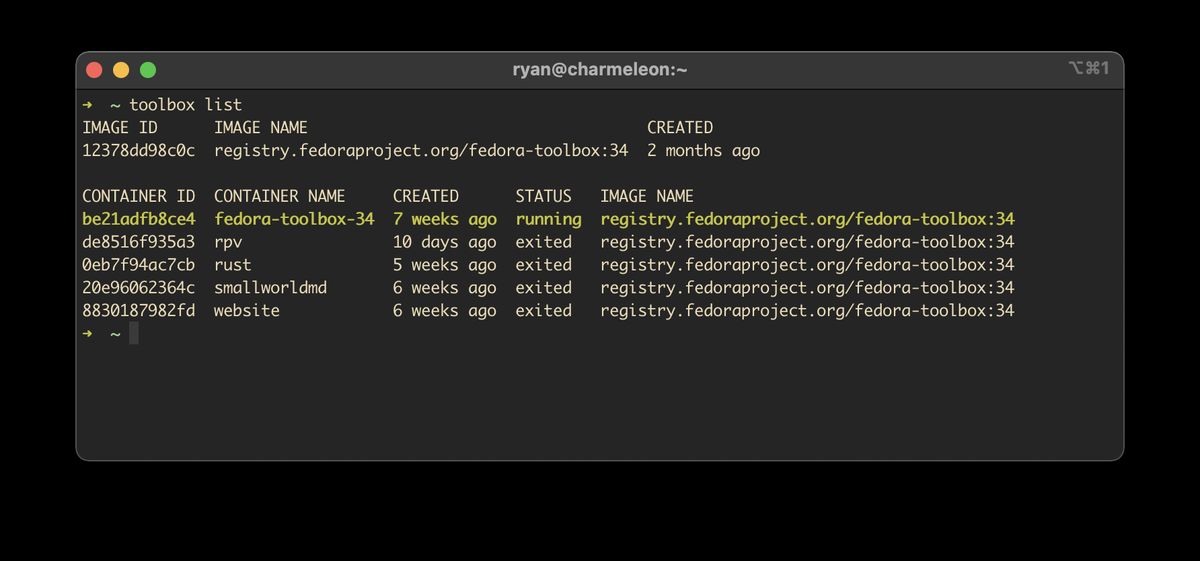
Now that some containers containers have been created, we can list them all with
toolbox list:
toolbox list
---
IMAGE ID      IMAGE NAME                                    CREATED
e6d38a7d896c  registry.fedoraproject.org/fedora-toolbox:34  2 weeks ago
30e2dd6cf22e  registry.fedoraproject.org/fedora-toolbox:35  2 weeks ago

CONTAINER ID  CONTAINER NAME     CREATED     STATUS   IMAGE NAME
94a91110021a  fedora-toolbox-34  4 days ago  running  registry.fedoraproject.org/fedora-toolbox:34
f91f8b4a3a51  website            4 days ago  running  registry.fedoraproject.org/fedora-toolbox:34
This command displays all of the toolbox containers, but also the container
images that are downloaded. The -i flag can be used with toolbox list to
only display the images, or the -c flag to only list the toolbox containers.
Toolbox enter
It’s time to finally enter our toolbox. Like the toolbox create command, the
toolbox enter one will enter that default toolbox, and named toolboxes can be
entered by using the -c flag. For example:
toolbox enter
Will enter the fedora-toolbox-34 toolbox on my Fedora 34 machine. If I want to
enter my website container, I can call:
toolbox enter -c website
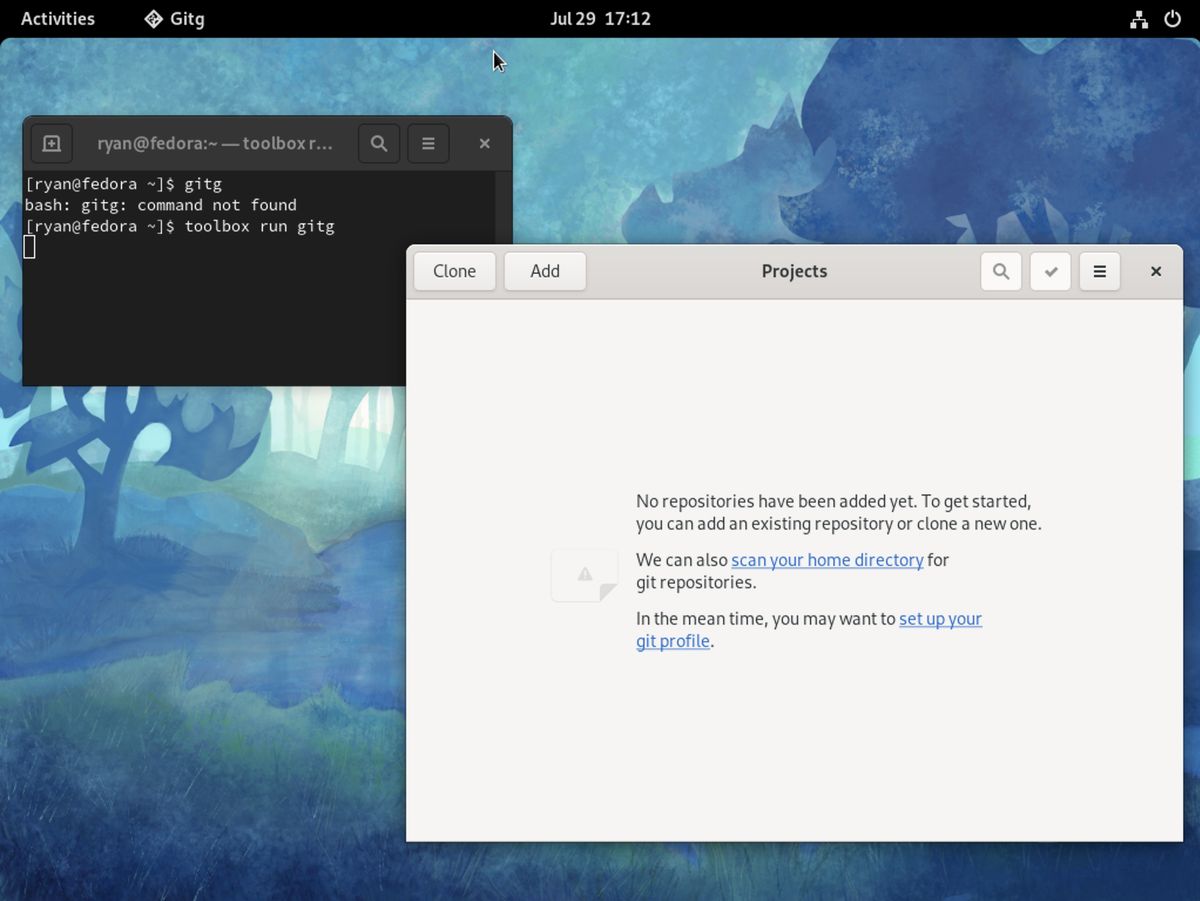
When you enter a toolbox, you are dropped into a new shell (as the same user), with access to your home directory. In the toolbox, you can install applications that will then exist in the container, but not on your host system. Toolbox has become so refined over the years, that it even runs GUI apps now!
To exit the container, use the exit command, just like you would to exit a
shell.
Toolbox Run

Here’s a fun tip: you don’t actually have to be inside a toolbox to run commands
in it. The toolbox run command can be used to pass commands to the toolbox
container. Again, no args will run the command in the default toolbox, but the
-c flag can be used to run commands in named containers. For example, this
command runs guvcview in my default toolbox.
toolbox run guvcview
Remember, I don’t have guvc installed on my host. And yes, it can pass my
webcam into the container!
The next example runs the hugo version command in my website toolbox:
➜  ~ toolbox run -c website hugo version
Hugo Static Site Generator v0.80.0/extended linux/amd64 BuildDate: unknown
Easy.
Conclusion
That’s really it! A lot can be done with these few commands. I have been using
toolbox for years, and I’ve been very impressed with how far it has come in
that time and how much more stable it is now (podman has also become much more
stable). So, if you haven’t used toolbox before, why not give it a try?