Replacing a Drive in My ZFS Mirror

Right before Thanksgiving, one of the hard drives in my server started get noisy… very noisy. Fearing the worst, I did a backup, and shutdown the server until I had time to investigate further… and likely replace the drive. That time came this past week.
Verifying the Drive Failed
Before throwing money at the problem, I wanted to see if ZFS was detecting any
issues. When I ran a zpool status on my Data pool, it warned me that one of
the devices had experienced an error, but that I had not (yet) encountered
any data errors. Time to buy a new drive.
λ ninetales ~ → zpool status Data
  pool: Data
 state: ONLINE
status: One or more devices has experienced an unrecoverable error.  An
	attempt was made to correct the error.  Applications are unaffected.
action: Determine if the device needs to be replaced, and clear the errors
	using 'zpool clear' or replace the device with 'zpool replace'.
   see: http://zfsonlinux.org/msg/ZFS-8000-9P
  scan: resilvered 1.14M in 0h0m with 0 errors on Sat Jan 12 10:49:31 2019
config:

	NAME                                  STATE     READ WRITE CKSUM
	Data                                  ONLINE       0     0     0
	  mirror-0                            ONLINE       0     0     0
	    ata-TOSHIBA_DT01ACA300_365XDT3KS  ONLINE       0     0     2
	    ata-TOSHIBA_DT01ACA300_365XDR5KS  ONLINE       0     0     0

errors: No known data errors
Ordering a New Drive
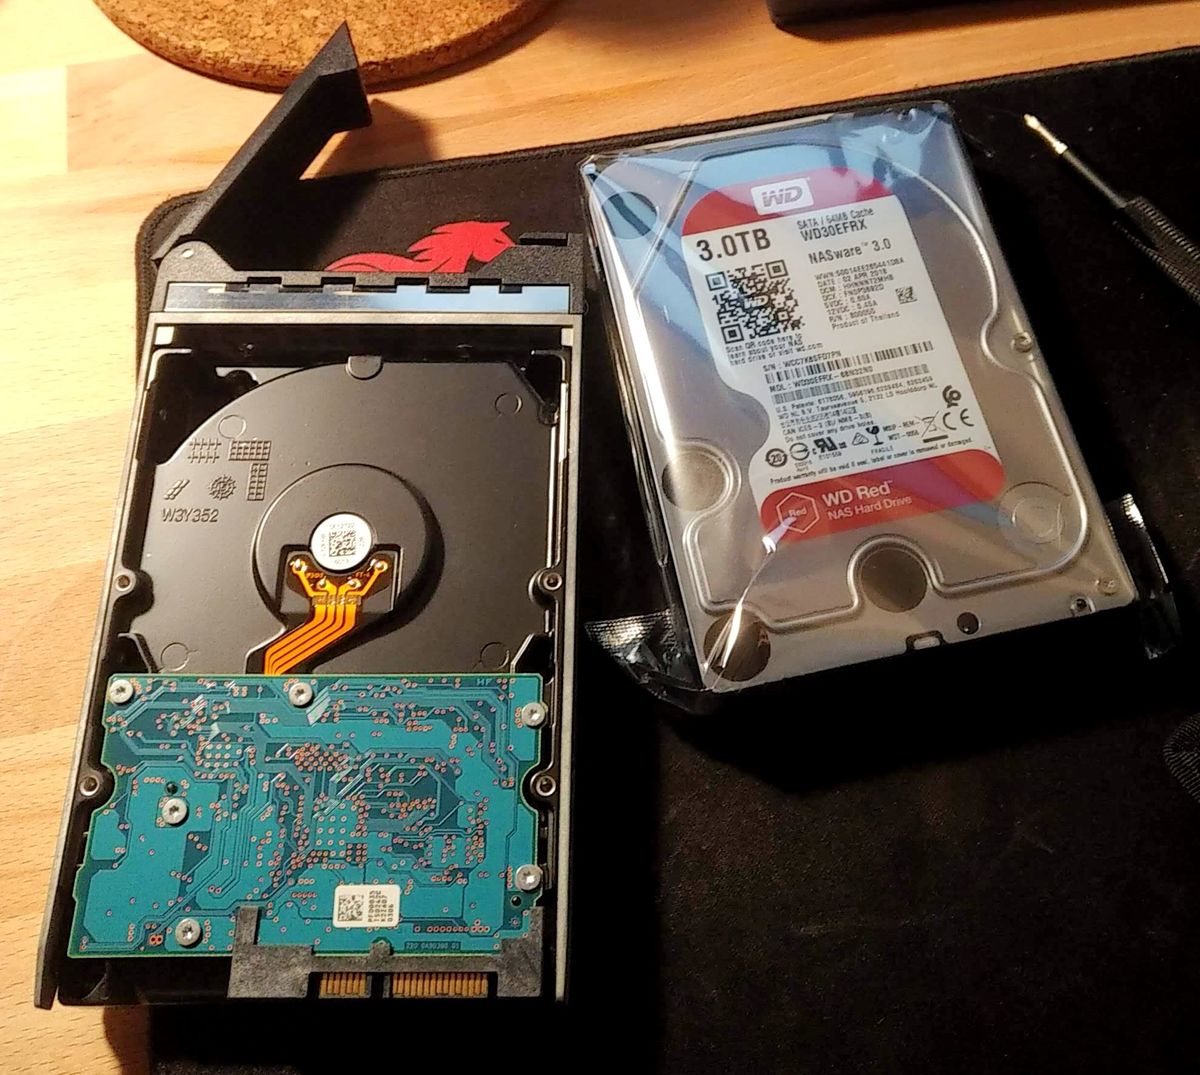
When I started shopping for hard drives, I decided to replace my broken 7200 RPM one a 5400 RPM one. I’d rather have the drives last longer and run quieter, than whatever marginal speed difference the faster spinning disks may provide. I decided to finally go with a 3TB Western Digital RED drive this time, even tough it’s a bit more expensive… mostly to try out.
Replacing the Drive

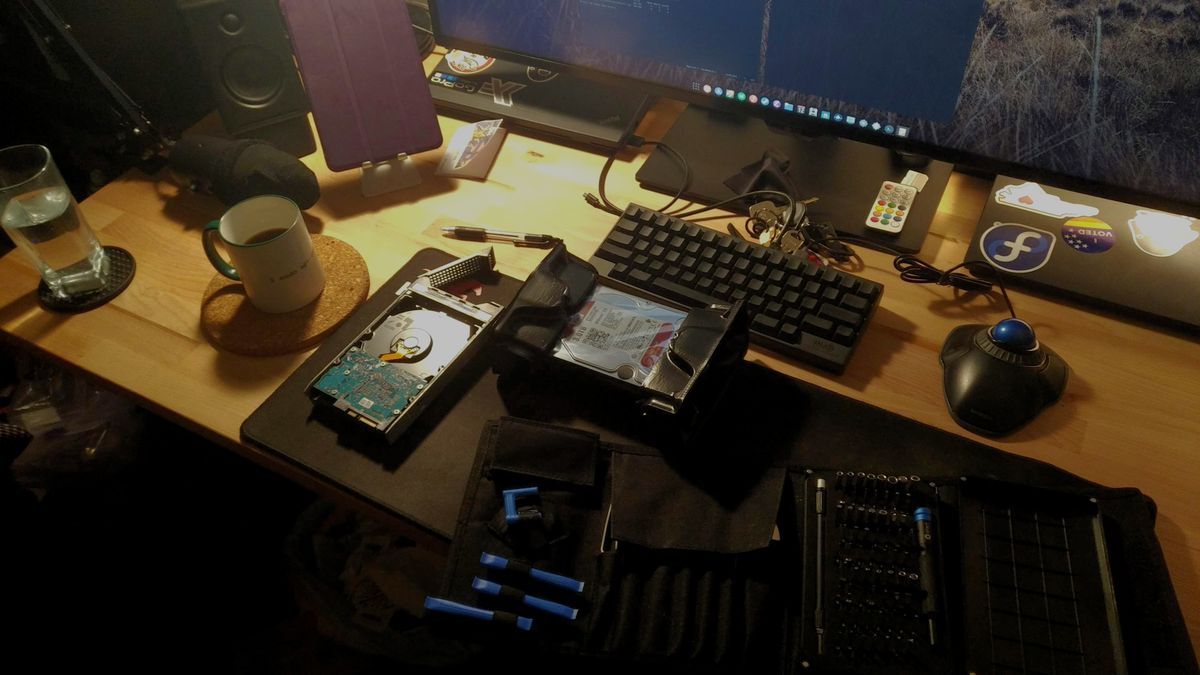
Physically swapping the hard drives was a breeze. I could easily tell which drive was the defective one… as it caused the entire server to rumble (ಠ_ಠ) . So I slid it out, unscrewed the drive from its caddy, and screwed in the new one. Lastly, I slide the caddy back into the server and booted it up. I love hot-swap drive bays.
Figuring Out Which Disk To Replace
Determining which disk was being replaced in software was a bit more
difficult. In order to add the new drive to the Data pool, I needed to tell
ZFS which one had been replaced. This was made more complicated by the fact
that previously, the two drives in the mirror were the same model and both showed up
as /dev/disk/by-id/ata-TOSHIBA_DT01ACA300_365XDR5KS. So, I needed to find the
guid for each drive, because it would differ between them. I used the command
zdb to spit out information about of each of my pools:
λ ninetales ~ → zdb
... (other pool output)...
Data:
    version: 5000
    name: 'Data'
    state: 0
    txg: 15996848
    pool_guid: 2285339125999939520
    errata: 0
    comment: 'iocage'
    hostname: 'ninetales'
    com.delphix:has_per_vdev_zaps
    vdev_children: 1
    vdev_tree:
        type: 'root'
        id: 0
        guid: 2285339125999939520
        children[0]:
            type: 'mirror'
            id: 0
            guid: 15171243251753521949
            metaslab_array: 34
            metaslab_shift: 34
            ashift: 12
            asize: 3000588042240
            is_log: 0
            create_txg: 4
            com.delphix:vdev_zap_top: 125
            children[0]:
                type: 'disk'
                id: 0
                guid: 4676737554230074290
                path: '/dev/disk/by-id/ata-TOSHIBA_DT01ACA300_365XDT3KS'
                phys_path: '/dev/ada1'
                whole_disk: 1
                not_present: 1
                DTL: 123
                create_txg: 4
                com.delphix:vdev_zap_leaf: 126
            children[1]:
                type: 'disk'
                id: 1
                guid: 13442522248687181242
                path: '/dev/disk/by-id/ata-TOSHIBA_DT01ACA300_365XDR5KS'
                phys_path: '/dev/ada3'
                whole_disk: 1
                DTL: 122
                create_txg: 4
                com.delphix:vdev_zap_leaf: 159
    features_for_read:
        com.delphix:hole_birth
        com.delphix:embedded_data
...
At first, I still didn’t know which drive was which. However, after looking
deeper, I noticed that one of the Toshiba drives listed had the line
not_present: 1, indicating that it was the broken drive I had removed!
Replacing the drive
With the guid of the broken drive known, I was able to start the process of
replacing it in the pool with the new one. I issued a zpool replace command
with the following arguments:
sudo zpool replace Data 4676737554230074290 /dev/sdd-
Data- the name of the pool -
4676737554230074290- theguidof the previous drive -
/dev/sdd- the path to the new drive
Afterwards, the resilvering process started (rebuilding the mirror by copying
data from one drive to the other). I was able to check the status of
the process using zpool status Data.
λ ninetales by-uuid → zpool status Data
  pool: Data
 state: DEGRADED
status: One or more devices is currently being resilvered.  The pool will
	continue to function, possibly in a degraded state.
action: Wait for the resilver to complete.
  scan: resilver in progress since Sat Jan 12 11:29:36 2019
	72.6M scanned out of 1.03T at 2.42M/s, 123h32m to go
	72.2M resilvered, 0.01% done
config:

	NAME                                  STATE     READ WRITE CKSUM
	Data                                  DEGRADED     0     0     0
	  mirror-0                            DEGRADED     0     0     0
	    replacing-0                       DEGRADED     0     0     0
	      4676737554230074290             UNAVAIL      0     0     0  was /dev/disk/by-id/ata-TOSHIBA_DT01ACA300_365XDT3KS
	      sdd                             ONLINE       0     0     0  (resilvering)
	    ata-TOSHIBA_DT01ACA300_365XDR5KS  ONLINE       0     0     0

errors: No known data errors
Resilvering can take a long time. Luckily, I only had about ~1 TB of data to
rebuild, so I hoped it wouldn’t actually take the 123.5 hours that the first
status predicted! Regardless, during the resilvering process, the only thing
to do is wait (and hope that the other drive doesn’t break in the process!).
So I did.
Resilver Complete
In just over 4 hours, my pool had rebuilt and was back online.
λ ninetales ~ → zpool status Data
  pool: Data
 state: ONLINE
  scan: resilvered 1.03T in 4h8m with 0 errors on Sat Jan 12 15:38:26 2019
config:

	NAME                                  STATE     READ WRITE CKSUM
	Data                                  ONLINE       0     0     0
	  mirror-0                            ONLINE       0     0     0
	    sdd                               ONLINE       0     0     0
	    ata-TOSHIBA_DT01ACA300_365XDR5KS  ONLINE       0     0     0

errors: No known data errors
Looking at this output now, I realize I probably should have added the new
drive by uuid instead of pathname…hmmm…
Oh well. That is a post for another day. At least my broken drive has finally been replaced!