Setting up NFS

Thanks to VFIO passthrough, I find myself sitting in front for a virtualized Linux system on a daily basis. While this setup is unbelievable, it does come with a few complications. One such hurdle is sharing files located on the host system with the VMs. After trying a few methods, I determined that nfs was the simplest to get up and running. Here’s how.
The Problem

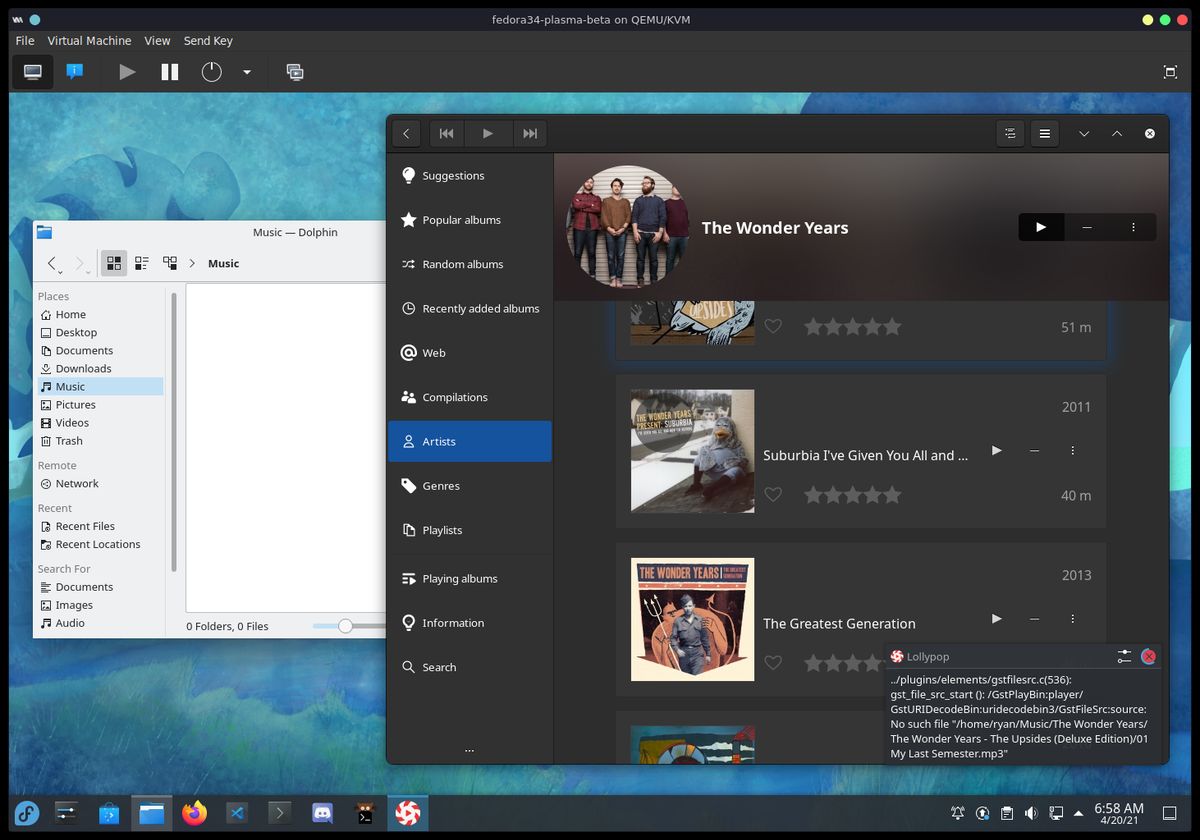
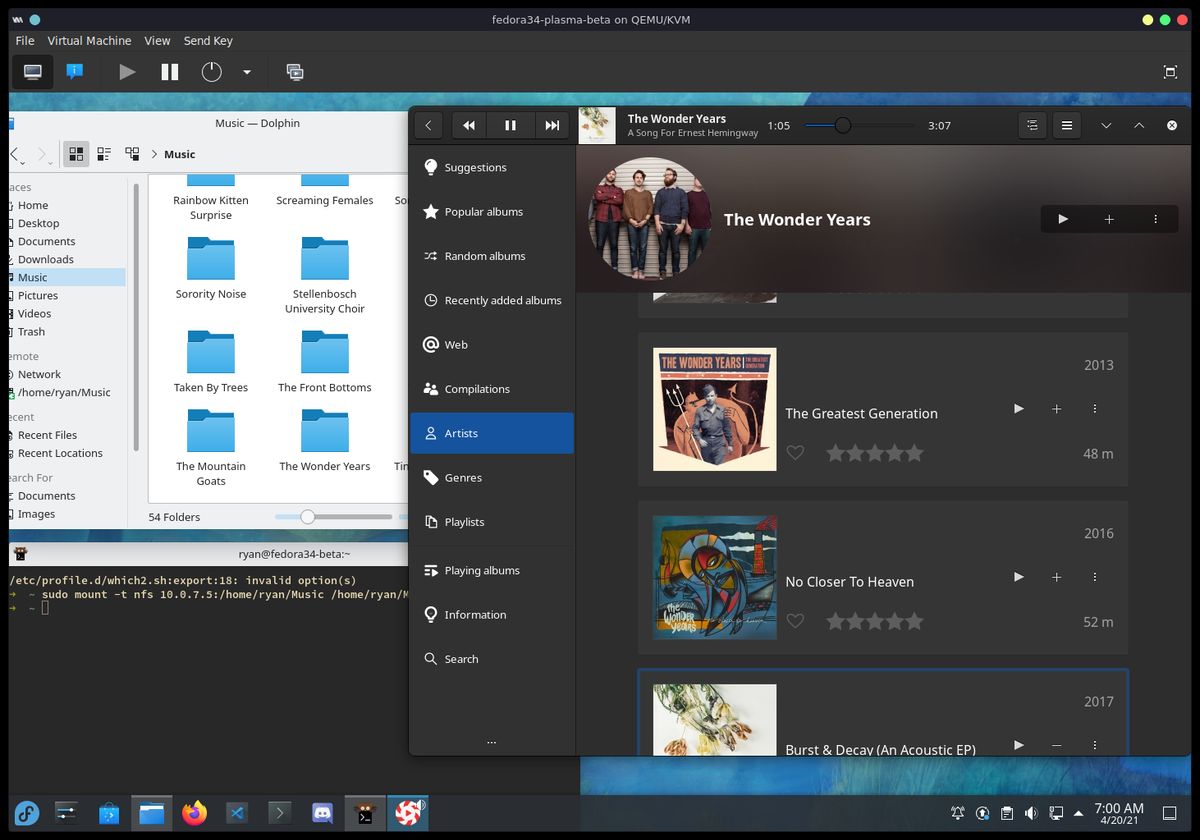
My desktop is my main workstation. It is the hub that holds all of the data I use, including documents, music, and videos. When I am working in a VM, I often want access to that data. I like listening to my music while working in VMs 😉.
It would be inefficient, both in time and disk space, to copy all the files I desired to each VM that I use. Setting up a network filesystem is an can get around this. After some trial and error, I eventually concluded that for my use (linux guests on a linux host), NFS worked. If you want to share with Windows guests, something like samba might work better.
Server Setup
First, we want to setup the sever. Be sure to run the following steps on the host machine.
Install Dependencies
Being on a Fedora host, I installed the dependencies using the following
dnf command:
sudo dnf -y install nfs-utils Configure The Domain Name
Next, open up the file /etc/idmapd.conf and make sure that the Domain = ... line (usually line 5) is un-commented, and set to your machine’s
hostname. If not, edit it to configure the idmapd domain name:
Domain = charmeleonDefine the Exports File
After everything is installed, we need to create the exports file. This
file will define all of the nfs shares we want to make available. Create and
open the file /etc/exports, and add something similar for each directory
you want to share:
/home/ryan/Seafile      10.0.7.0/24(rw,all_squash,insecure)
/home/ryan/Music        10.0.7.0/24(rw)
/Data/Videos            10.0.7.0/24(rw)
I like to share my Music and Video folders, along with my Seafile library (so I don’t have to configure it on each VM).
Each line breaks down as follows:
- The directory location to share (ex:
/home/ryan/Music) - The range of addresses that are allowed to access the share (I use
10.0.7.0/24, which allows devices on my home network) - The properties for each share. I use
(rw)to allow read and write permissions.
That should be it. Feel free to dig deeper into all the nfs share settings if you need them, especially if you want to be a bit more secure in your setup!
Firewall/other permissions
After creating the exports file, we need to allow the service through the firewall. To do so, permanently allow the nfs service:
sudo firewall-cmd --add-service=nfs --permanentDon’t forget to reload the firewall!
sudo firewall-cmd --reloadStart the service
Last but not least, make sure the rpcbind and nfs-sever services are
started and enabled to autostart after a reboot.
sudo systemctl enable --now rpcbind nfs-server
VM Client Setup
With the server setup, we should be able to mount the shares in the VMs
now. First, ensure the nfs-utils package is installed there too.
Mount
Now, use the mount command with nfs for the -t flag to mount the
shares:
sudo mount -t nfs 10.0.7.82:/home/ryan/Music /home/ryan/Network/MusicIf you experience weird issues when mount the shares, a reboot may help.
I occasionally hit permission issues that seem to be resolved after a
restart.
fstab
It is possible to add the share to your /etc/fstab file, so that it
auto-mounts during boot. However, I don’t usually do this. I like to
make the conscious decision to mount data from the host machine,
as I don’t always need it available in the VMs.
Conclusion

That’s about it. This was just the basics of setting up a nfs share, and I’m sure I do something wrong, but so far… it has worked great for my simple use case of sharing data between the host and guests on the same computer. Enjoy!