New ZSA Voyager Keyboard

In February, I decided to finally order the ZSA Voyager keyboard. By mid-March, it had arrived. Here are some of my thoughts after using it for over 2 months now.
The Ferris Sweep’s few Downsides
While I still enjoy my ferris sweep keyboards, I did start running into a few problems with them. My biggest issue was the long term reliability. Over time, some keys would become sensitive and misfire constantly. My original sweep build has a misfiring u key that is so bad (likely from my poor soldering skills) that I can’t really use it anymore. This is particularly bad given that I use vim-bindings in many of my apps, where u is “undo” 😬.
Second, while I still think for most uses, a 34-key layout is perfect for my needs, I admit that it would be nice to have a little more wiggle room designing layouts for my less common activities (i.e. gaming). Additionally, the sweep is a little too compact for someone with my sized hands.
Deciding to get the Voyager
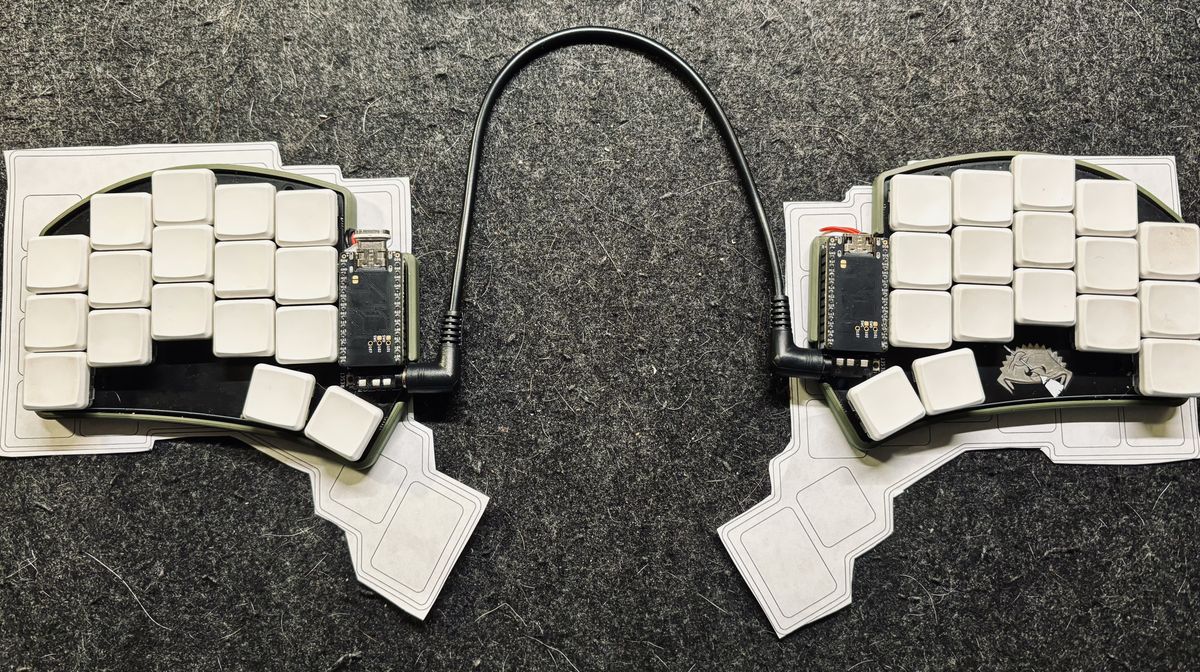
When the Voyager was announced, I was instantly interested. It looked like a well-built, well-designed, slightly larger version of the ferris sweep that I cherish so much. The main ‘con’ people seemed to have with it was that the thumb clusters only had two keys. Coming from the Sweep, this wasn’t a problem for me.
My only issue with it was that, in contrast to what others were saying online, I thought it had too many keys 😆. I didn’t want to sacrifice portability to have more than 34 keys. However, comparing with the size printout, the Voyager wasn’t much larger than my Sweep.
I decided that when the stability of my ‘good’ sweep got worse, the voyager would eventually be my next keyboard. With time, my main sweep did get worse, so I ordered the voyager mid February. After some debate, I finalized my configuration:
- “Cosmic Nomad Black” Color
- “Blank” keycaps
- Kailh Choc Pro Red switches (35gf)
The Pro Red switches became available shortly before ordering my Voyager. Without my beloved Silvers (40gf) as an option, I decided to try the slightly lighter Pro Reds (35gf) instead of the heavier Reds (50gf). Note: these are all liner switches.
With that, the order was submitted and I eagerly waited for it to be built and shipped.
Setup (Flashing my Layout)
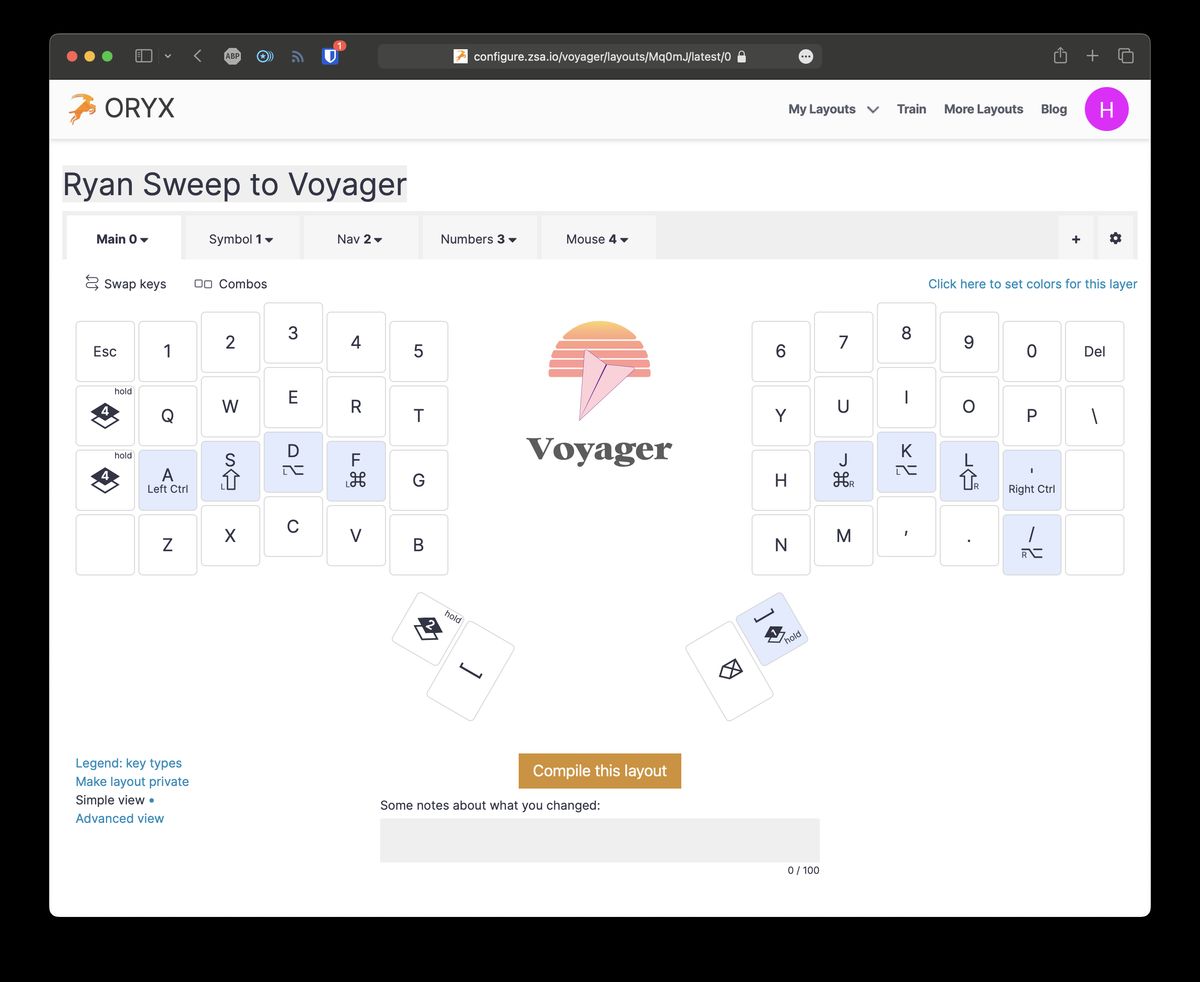
About a month later, the Voyager arrived. After unboxing and checking it out, I immediately worked to flash my layout on it. This is something I was able to start before the Voyager even arrived, using ZSA’s Oryx configuration tool.
Despite the Voyager having 50% more keys… I still love my 34-key layout on the sweep. So I mostly stuck to that when making this layout. I just added a number row to the base layer’s additional top row, and some lighting controls to that row on another layer. I figured I can always adjust it over time as I get used to the extra keys and have ideas for them. Additionally, it makes switching back to the sweep easier when I want to use it.
With the firmware compiled, I easily flashed the board using the ZSA flashing tools, and pressing the physical reset button on the board. No paper clip/tweezers required!
Initial Thoughts
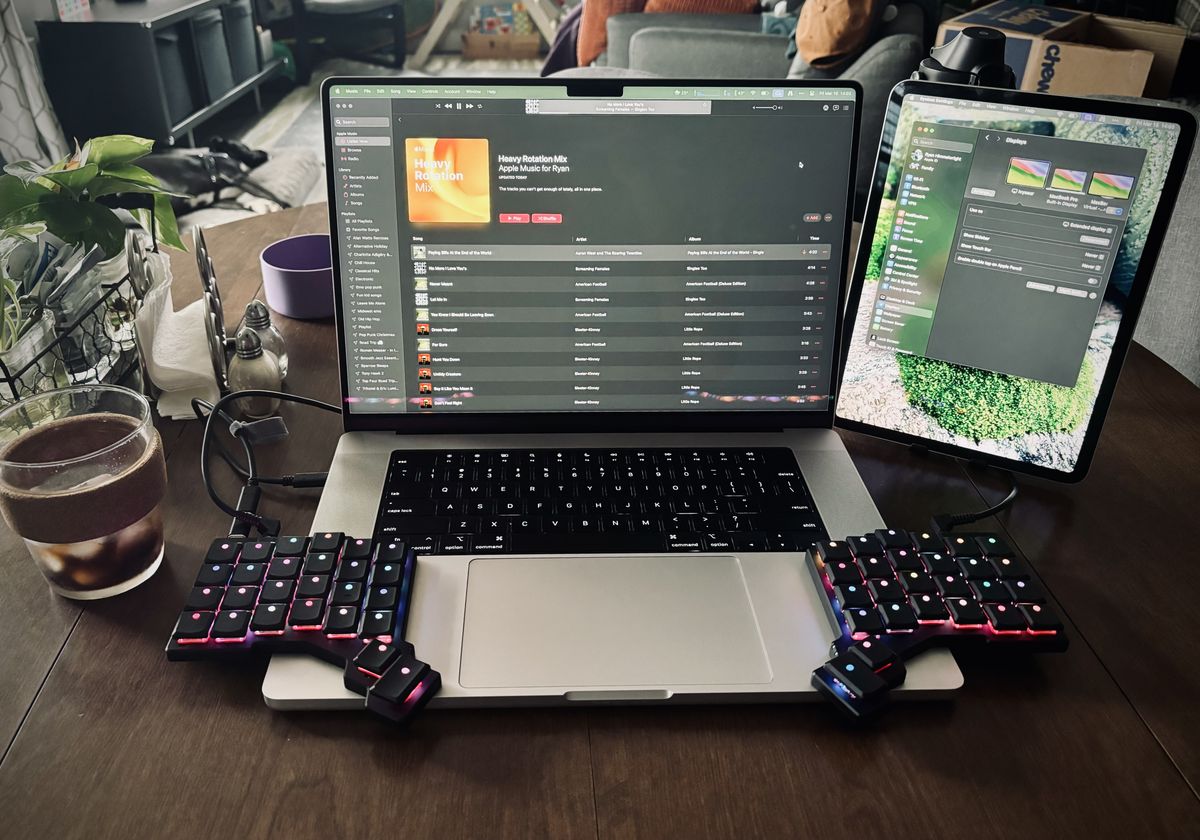
I started using the Voyager as my daily driver immediately once it was flashed. I adjusted rather quickly, alternating between the Voyager and my laptop keyboards. I took a few notes about the initial experience:
While typing, it feels good so far. Honestly, the weirdest thing has been the additional outer pinky column of keys, and the additional top row. It seems I’ve gotten used to using the edges when placing my fingers on the sweep.
I did a “short burst” monketype test and got over 100 WPM, with only 1 error. It was a test without punctuation or caps, but using my normal 34 key layout is working well.
My basic typing feels really great after some (more) time. I do need to add the number layer still though. While I can use that top row on the base layer… I’m used to (and apparently love) slamming down on those two thumb keys and just using the numbers above my home row fingers. I think it’s easier for my brain to know where a number is that way.
I’ve also noticed a few tweaks I need to fix. For example, I might need to edit the timings for the hold keys, as I’m noticing some SHIFT issues… so far though… it still feels excellent.
Things I like:
- Magnetic. I love plopping this on my MacBook’s palm rest
- The tenting legs
- The choc keys, but with MX spacing. I didn’t know if I’d like it, but it feels great and by comparison my Ferris Sweep feels so tight whenever I use it now.
Longer Term Thoughts
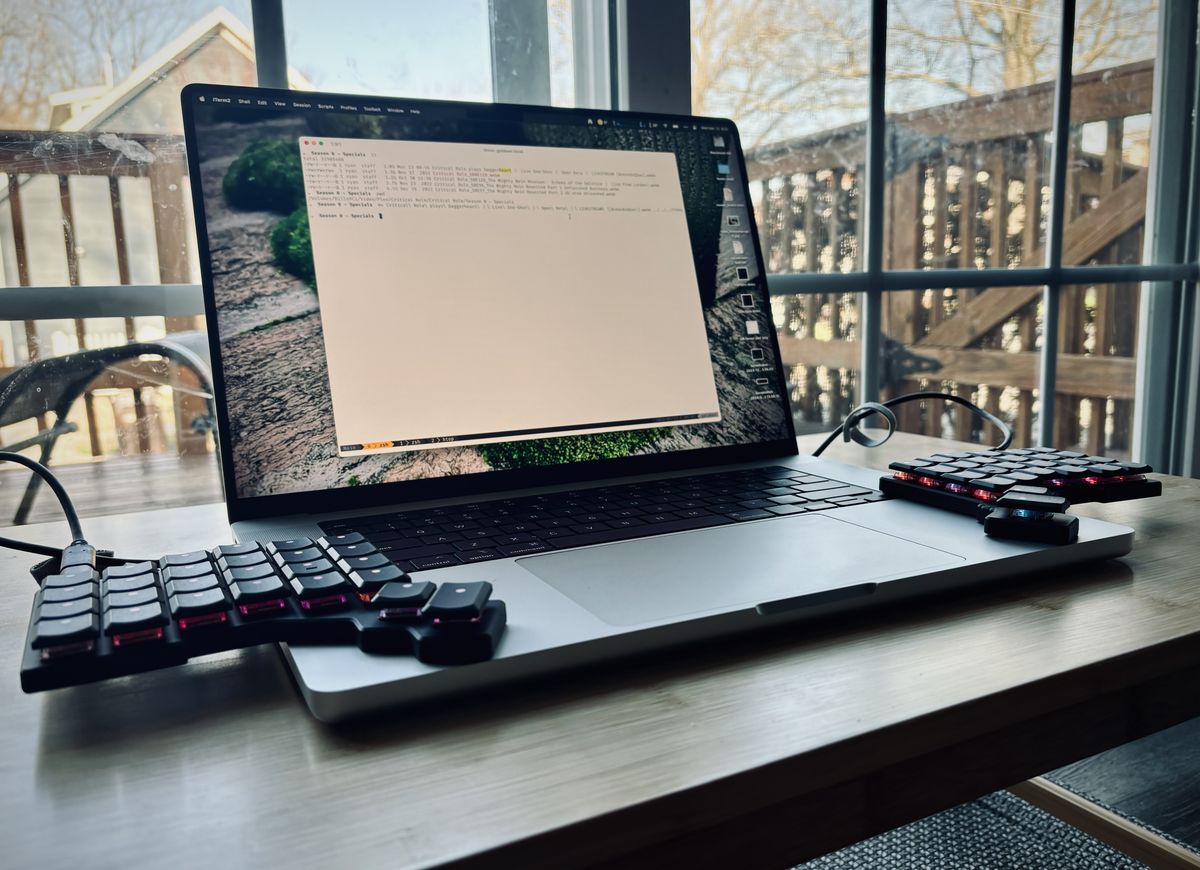
Over a longer period, I continued to make a few layout changes, mostly minor tweaks here and there. I also added a layer to experiment with mouse controls one day when I forgot to bring my trackball to the office. After some extended use there are many things I appreciate. Here’s just a few:
-
Sturdy Construction: The Voyager feels like a premium board. There is no flex, and everything is designed and built so well.
-
Magnetic: I underestimated how much I would enjoy this. Having a magnetic case enables so many more tenting possibilities. Additionally, due to the magnets in my MacBook (that keep the lid closed), I can attach the keyboard halves to my laptop’s palm rests. This works so much better than trying to place it on top of the built-in keyboard!
-
Switches and keycaps: Both the Choc Pro Red switches and the custom keycaps for the Voyager feel delightful. (They also sound quite nice too).
-
MX spacing: I was leery about the MX spacing with choc switches. I was worried that it would take away from what I enjoy so much about choc, but honestly it just made it better. I get all of the low profile, portable goodness, but without my hands cramping up.
-
Column Stagger: The way the column stagger has fit my hands so perfectly on the sweep was largely what kept me from more mild ones on boards like the corne. The layout and stagger of the Voyager seems to be spaced perfectly for my hands.
-
Portability: The carrying case with integrated tenting feet really assist the portability of the keyboard. I just fold it up, and throw it in my bag, like a smaller pair of headphones.
With all that said, there are a few things that could be improved (seriously, I had to think hard to even come up with these).
-
TRRS Cable Position: Personally, I would prefer the TRRS ports to be closer to the center of the board. It connects the two halves so I usually like it closer there.- Thinking about it now though, I think the ports on the outside is better for tenting the board. Fine… I’ll revoke this one 😆.
-
Tenting Feet: While the feet are great, they can be annoying to attached and remove when frequently packing up and traveling the board like I do. This isn’t really a fault of the design, and just of a pain point with how I use it. Additionally, a portable design that provides ability to adjust the level of tenting would be awesome.
Conclusion
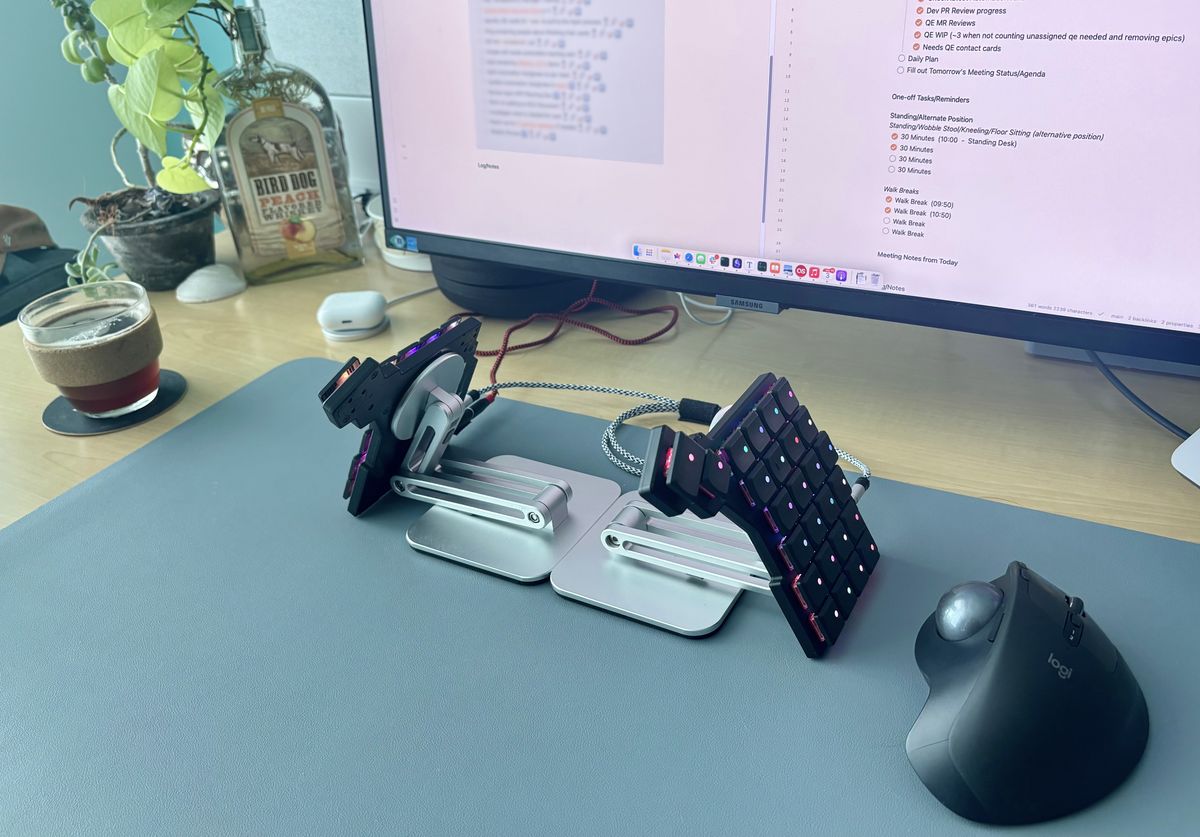
Moving forward, I’m planning to construct tenting setups for both my work and home office desks. I hope this will help increase the ease of commuting the Voayager even more, as I should be able to just pull it out of it’s case and plop it on magnets instead of messing with the feet each time. I’ve. tested this out in the office using two cheap magnetic phone stands, and so far it’s worked well.
To conclude, I adore the Voyager. It is essentially my ideal keyboard. It’s a mix my previous Ergodox EZ and my Ferris Sweep. Comfortable, solid, portable… perfect.