Obsidian Notes iOS + Working Copy Setup

After deciding to leave Notion, I have been using obsidian.md for all of my notes and loving every moment of it. The one thing I have missed after the switch has been the ability to view or lightly edit notes on my iPhone and iPad. However, I saw that there was an Obsidian mobile app in development, and I have been eagerly waiting for it. Now that the app has been released, here is how I set it up on my iOS devices (with some help from working copy 😉).
Obsidian Notes
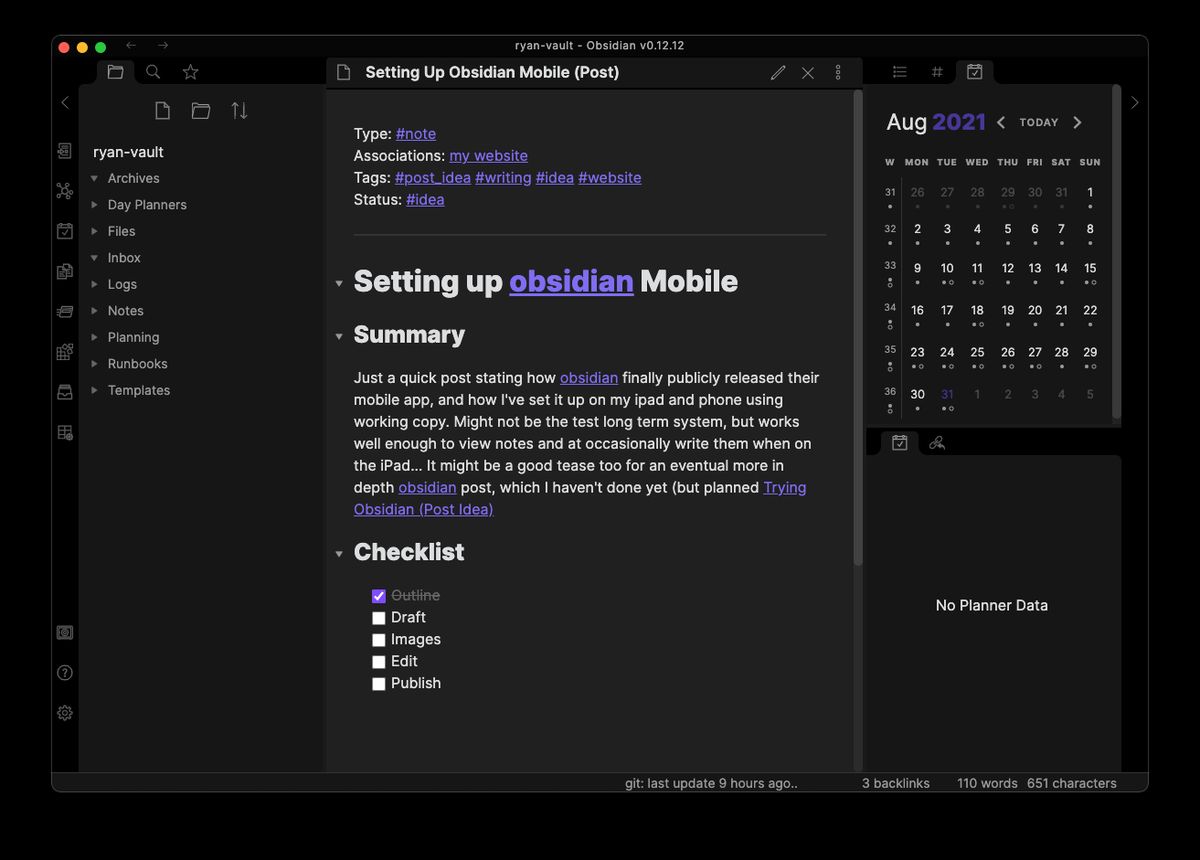
Compared to Notion, I really appreciate that all of Obsidian’s data is simply a collection of raw markdown files. The downside to this is that I am responsible for setting up a syncing solution. At first, I was using seafile to sync the files, which worked okay (but could be annoying).
However, because obsidian vaults are just text files… they can be stored in version control systems, like a git repository. So, I setup a private Gitlab repo to backup my vault to. This allowed me to snapshot my notes whenever I wanted. Wonderful.
Eventually, I started using the obsidian-git plugin to more easily take ‘snapshots’ of the vault. After a few trial weeks with the plugin, I finally made the jump and configured it to automatically take snapshots throughout the day. Now, I’ve entirely switched to using git to sync the vault across all my devices. The only options for syncing on iOS are to use git or iCloud. Luckily, I’m already set.
Working Copy (Git Repo)
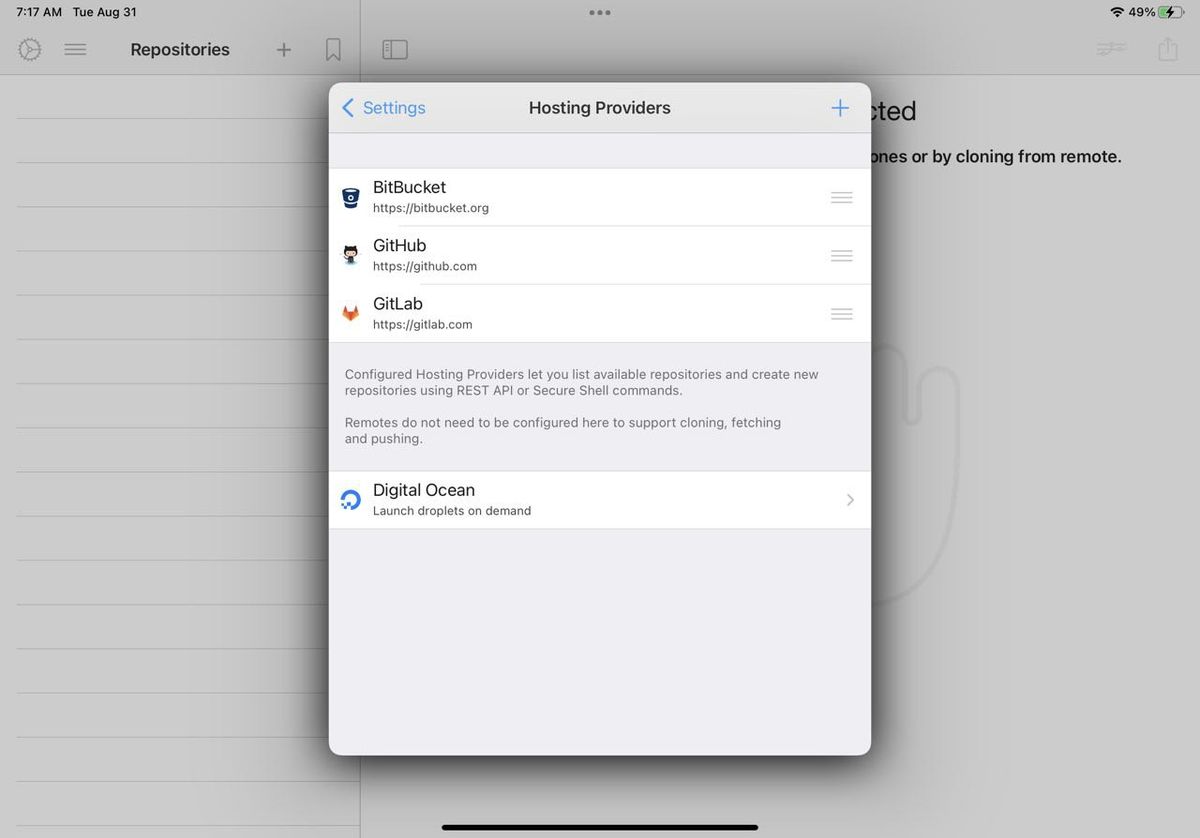
I have used working-copy in the past to pull down git repos on my ipad. You can pull repos with the free version, but I think you need the pro version to push to a repo. For this setup, we ideally want the ability to push changes, so the pro version is recommended.
(If you don’t have a hosted git repo setup for the obsidian vault, you’ll want to do that first.)
Setting up Obsidian Mobile
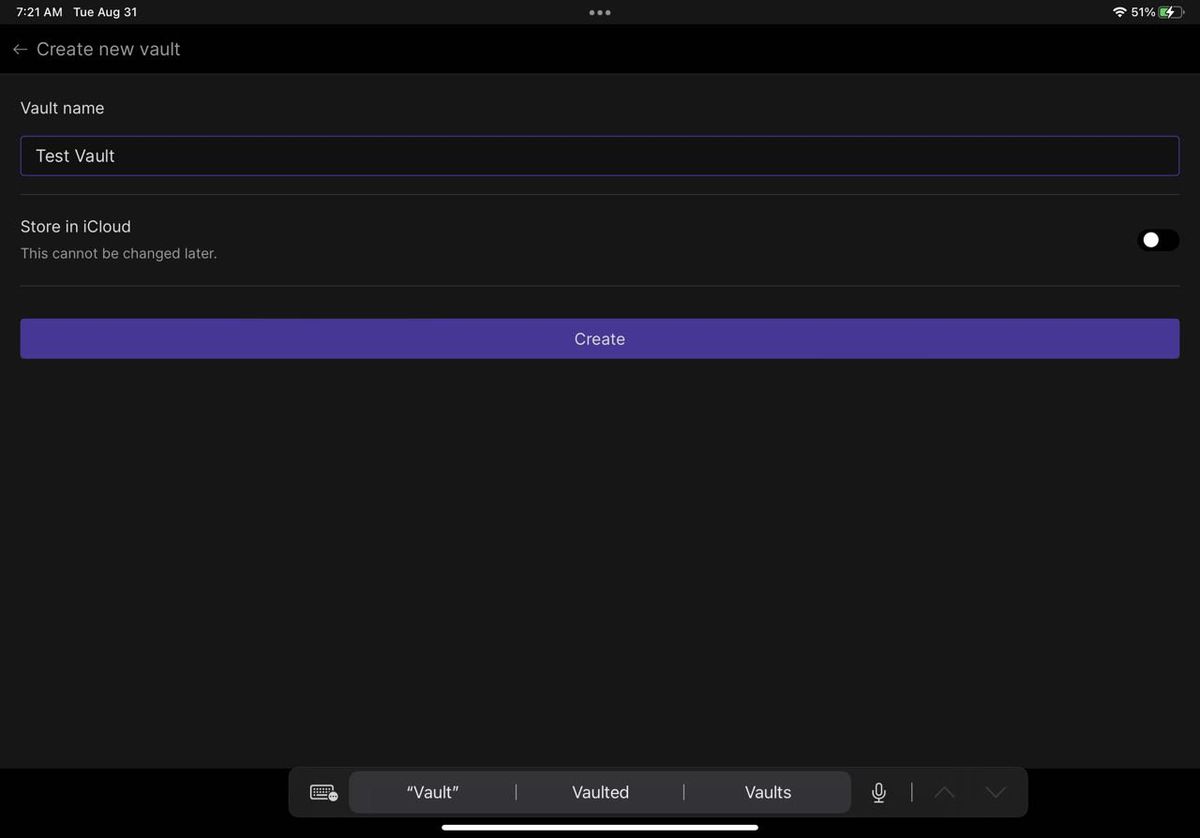
To start, download and install the obsidian app from the app store. Next,
open it up, and select Create New Vault. On the creation screen, give the vault
a name and make sure that Store in iCloud is not selected. We’ll come back
to obsidian in a minute.
Setup
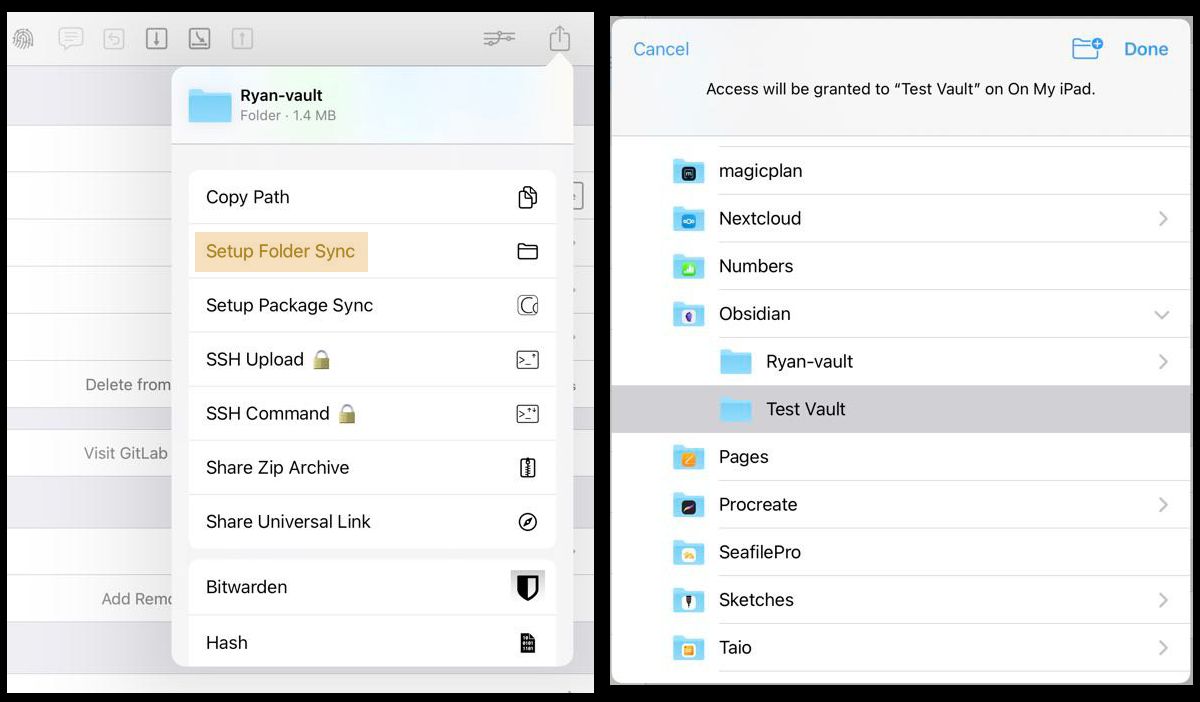
Next, switch to working copy and setup the credentials for whatever git host you used for the vault repo (ex: Gitlab for Github). Once that is done, clone the repo.
Open the repo and select the “share menu” at the top right of the
application. Select Setup Folder Sync. We want to sync the repo with the
Obsidian vault we already made. Under the On My iPad section of the browser, there should be an
Obsidian folder that contains an empty sub-folder with the name of the vault
created. Select it to sync the repo there. Afterwards, Obsidian and working copy
should be linked up!
Using Obsidian Mobile
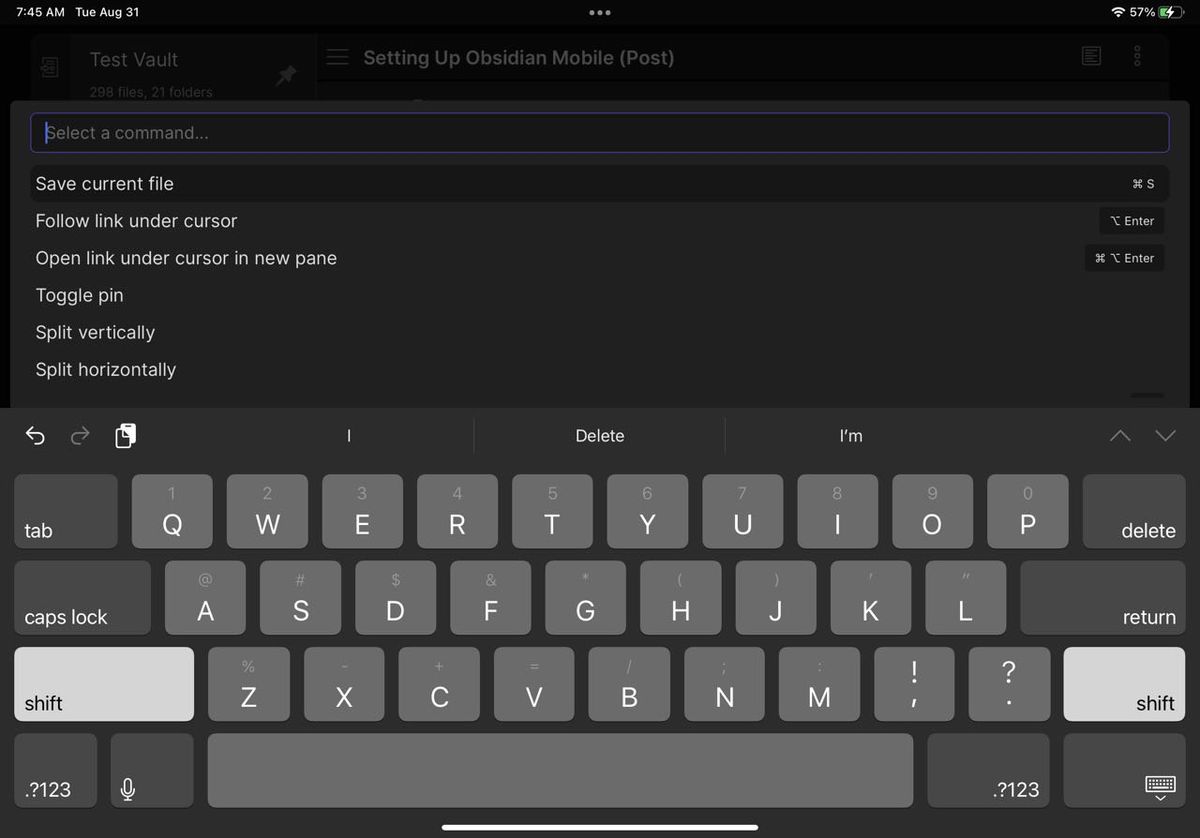
When using obsidian on mobile, always remember to first pull down the latest repo changes in working copy! Afterwards, you can open up obsidian and use it as you normally would. Just remember to then commit and push any changes you make copy afterward!
The mobile UI can take some getting used to compared to the desktop application. One tip I have is to use the command prompt to do basically everything. Opening notes, closing them, splitting panes. Just use the command prompt for it all.
(And once again, remember to push any changes!)
Conclusion
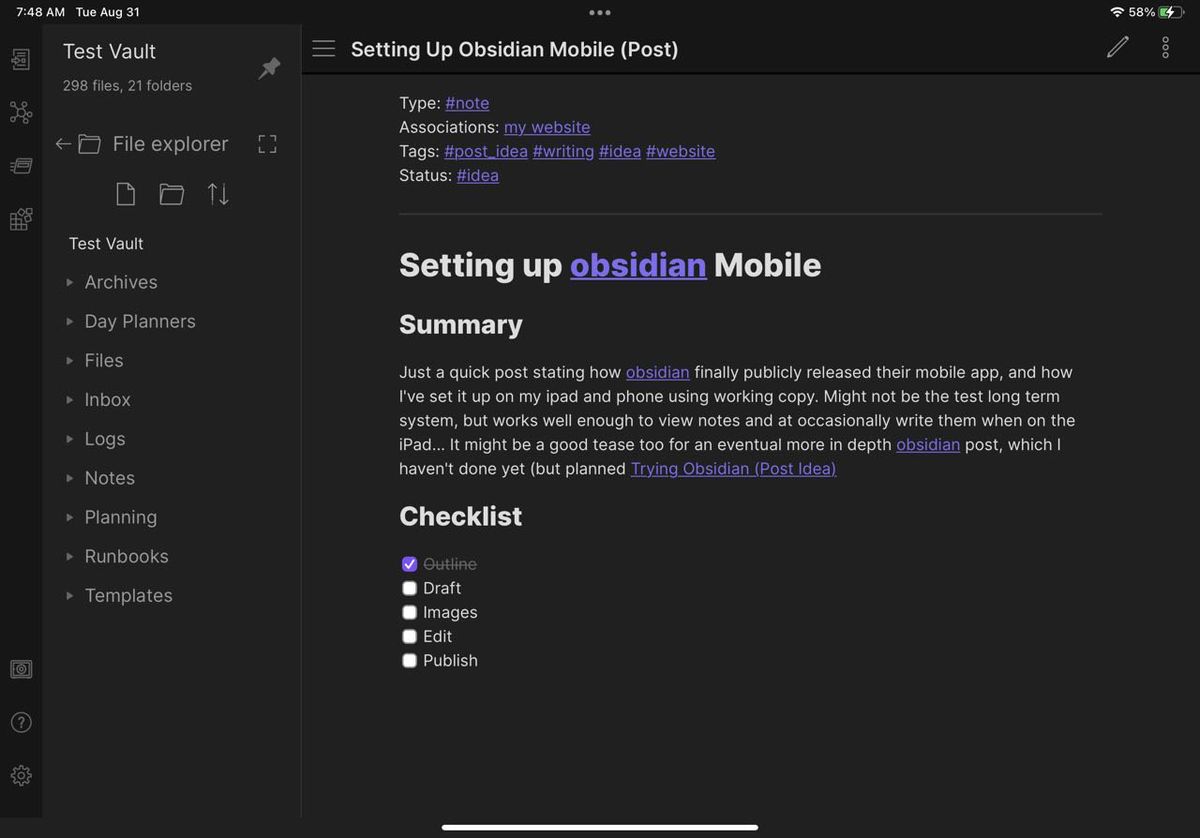
It is still early days, but having a mobile app helps smooth out one of the very few downsides I’ve faced using obsidian. I’m glad to see the project progress, and even happier to be using it now. Congrats to the devs for getting this release out!