Converting my 34 Key layout from QMK to ZMK

After months loving my ferris sweep, I decided to build a second one. Specifically, I wanted a wireless version so I could avoid all the wires when using it in portable setups. However, the nice!nano controllers used for bluetooth keyboard builds, uses the ZMK firmware instead of QMK, which I had previously used. So, I had to convert my ferris sweep layout to ZMK. Here’s my experience.
Background

A couple weeks into using my ferris sweep, I decided if I ever built a second one, that I would want it to be wireless. In September (on my birthday). I finally ordered parts for a nice!nano based ferris sweep build. Weeks after ordering, they arrived.
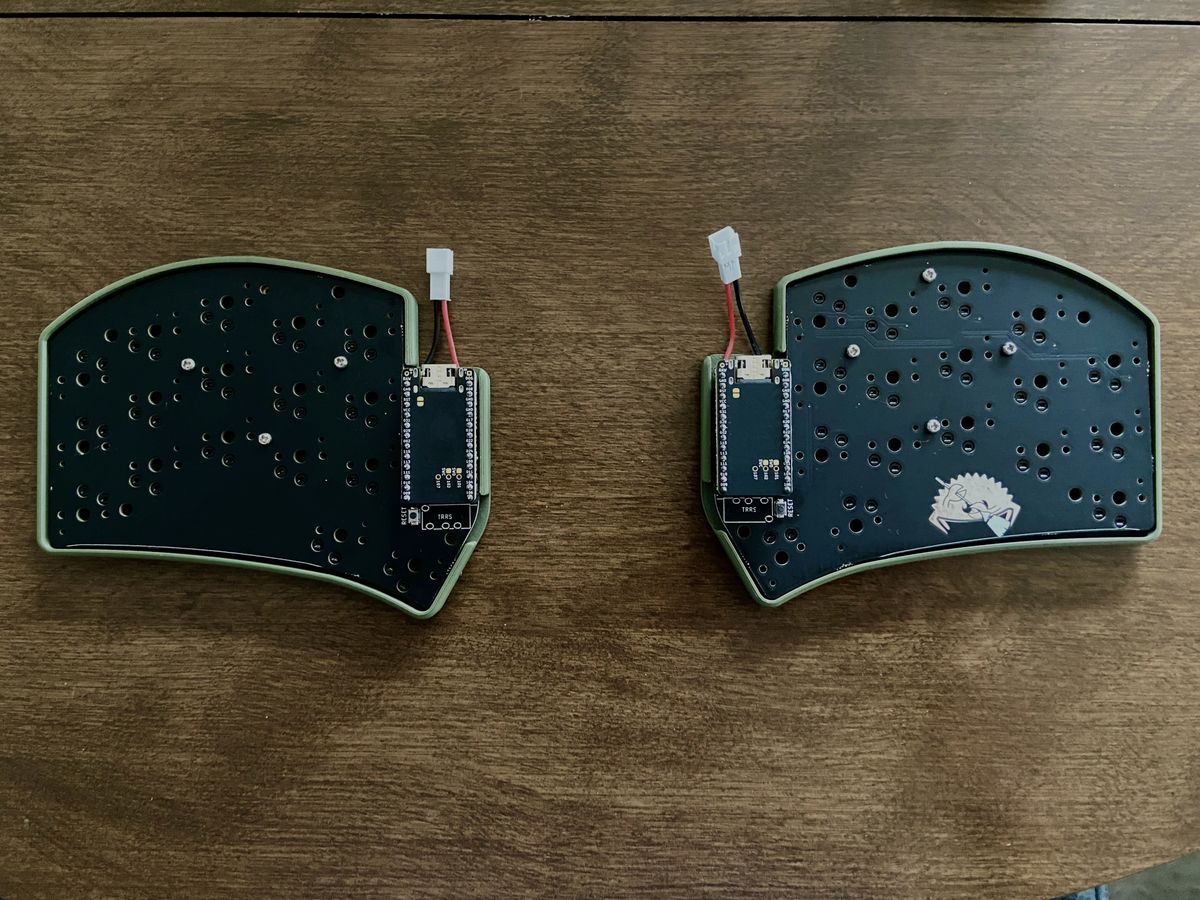
I finally had the parts, but there was still a road block: I was only a few months into being a new parent, with a wife still in medical training. Even when I managed to find time to build the keyboard, it was never a large enough chunk of time to also include the patience which my novice soldering skills require. Unsurprisingly, I messed up. And got frustrated. So, I decided to order a pre-built board.
A few more weeks later, it arrived. I assembling it using the switches and key caps I still had from my failed build. With the keyboard physically complete, I needed to generate and flash it with the ZMK firmware.
Setting up ZMK
The process for flashing ZMK was quite different than what I did for QMK. First, I had to install ZMK, which was easy enough to do by following the documentation. This involved running a script which prompts the user with a few questions, and then generates a repo containing the appropriate firmware templates for the keyboard model specified. After that repo is pushed to Github, Github Actions are triggered to run firmware builds.
As simple as running the script was, it was where I hit my first snag. My
firmware builds kept outputting a single .bin package, which was not expected
(I needed separate firmwares for each nice!nano: a left and right).
After struggling with this problem for a bit, I realized my error. During the
board selection, I had been selecting Ferris 0.2 (which is the original
ferris), I needed to select Cradio/Sweep instead:
Keyboard Selection:
 1) 2% Milk		             24) Helix		       47) Preonic Rev3
 2) A. Dux		             25) Hummingbird	   48) QAZ
 3) BAT43		             26) Iris			   49) Quefrency Rev. 1
 4) BDN9 Rev2		         27) Jian			   50) Redox
 5) BFO-9000		         28) Jiran		       51) REVIUNG41
 6) Boardsource 3x4 Macropad 29) Jorne		       52) REVIUNG5
 7) Boardsource 5x12	     30) Knob Goblin	   53) Romac Macropad
 8) BT60 V1 Hotswap	         31) Kyria		       54) Romac+ Macropad
 9) BT60 V1 Soldered	     32) Kyria Rev2		   55) S40NC
10) Chalice		             33) Leeloo		       56) SNAP
11) Clog		             34) Lily58		       57) Sofle
12) Contra		             35) Lotus58		   58) splitkb.com Aurora Corne
13) Corne		             36) MakerDiary m60	   59) splitkb.com Aurora Lily58
14) Corneish Zen v2	         37) Microdox		   60) splitkb.com Aurora Sweep
15) Cradio/Sweep	         38) MurphPad		   61) Splitreus62
16) CRBN Featherlight	     39) Naked60		   62) TG4x
17) eek!		             40) Nibble		       63) Tidbit Numpad
18) Elephant42		         41) nice!60		   64) Waterfowl
19) Ergodash		         42) nice!view		   65) ZMK Uno
20) Eternal Keypad	         43) nice!view adapter 66) Zodiark
21) Eternal Keypad Lefty     44) Osprette		   67) Quit
22) Ferris 0.2		         45) Pancake
23) Fourier Rev. 1	         46) Planck Rev6
Pick a keyboard:
With that switch, the system started building the firmware for the correct keyboard.
Converting the layout
Now that I was building the proper firmware for the ferris sweep, I needed to convert my QMK layout over to ZMK. I think I started by manually copying my layout over into the layout template (or maybe even tried a conversion tool).
Whatever I attempted… it didn’t work. When I tried to build the firmware, it erred on the keymap file:
devicetree error: /__w/ferris-sweep-zmk/ferris-sweep-zmk/config/cradio.keymap:38 (column 43): parse error: expected number or parenthesized expressionTo isolate the problem, I commented out the layers and added them back in one at a time. With each error, I figured out where it was happening and what changes I needed to apply to make it ZMK-complaint.
While I don’t know if I recorded all my required changes, here are a few of the big ones I had to convert while going from qmk -> zmk.
-
Any keys that used
()formatting needed to be replaced with a ZMK alternative. Ex:LCTL_T(KC_A)in QMK became&mt LEFT_CONTROL Ain ZMK (Aon tap,Left CTRlon hold). -
The
OSMkeys I used in qmk aresticky keysin ZMK (doc source), so I converted those. Ex:OSM(MOD_LCTL)became&sk LCTL -
Most symbols had to be converted to alternate abbreviations. Some (but not all) of the changes include:
KC_ESC-->&kp ESCAPEKC_TILD-->&kp TILDEKC_LCBR-->&kp LBRCKC_RCBR-->&kp RBRCKC_GRV-->&kp GRAVEKC_SCLN-->&kp SEMICOLONKC_LBRC-->&kp LBKTKC_RBRC-->&kp RBKTKC_LPRN-->&kp LPARKC_RPRN-->&kp RPARKC_EXLM-->&kp EXClKC_DLR-->&kp DLLRKC_PERC-->&kp PERCENTKC_MINS-->&kp MINUSKC_CIRC-->&kp CARETKC_AMPR-->&kp AMPSKC_BSLS-->&kp BACKSLASHKC_SLSH-->&kp SLASHKC_EQL-->&kp EQUAlKC_ASTR-->&kp ASTRKKC_QUES-->&kp QUESTIONKC_MUTE-->&kp C_MUTEKC_VOLD-->&kp C_VOLUME_DOWNKC_VOLU-->&kp C_VOLUME_UPKC_PGUP-->&kp PAGE_UPKC_PGDN-->&kp PAGE_DOWNKC_HOME-->&kp HOMEKC_DEL-->&kp DELETEKC_ENT-->&kp ENTERKC_CAPS-->&kp CAPSLOCKKC_MSTP-->&kp C_STOPKC_MRWD-->&kp C_REWINDKC_MFFD-->&kp C_FAST_FOREWARDKC_MPLY-->&kp C_PLAY_PAUSE
-
Lastly, there was at least one instance of a typo that threw me for a loop:
&slinstead of&sk😆.
Once I got all the standard keys in my layout figured out, the last thing I
needed to switch was the keys to toggle between layouts. My normal thumb-key
layer-switch practically stayed the same, only going from MO(NUM) to &mo NUM. However, the keys that toggle my base layer switched from a DF(NUM)
to &tog NUM, which seems to work the same. I also decided to remove some of
the alternate base layers I never use on my QMK sweep.
Fixing home row mods
At this point, the firmware compiled and I was able to flash my layout to the keyboard! After using it for a few seconds, it was immediately clear that the home row mods were terrible. As I continued to type, they were so bad that I thought I might have to disable them because of how often they misfired. I tweaked several timings, but nothing resolved the problem.
After some research, I learned about the flavor = "tap-preferred"
setting that can be added to the keymap file:
&mt {
  flavor = "tap-preferred";
  tapping_term_ms = <285>;
 };
I made this change, and the keyboard worked exactly how I wanted it to. At this point, the layout and timing felt just like my qmk ferris sweep! Success.
Conclusion

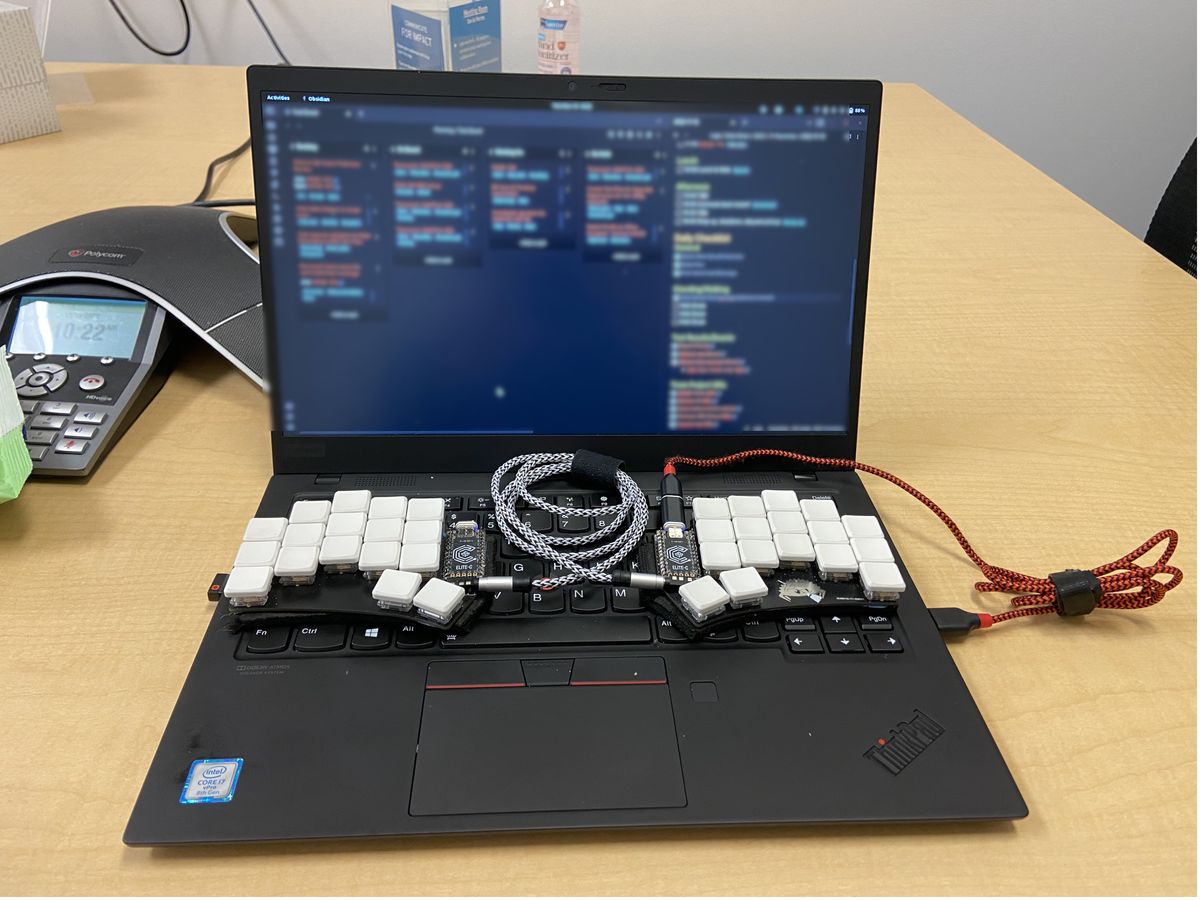
It has been over two months now and everything has worked great, without any issues. I have been using the zmk sweep as my daily driver in the office, and seamlessly switch back and forth between it and my QMK sweep at home. I haven’t had to make many tweaks to the layout, but when I do (which I will at some point to add bluetooth controls), it should be very easy now that I have the layout converted. Hopefully this post can can help any others that need to make the QMK --> ZMK switch. Good luck!