Creating "Sub"-Monitor Workflows Using xrandr

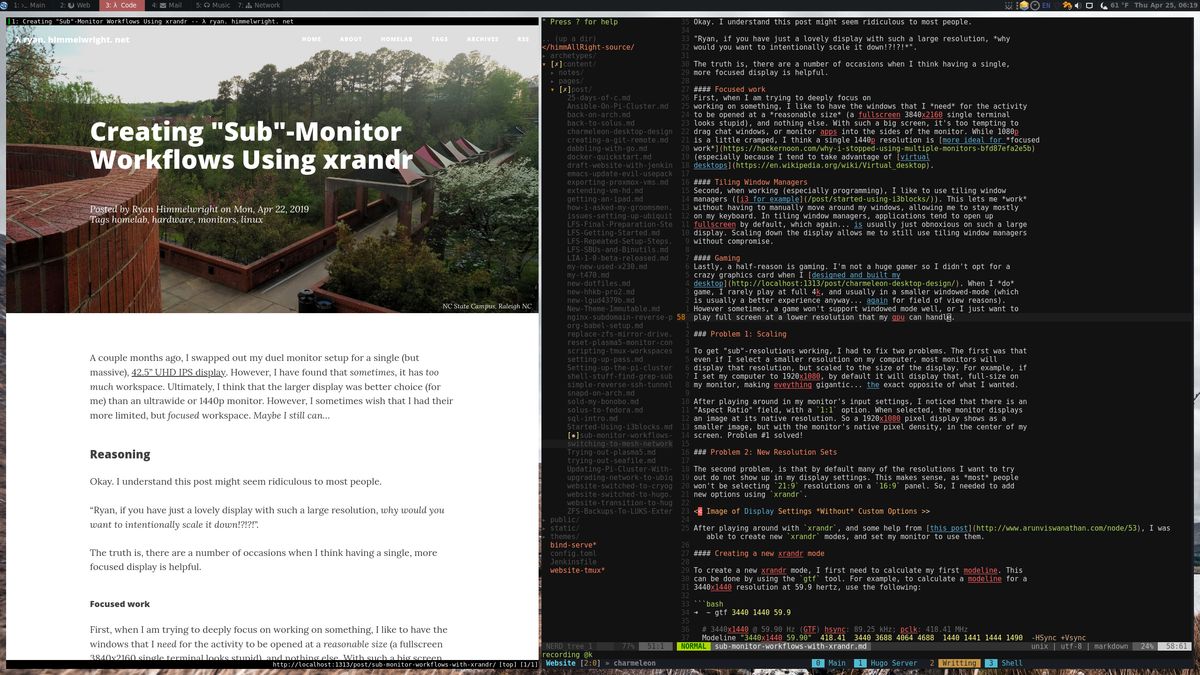
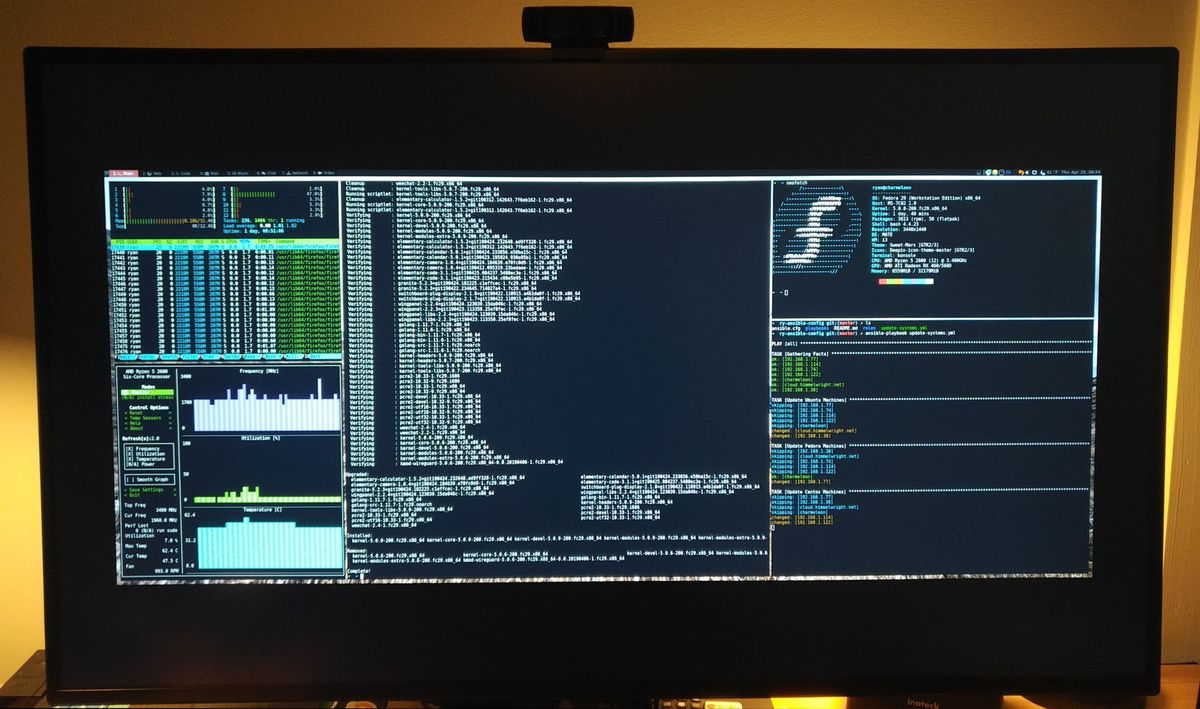
A couple months ago I swapped out my dual monitor setup for a single (but massive), 42.5" UHD IPS display. I love it, but admit that sometimes, it has too much workspace. While I still think that the larger display was better choice, I sometimes wish that I had the more limited, but focused workspace of an ultrawide or 1440p monitor. Maybe I still can…
Reasoning
Okay. I understand that this post might seem ridiculous to most people.
“But Ryan, if you have a great display with such a large resolution, why would you want to intentionally scale it down smaller?!?!?!”.
The truth is, there are a number of occasions when having a single, smaller display is helpful.
Focused Work
First, when trying to focus deeply on a single task, I like to have the windows that I need for the activity opened, and nothing else. Furthermore, I like to have these windows opened at a reasonable size (Note: a full screen 3840x2160 single terminal looks stupid). With such a big screen, it is just too tempting to drag chat windows, monitoring apps, and videos to the sides of the workspace. While 1080p is a little cramped, I think a single 1440p resolution is more ideal for focused work (especially because I tend to take advantage of virtual desktops).
Tiling Window Managers

Second, when working (especially programming), I often like to use tiling window managers ( i3 for example ). This lets me work without having to manually move around the windows, or even leave my keyboard. In tiling window managers, applications tend to open up full screen by default, which again… is just obnoxious on such a large display. Scaling down the display allows me to still use tiling window managers without compromise.
Gaming
Lastly, a half-reason is gaming. I’m not a huge gamer so I didn’t opt for a crazy graphics card when I designed and built my desktop. When I do game, I usually play in windowed-mode (which is usually a better experience anyway… again for field of view reasons). However, sometimes a game won’t support windowed mode, or I want to play full screen at a lower resolution so that my GPU can handle it.
How
Now that it is (hopefully) understood why I want to setup a “sub-display” inside my monitor, lets switch to how I did it.
Problem 1: Scaling
To get “sub”-resolutions working, I had to fix two problems. The first was that even if I select a smaller resolution on my computer, most monitors will display that resolution, but scaled to the size of the display. For example, if I set my computer’s display settings to 1920x1080 on my 3840x2160 monitor, by default it will double up the pixels to get the smaller resolution to fit full-size on the monitor. This makes everything appear gigantic… which is the exact opposite of what I wanted.
After playing around in my monitor’s input settings, I noticed that there is an
“Aspect Ratio” field, with a 1:1 option. When selected, the monitor displays
an image at its pixel density. So a 1920x1080 pixel display shows as a smaller
image in the middle of the screen, but with a 1:1 pixel density. Problem #1 solved!
Problem 2: New Resolution Sets
The second problem was that by default, many of the resolutions I wanted to use
out do not show up in the display settings. This makes sense, as most people
won’t be selecting 21:9 resolutions on a 16:9 panel. I needed to add
new options using xrandr.
After spending sometime in a terminal with xrandr, I was able to create new xrandr modes, and set my monitor to use them.
Creating a new xrandr mode
To create a new xrandr mode, I first needed to calculate a new modeline. This
can be done by using the gtf tool. To calculate a modeline for a
3440x1440 resolution at 59.9 hertz for example, use the following:
➜  ~ gtf 3440 1440 59.9

  # 3440x1440 @ 59.90 Hz (GTF) hsync: 89.25 kHz; pclk: 418.41 MHz
  Modeline "3440x1440_59.90"  418.41  3440 3688 4064 4688  1440 1441 1444 1490  -HSync +Vsync

➜  ~
The line that starts with Modeline (but not including “Modeline”) is what
we want. Copy that and give it to xrandr with the --newmode flag to create
a new mode:
xrandr --newmode "3440x1440_59.90" 418.41 3440 3688 4064 4688 1440 1441 1444 1490 -HSync +VsyncLastly, to add that mode to a display, use that same line but with the
--addmode flag, and the monitor to switch (DP-1 in my case):
xrandr --addmode DP-1 "3440x1440_59.90" 418.41 3440 3688 4064 4688 1440 1441 1444 1490 -HSync +VsyncNote: To find the available monitor names, enter a plain xrandr command, and
it will spit out all the available outputs.
Switching to the new mode
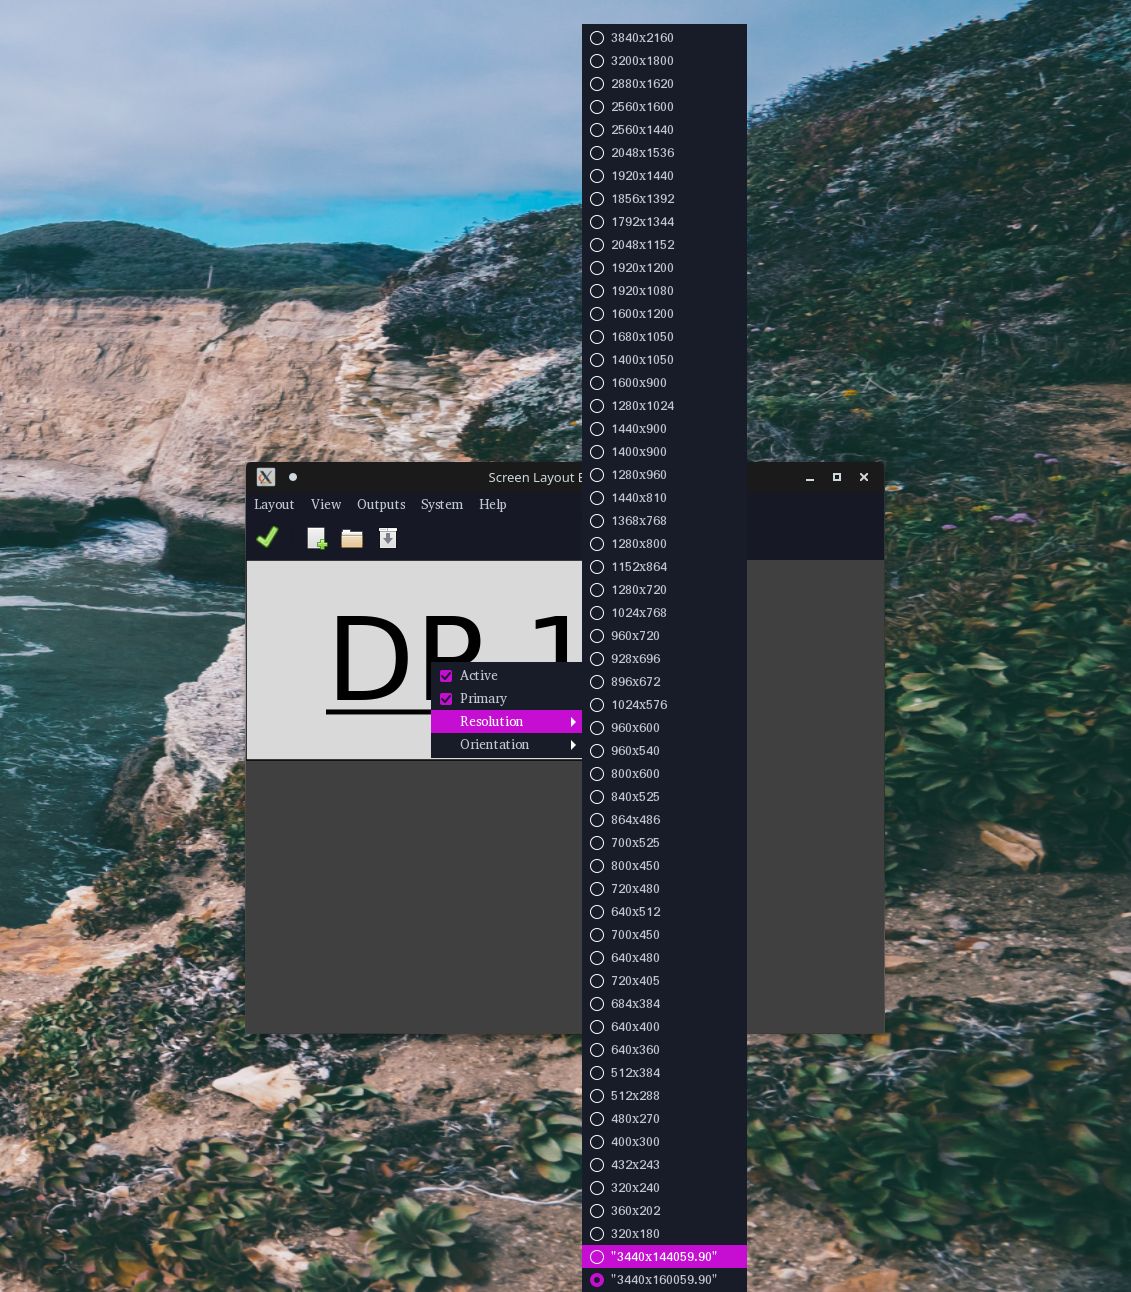
To switch to the new mode, I like to use a GUI tool named arandr. Simply right
click on the display’s rectangle, and select the new mode name from the
“Resolution” list (Or Outputs -> Monitor Name -> Resolution -> New MODE
NAME in the menu bar).

If you are too 1337 to use a GUI app, never fear! The display can be switched to the new mode using xrandr with the
--output and --mode flags:
xrandr --output DP-1 --mode "3440x1440_59.90" 418.41 3440 3688 4064 4688 1440 1441 1444 1490 -HSync +VsyncBut Wait, There’s More! Scripting it
After running these commands twice… I realized it would be easy enough to automate. So I did with this script:
# add-xrandr.sh
# --------------
#!/bin/bash

# A function to prompt the user if they want to switch to the new mode now.
switch_to_new_mode () {
 echo -n "Switch to mode $modename now? [y/n]: "
 read change
 if [ "$change" == "y" ]
 then
  echo "switching monitor..."
  xrandr --output $MONITOR --mode $modename
 else
  echo "Okay, no switch. Enjoy!"
 fi
}

# Create a new mode for the display
create_new_mode () {
 echo "Adding new mode: $gtf_output"
 xrandr --newmode $gtf_output
 echo "Adding new mode $modename to display $MONITOR"
 xrandr --addmode $MONITOR $modename
 echo "Done!"
}

# Message if the mode appears to already exist
mode_already_exists () {
 echo "Hmmm... I think the mode $modename already exists."
}

## Main Function to set vars and code
main () {
 # Input Vars
 WIDTH=$1
 HEIGHT=$2
 MONITOR=$3
 ESLEEP=3
 # Fancier Vars :P
 gtf_output=$(gtf $WIDTH $HEIGHT 59.9 | grep -i "modeline" | sed -e 's/\<Modeline\>//g')
 modename=$(echo $gtf_output | grep -o  "\(\".*\"\)")
 modeexists=$(xrandr | grep -i $modename)

 # Run
 if [ "$modeexists" == "" ]
 then
  create_new_mode
     switch_to_new_mode
 else
  mode_already_exists
     switch_to_new_mode
 fi
}

## Execute Main
main "$@"
Basically, the script is run by providing it the desired width, height, and
xrandr display to apply the new mode to. For example, to create a new
3440x1440 mode for my DP-1 display, I would run the following command:
./add-xrandr.sh 3440 1440 DP-1.The script will generate a new mode based on the parameters fed it it, and then check to see if the mode already exists. If it doesn’t, it will create it, add it to the display name passed in, and will ask the user if they would like to switch to the new mode. If the mode was already detected, the script will just ask the user if they wish to switch to it.
Note: The script is hard-coded to always create modes at 59.9 Hertz,
because I don’t have any fancy fast monitors. If you want that option, just add
another parameter and swap out the 59.9 with it.
Pros/Cons

What this solves
- When I have the monitor set to a sub-resolution, I don’t experience any of the “edge shadowing” issues I mentioned in the review post.
- I can test out any resolution setup less than 2840x2160. (Including Ultrawide setups)
- Using a smaller resolution is friendlier to my tiling wm setups
- I can use a better “single focus” monitor setup. For example, the equivalent of a 28" 1440p display.
- I can set my monitor to a smaller resolution to better play full screen games (so that the resolution better fits my GPU performance and the game is in my field of view)
What it doesn’t fix
- The physical size of my monitor stays the same. (MASSIVE Bezels :P )
- I can’t really do multiple displays setups. Even though my monitor supports multiple inputs and picture-by-picture, I still can’t do a good horizontal + vertical 1080p setup, because it will center each one.
- The DPI is slightly bigger than if I got the common size/pixel monitors.
- Any curving or other physical attributes another monitor form factor has.
Conclusion
In conclusion, I love this setup. With this work-around, I was able to take a few use cases where my monitor didn’t fully fit my needs, and fix it. I am even happier with my monitor selection now, as I can enjoy a massive IPS display when I want it, but also have the ability to tone it down when I want to focus in more. So far, it’s working great!