Using Remote VSCode

I mostly work on my desktop, but
usually from another computer, like my
laptop. Historically, the most common
method I use for this has been combining neovim and tmux (with
tmuxp, for ease). However, more often
than not, I now find myself using VS Code
with it’s remote development
plugin. Here’s
how.
Install the Remote Development Plugin
To get started, first make sure that VS code is installed on your machine. This can be found on the project’s website, or even as a flathub flatpak
Next, to instal the plugin, click the Extensions tab in the side bar (The
icon with four squares). From there, search for the extension by using
something like ‘remote development’ as the search term. The Remote Development extension should appear in the list. Select it, and click Install.
This extension is actually a package that bundles three extensions: Remote - SSH, Remote - WSL, and Remote - Containers. Alternatively, you can just install the one you need.
Connect to the Server
With the remote plugin installed, we can now connect to a remote machine. I
mostly do this using ssh. Make sure you first have ssh keys copied to the
device you want to link to. Then, open the command pallet (CMD/CTRL-Shift-P), and search for the Remote-SSH: Connect to Host... command, and run it.
This will prompt you for an ssh host to connect to. Just enter a host like
you would when using ssh. For example, ryan@example.com. If it’s the
first time adding a host, the plugin will ask where it can save a config file
for the hosts. I usually just select one of the defaults it offers me.

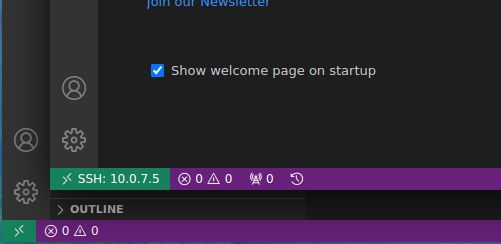
When connecting to a remote machine, VS code will usually pop open a new window. To verify, the ip address of the machine that the window is connected to can be found in lower left corner.
Working on Projects, Remotely

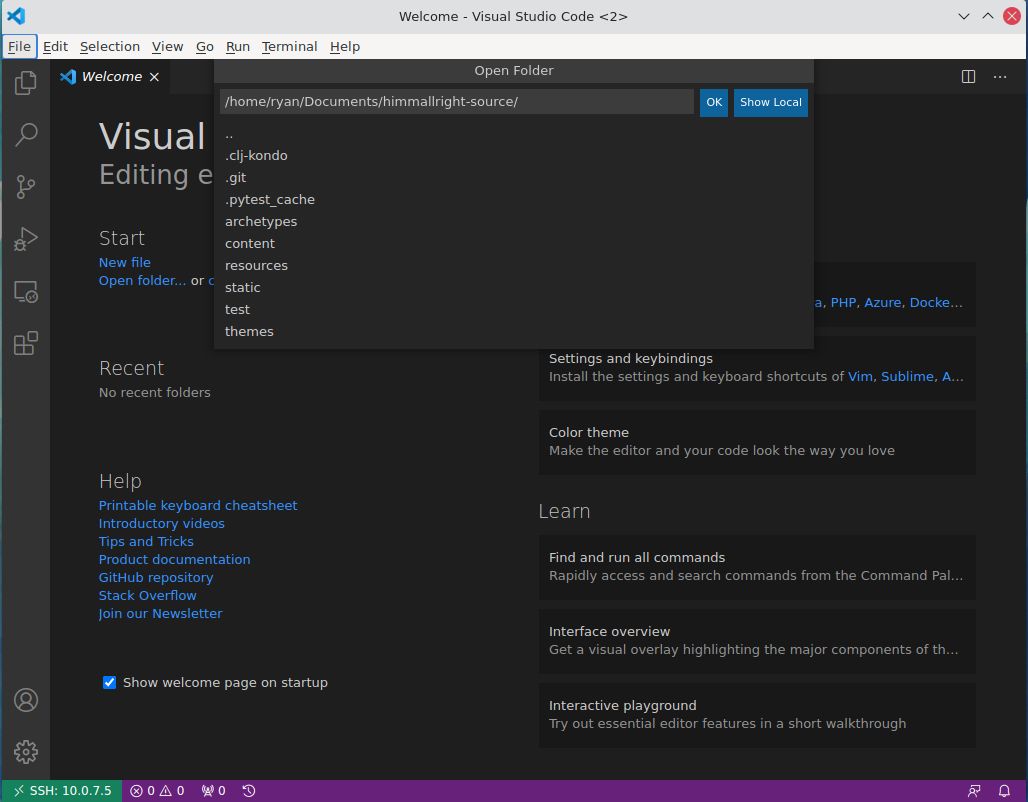
When working in a remote VS Code window, everything is passed on from the remote machine, as if you were sitting down at that computer. When opening a new file or folder, you browse the contents of the remote filesystem, not the local one.
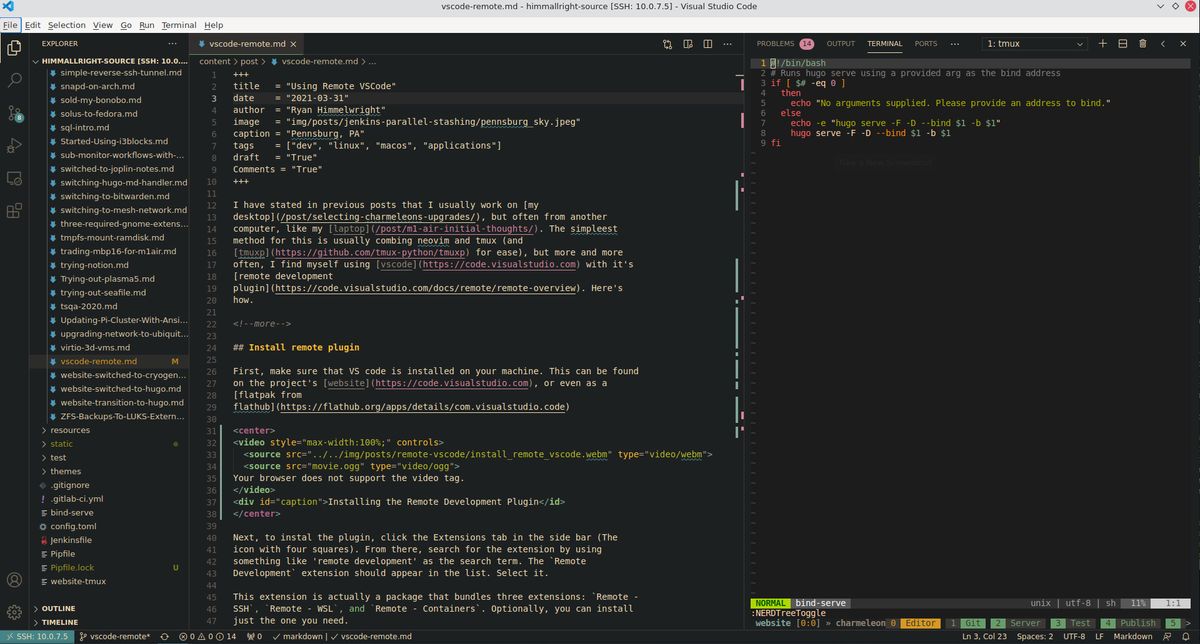
Even the built in terminal runs on the remote machine. I still work in
tmux, so I have my vscode terminal attach whatever tmux session I need.
This provides me with the flexibility to switch to a new machine and pickup
where I left off. Using this setup, I get a full graphical IDE window, while
still reaping the benefits of vim + tmux.

And yes… you can run vim, inside tmux, in the built-in VScode
terminal, in a VScode remote window. This is something I actually do quite
often XD.
Conclusion
I am almost always working from a different machine than the one which my files and work are on. This setup has been idea for how I work. It is easy to use, yet very powerful.
Sitting in front a gruvbox-themed VSCode window, connected to my desktop, and typing using vim keybindings (via a vim plugin) has become my new default, no matter what computer (or VM) I am physically working from. I love it.